After you've created your first assets on ToolSense, the next step is to implement QR codes.
QR codes are a vital part of asset operations. They allow us to uniquely identify an asset and start workflows like reporting problems, filling maintenance checklists or relocating seets.
Login to my.toolsense.io/assets and click on More
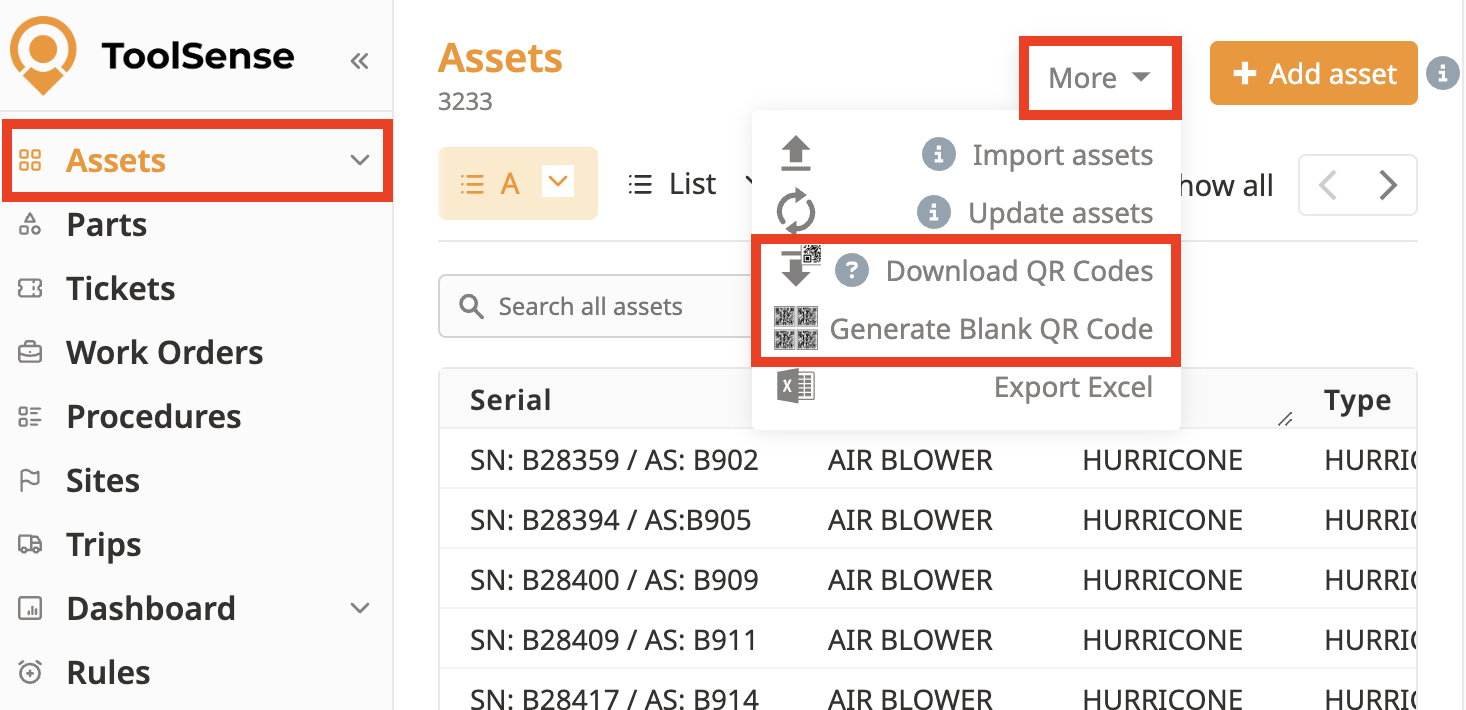
There, you have the choice between 2 options:
Generate non-assigned QR codes (=Blank)
Very handy to create Assets which have never been inventoried in the past. You can simply walk in your machine warehouse and:
Attach a QR code to every machine
Scan the QR code attached from the ToolSense app & click on "Assign QR Code"
Link the Asset to its inventory line in ToolSense or create a new asset by filling its details (Category / Type / Serial Number & Add a picture (mandatory)
Check the following video to see how to create an Asset / link an asset with a blank QR code.

Download assigned QR codes
You can also grant non-users (individuals without their own login) the ability to attach QR codes to equipment. This process ensures that each QR code is placed on the correct machine.
Once you are at the asset with the printed QR code in hand, simply stick the sticker to the machine.
Next, open your phone’s camera app and scan the QR code.
You will be directed to the asset’s page associated with that QR code, where you can confirm the connection between the asset and its QR code.