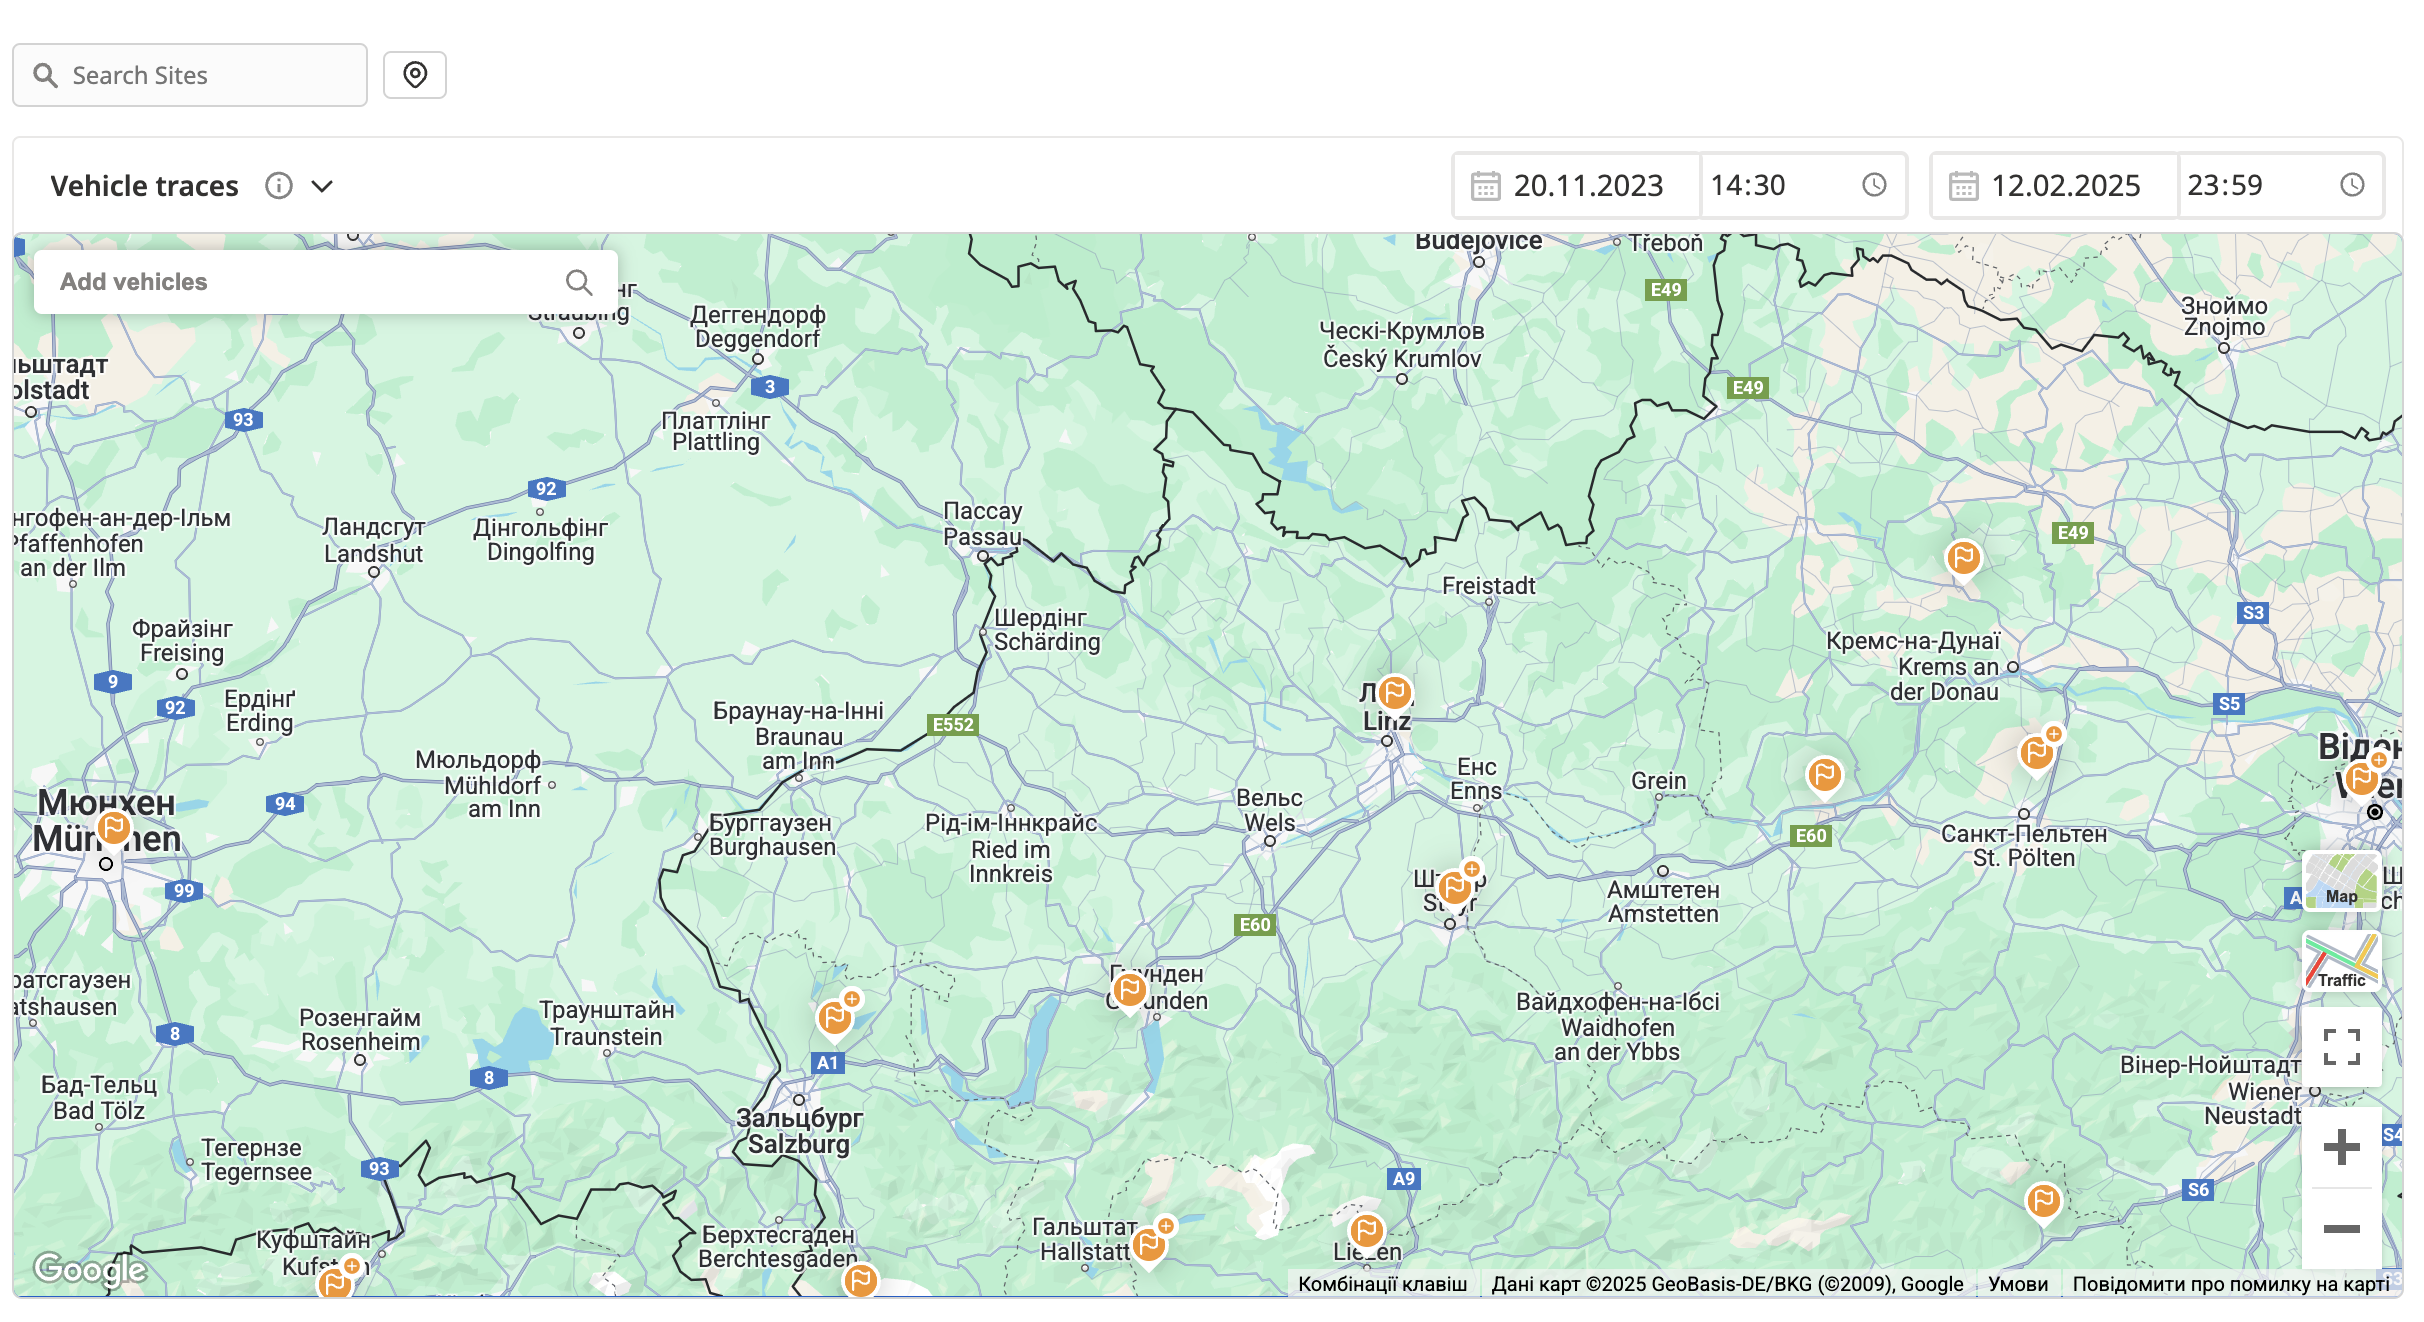
Vehicles Traces Mode allows you to view and analyze the movement history of selected vehicles within a specified time frame. This mode helps you track routes, monitor driving patterns, and review travel history.
Trace: A trace represents a vehicle’s entire journey within the chosen time frame. A single trace may include multiple trips.
Trace Segment: A trace segment is a portion of the journey, representing part of a vehicle’s trip.
Modes Switcher: Navigate to the Modes Switcher and select Vehicles traces Mode from the menu.
Vehicle Modal from the Trips by Location mode: Press the Show trace of this vehicle button in the vehicle’s modal. The system will switch to Vehicle traces Mode, displaying traces from the last day the selected vehicle was moving.
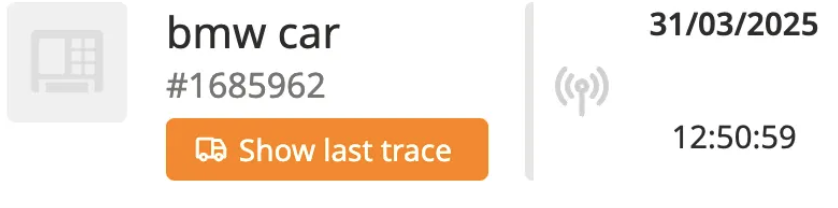
Asset Overview: Click the Show last Trace button in the Asset Overview of the asset, which is marked as a vehicle and has a connected IoT tracker. The system will navigate to the Trips Map and use the Vehicle traces Mode, displaying the selected vehicle’s last trace.
Use the Vehicle Selector, located on the top-left side of the map, to choose one or multiple vehicles you wish to track.
You can select up to six vehicles simultaneously. Every vehicle’s trace will have a different color, displayed on the map and in the selector.
If you need to select a different vehicle but already have six selected, remove one from the list before adding another.
The search input for vehicles follows a structured display logic to ensure a clear and efficient selection process.
Default Behavior:
By default, the system displays six vehicles in the list, selecting the first created vehicles based on their Vehicle ID.
The list is not scrollable and remains fixed at six options.
Selection Behavior:
When a user selects a vehicle, the list updates to show five remaining options instead of six.
If a user needs a specific vehicle, they can use the search function.
Search Functionality:
The search starts working after the second character is entered and the user stops the typing
The search results display a maximum of six options at a time.
There is no scroll bar in the search results.

Use Site Filters to narrow the results to specific locations or regions of interest.

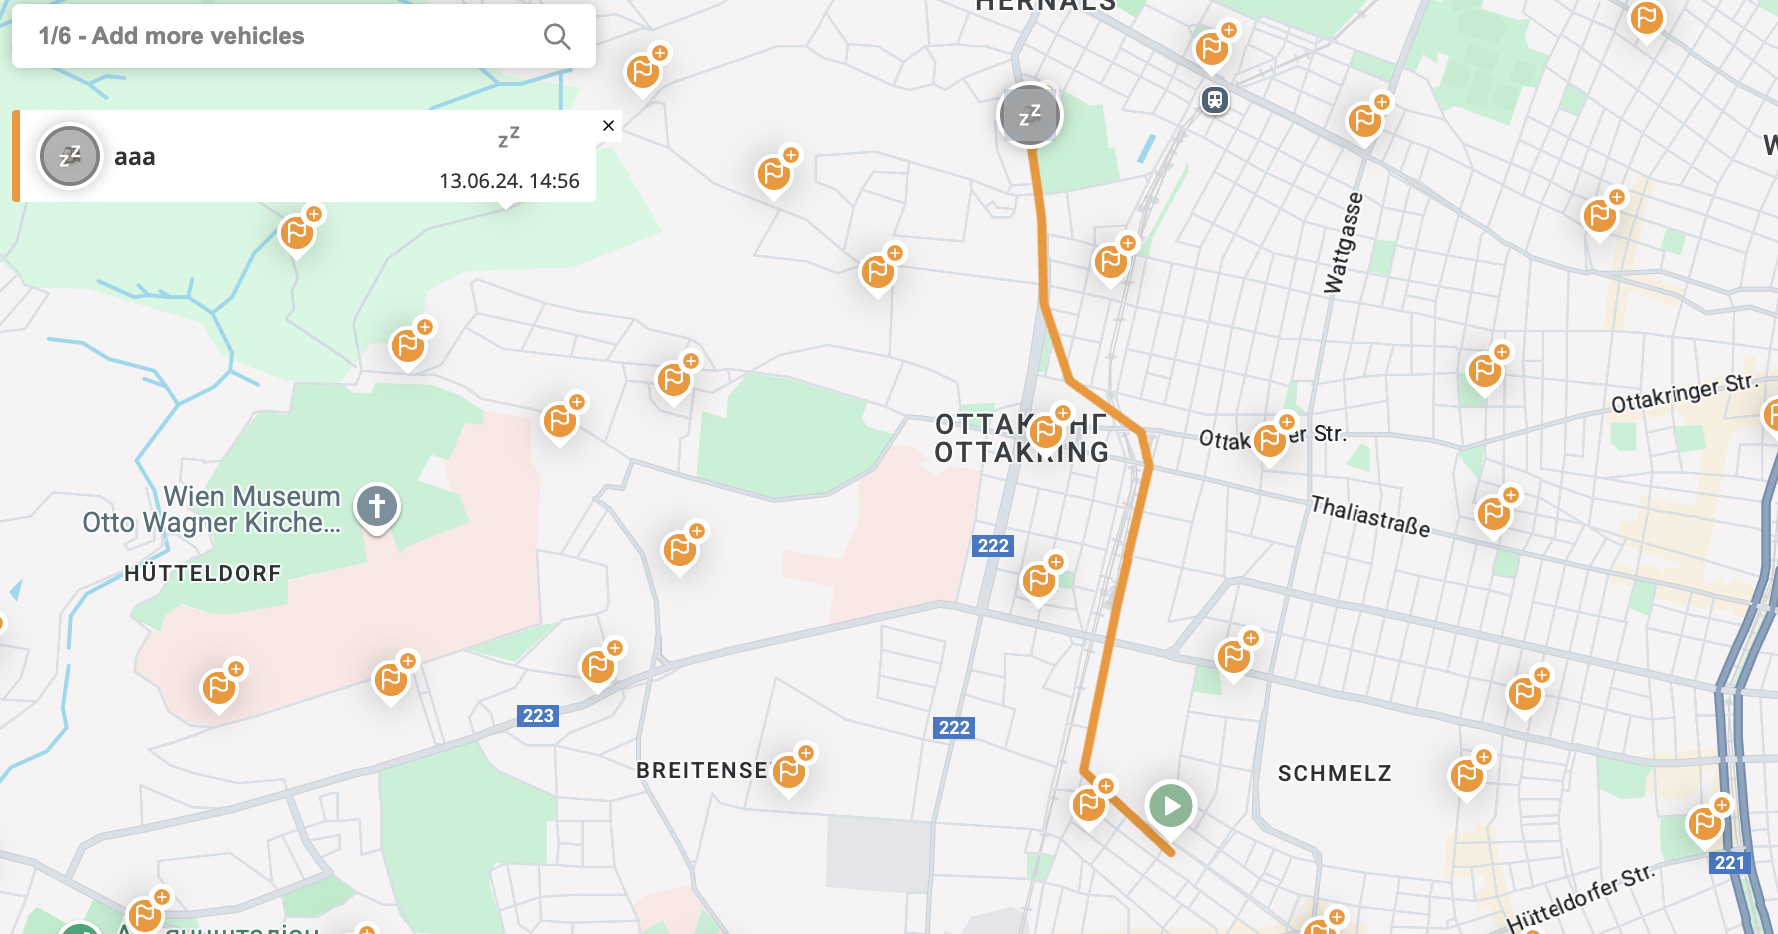
The system will display vehicle routes on the map with detailed markers and segments.
Traces will appear as continuous paths.
Trace segments will be marked along the route.

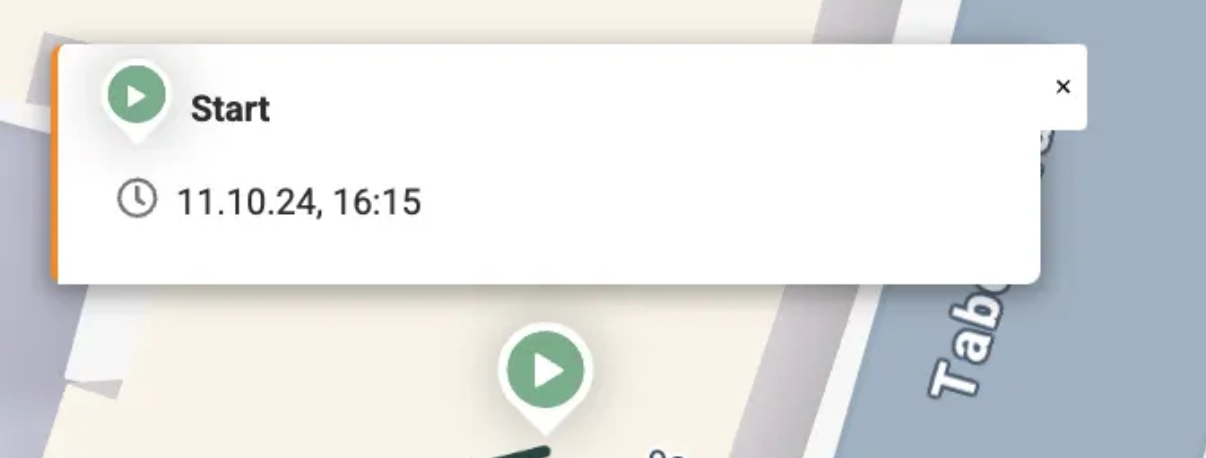
Start Point: Marked with a green icon, indicating where the vehicle’s journey began.
If the user presses or hovers over the icon, the Start point modal opens.
End Point: Marked with a vehicle icon, indicating where the journey ended.
If the user presses or hovers over the icon, the vehicle modal opens (more about it you can read here).

If the first trip in the trace began before the selected time period, the Start point will be replaced with a "Trip start outside of selected period" icon, marked with [… symbols.
When users hover over an icon, a modal opens.
The modal for Trip start outside of selected period (when no sites are nearby) displays the following:
An icon with [… symbols
Start of period — date and time
Start of trip — date and time
Extend by 1 day backwards button — pressing this button automatically extends the selected time frame by one day earlier


If the last trip in the trace ended after the selected time period, the End point will be replaced with a "Trip end outside of selected period" icon, marked with …] symbols.
When users hover over the icon, a modal opens.
The modal for Trip end outside of selected period (when no sites are nearby) displays the following:
An icon with …] symbols
End of selected period — date and time
End of trip — date and time
Extend by 1 day forward button — pressing this button automatically extends the selected time frame by one day forward

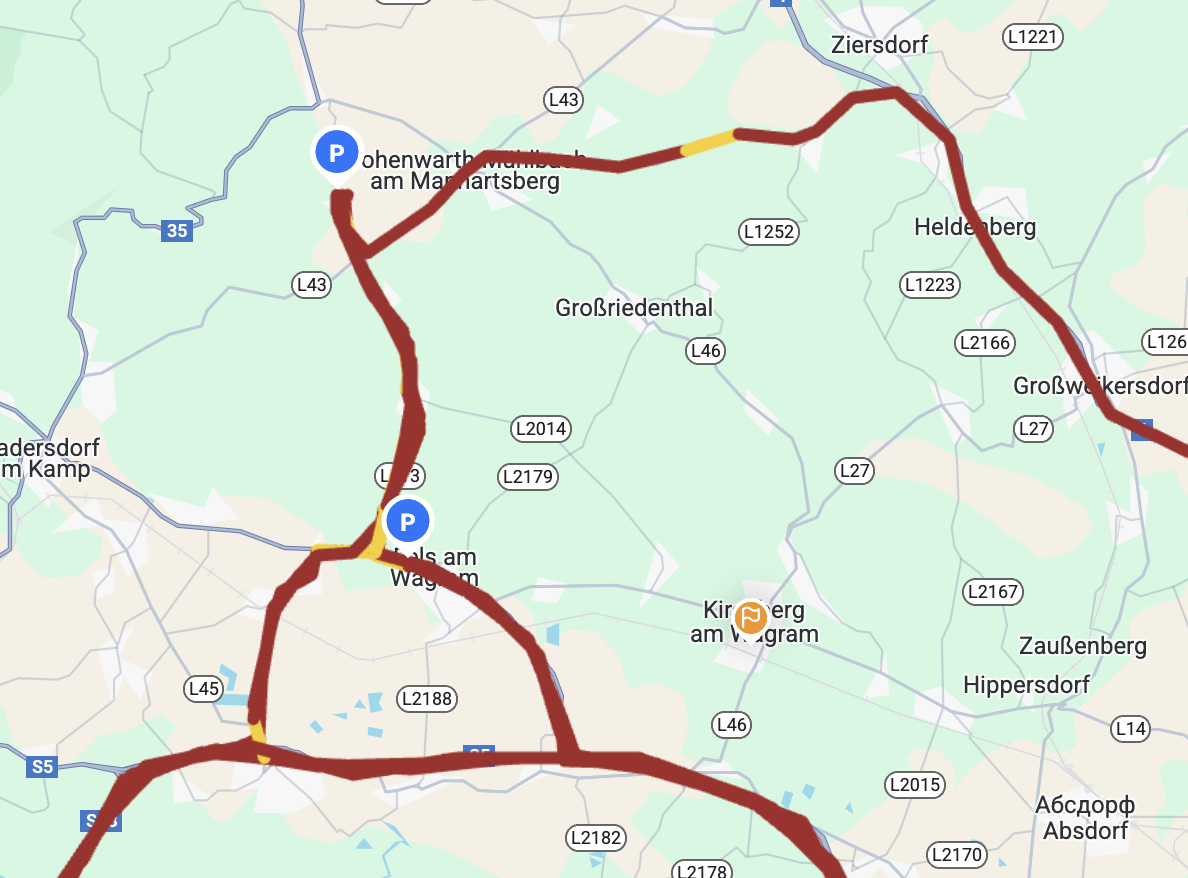
All stops during the trace are marked with icons based on their duration and recency:

Paused (Less than 2 hours ago): Displayed with a blue icon with the letter “P”.

Parked (2 hours to 7 days ago): Displayed with a gray icon with the letter “P”.

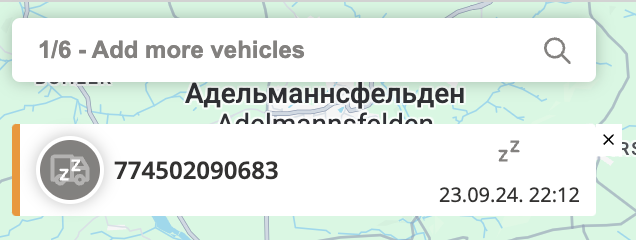
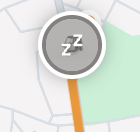
Inactive (Over 7 days ago): Displayed with a gray icon with “zz” symbols, indicating an extended inactive period.
When the user clicks the icon, the Stop modal opens. It contains the following information:
Type of stop along with a corresponding icon
Stop duration
Date and time when the previous trip ended
Date and time when the next trip started

A trip consists of multiple trace segments, which represent a segment between two Data points.
If an event occurs during the trip, the affected segment is highlighted yellow.
Hovering Over Segments:
If the user hovers over a segment, it becomes highlighted in yellow, and a modal window appears showing details about that segment.

If the user hovers over a segment that contains an event, the modal will include a yellow-highlighted section displaying the event name.
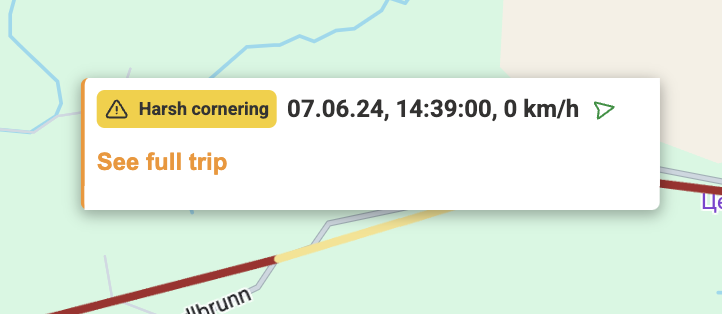
Segment Modal Details:
Date and time when the vehicle was on the segment
Speed at which the vehicle was moving on this segment
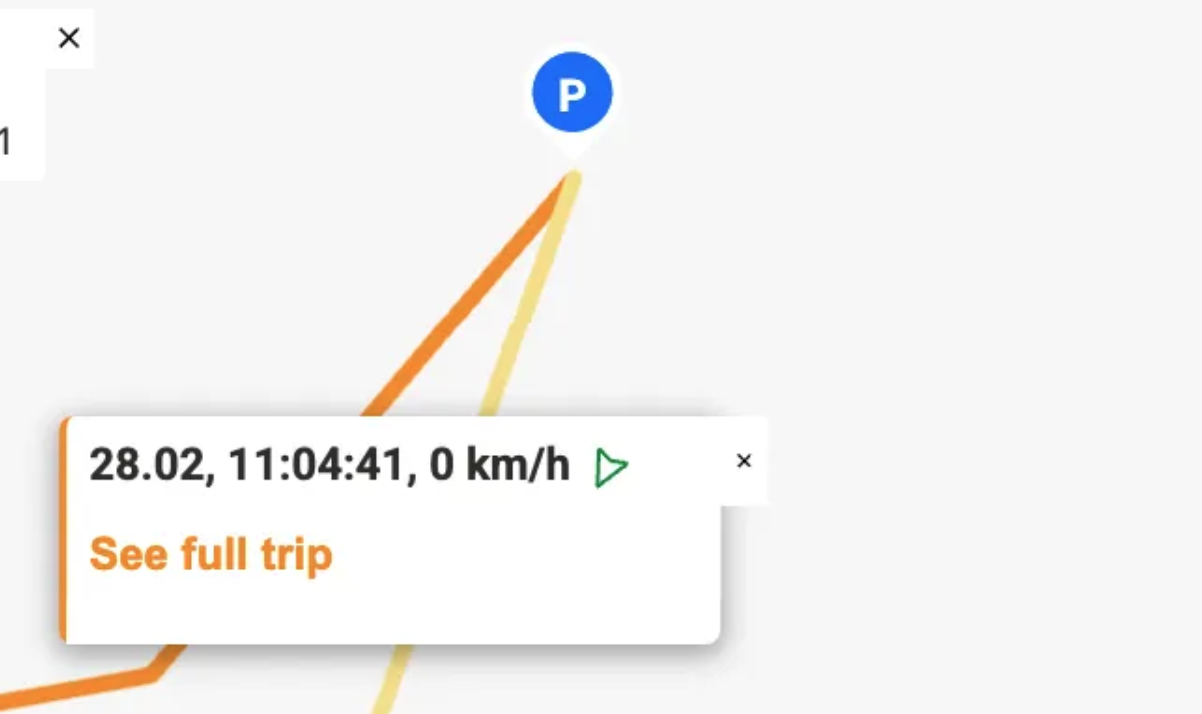
The arrow symbol on the pop-up indicates the direction the vehicle was moving in
In the modal window, you’ll also see a “See Full Trip” button. Clicking this button opens the Trips Pane, which provides detailed information about the full trip.
In Traces Mode, a blank trace segment is used to visually connect trips when there is a gap between them.
If the end location of one trip and the start location of the next trip have different coordinates, a visible gap may appear on the map. To maintain a continuous trace, the system inserts a blank segment to connect these points, creating a seamless visual flow.
This segment does not represent actual vehicle movement — it is simply a visual aid to preserve the logical continuity of the trace.
Behavior and Display:
The blank trace segment appears after the stop location of the previous trip.
It displays the same timestamp as the start point of the next trip.
The speed is always shown as 0 km/h, indicating no movement occurred during this period.
User Interaction:
Clicking on the blank trace segment opens a modal window with its details.
If the user clicks on “See full trip” in the modal, the system opens the Trip Pane for the trip that starts after this segment.
Why can blank trace segments appear?
GPS is not 100% accurate. In areas without a clear view of the sky (e.g. tunnels, parking garages, dense urban zones), GPS coordinates can be imprecise or unavailable.
GPS accuracy can decrease when many devices with active GPS connections are nearby, causing potential interference.
When a vehicle starts moving, the IoT tracker may take a moment to acquire its first GPS fix, which can result in the first recorded point not aligning exactly with the actual start or end point of the trip.
On the bottom-right side of the map, there are two useful buttons for adjusting your view:
Map/Satellite Switcher:

Toggle between Map View (standard view with streets and labels) and Satellite View (aerial imagery). Use this to better understand the surroundings or terrain of the route.
Traffic Layer Show/Hide:

Enable or disable the real-time traffic layer. Traffic conditions, such as congestion, will appear in different colors on the map.
For more details, visit the ToolSense Help Center.