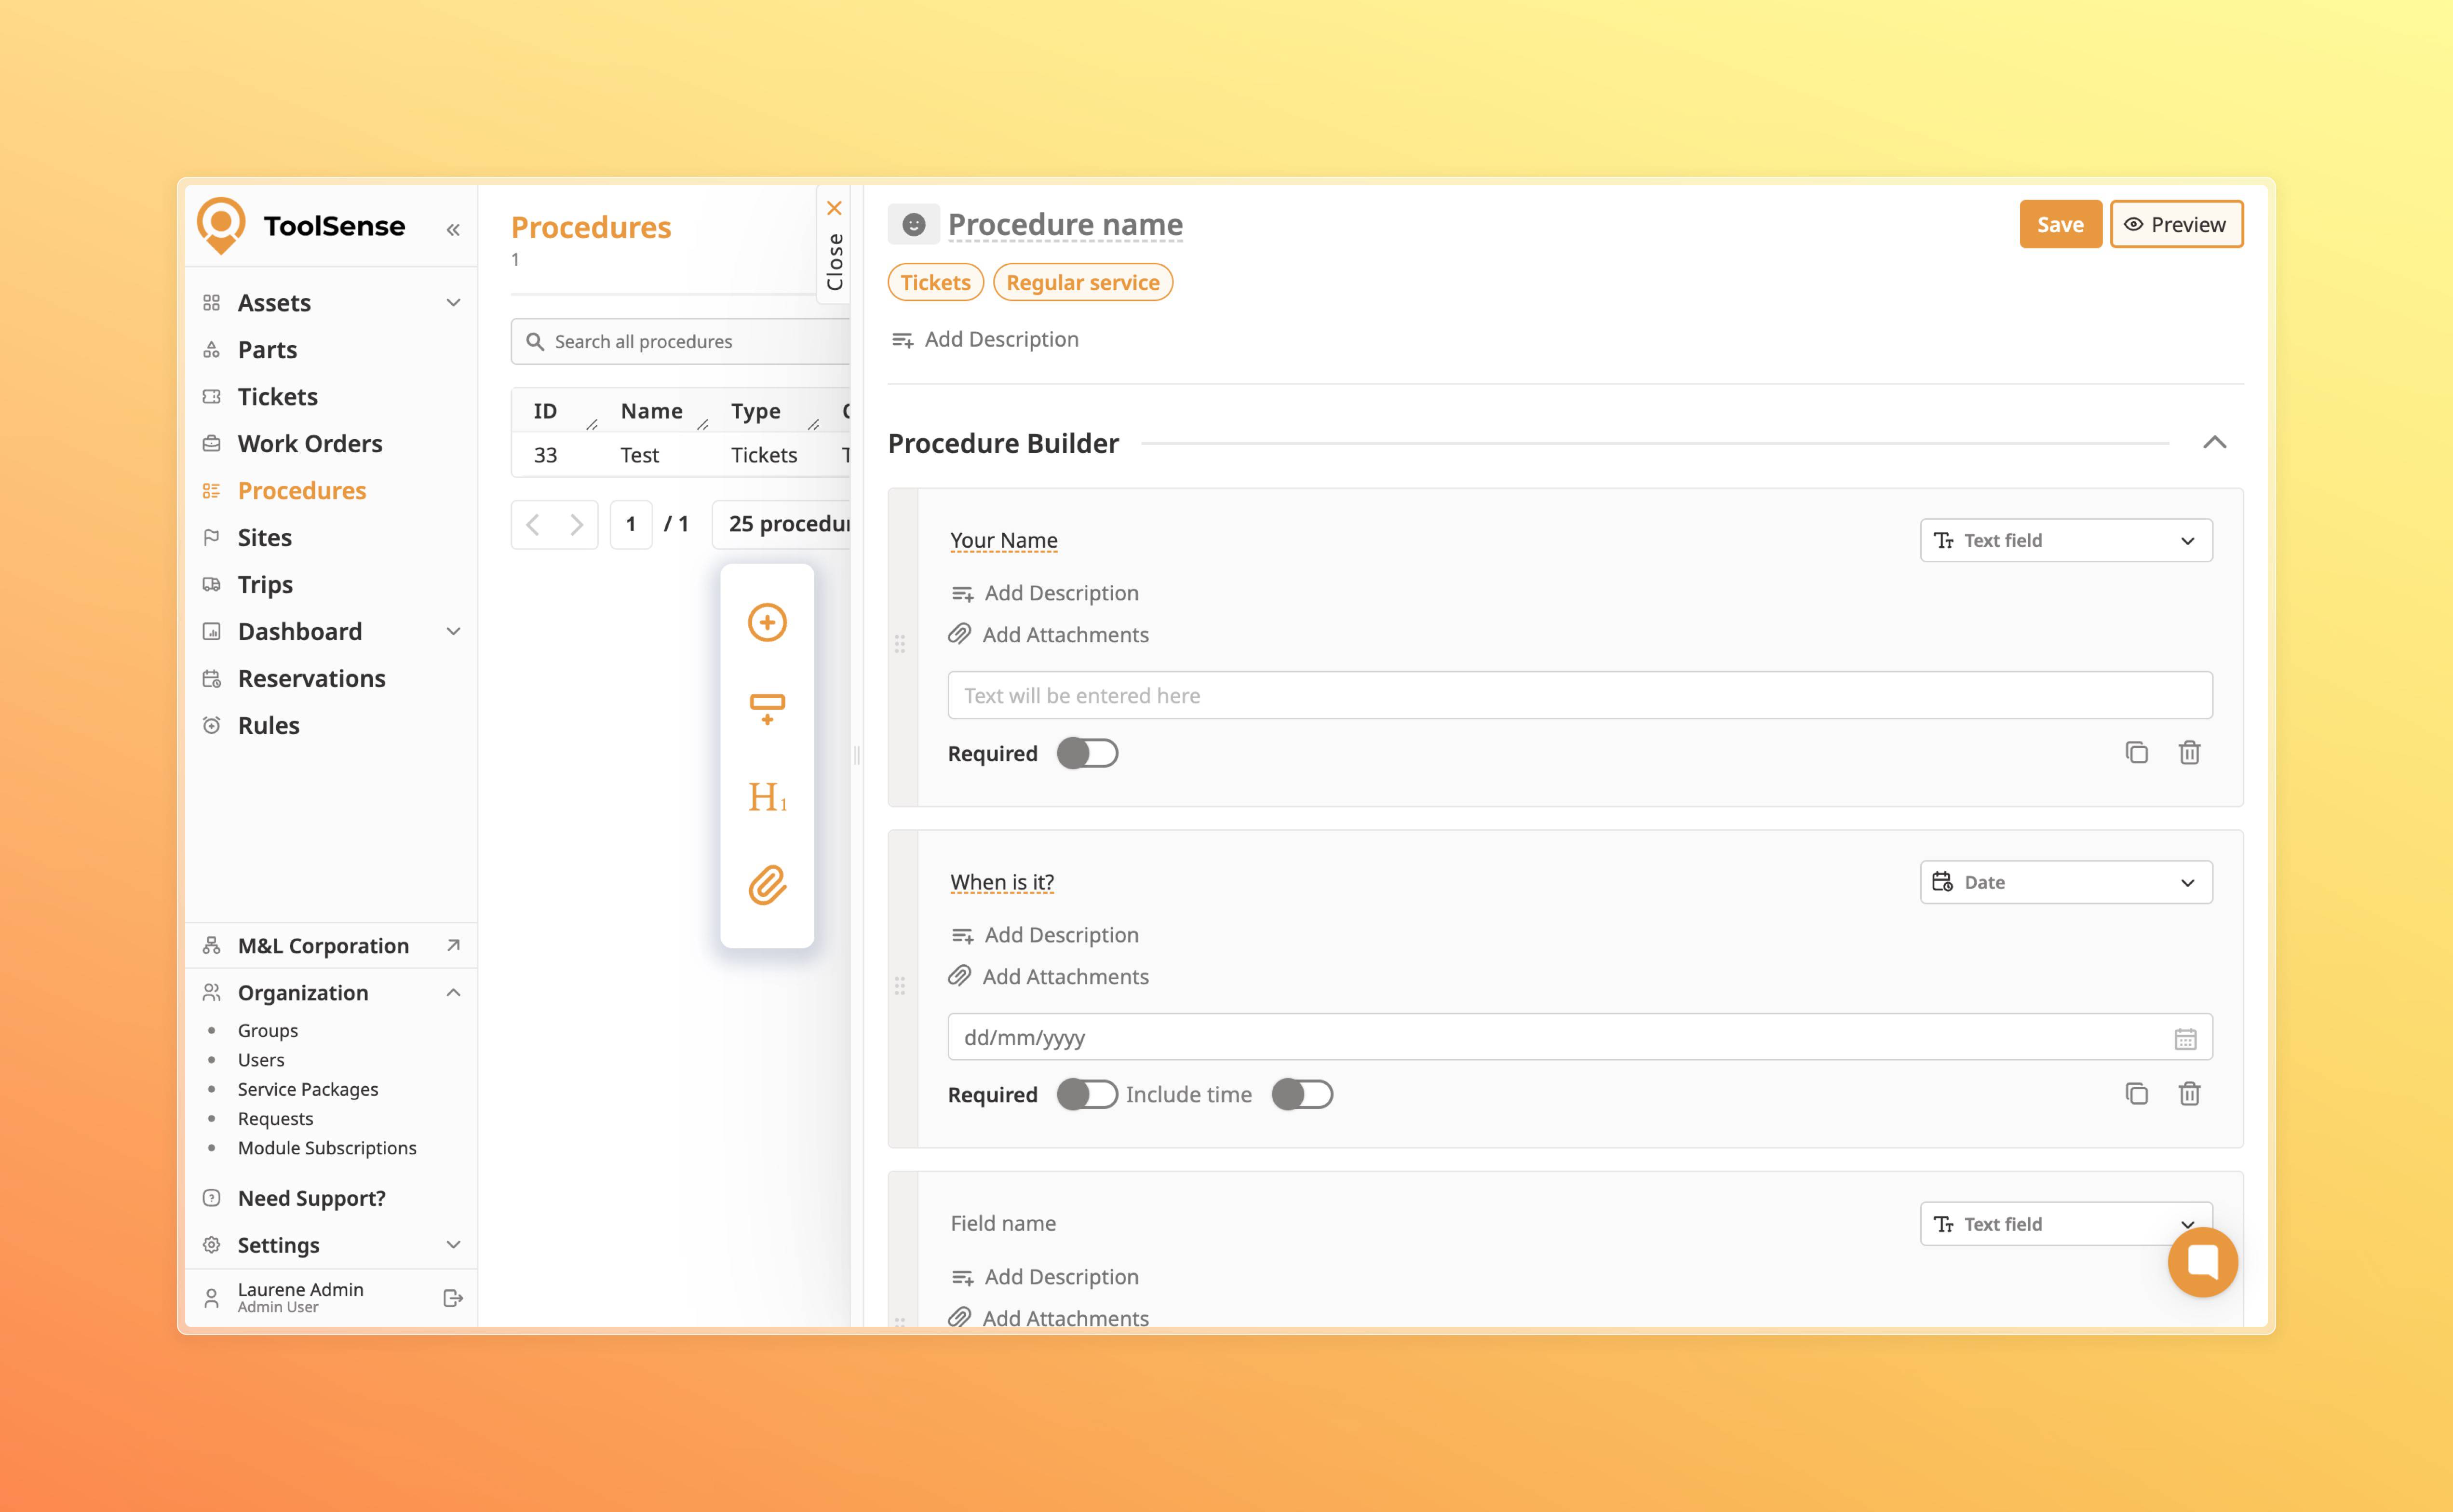
You can create procedures using a procedure builder, which is a user-friendly, drag-and-drop interface. This interface allows you to add various form elements and other components to tailor the procedure according to specific requirements.
To create a new procedure, go to Procedures page and click the '+ Create Procedure' button
You will then be presented with a modal in which you should select whether the procedure is going to be used in Work Orders or Tickets. This is an important step as knowing where the procedure is used.
When you select the procedure to be used in tickets (via Services), you will then be presented with three types of presets for the procedure:
Preset 1: 'This procedure is a regular service'
This preset will NEITHER mark the procedure as a 'qrcodelanding' OR 'check' service, which means the procedure can only be accessed as a regular service when creating a ticket in the web app (also in sites and assets overview) and services page in the mobile app (services page, assets overview)
Preset 2: 'This procedure is used as a qr code landing service'
This preset will mark the procedure as a 'qrcodelanding' service, which will be displayed as a service on the qr code page of a managed item in ToolSense e.g. asset, part, site
Preset 3: 'This procedure is a check service'
This preset will mark the procedure as a 'check' service, which can be used to finish a check of a managed item in ToolSense e.g. asset, part, site
 When a procedure is used in Work Orders
When a procedure is used in Work Orders, you will not be required to select any presets before creating the procedure. You can simply directly start building the procedure.
A procedure builder consists of the following sections:
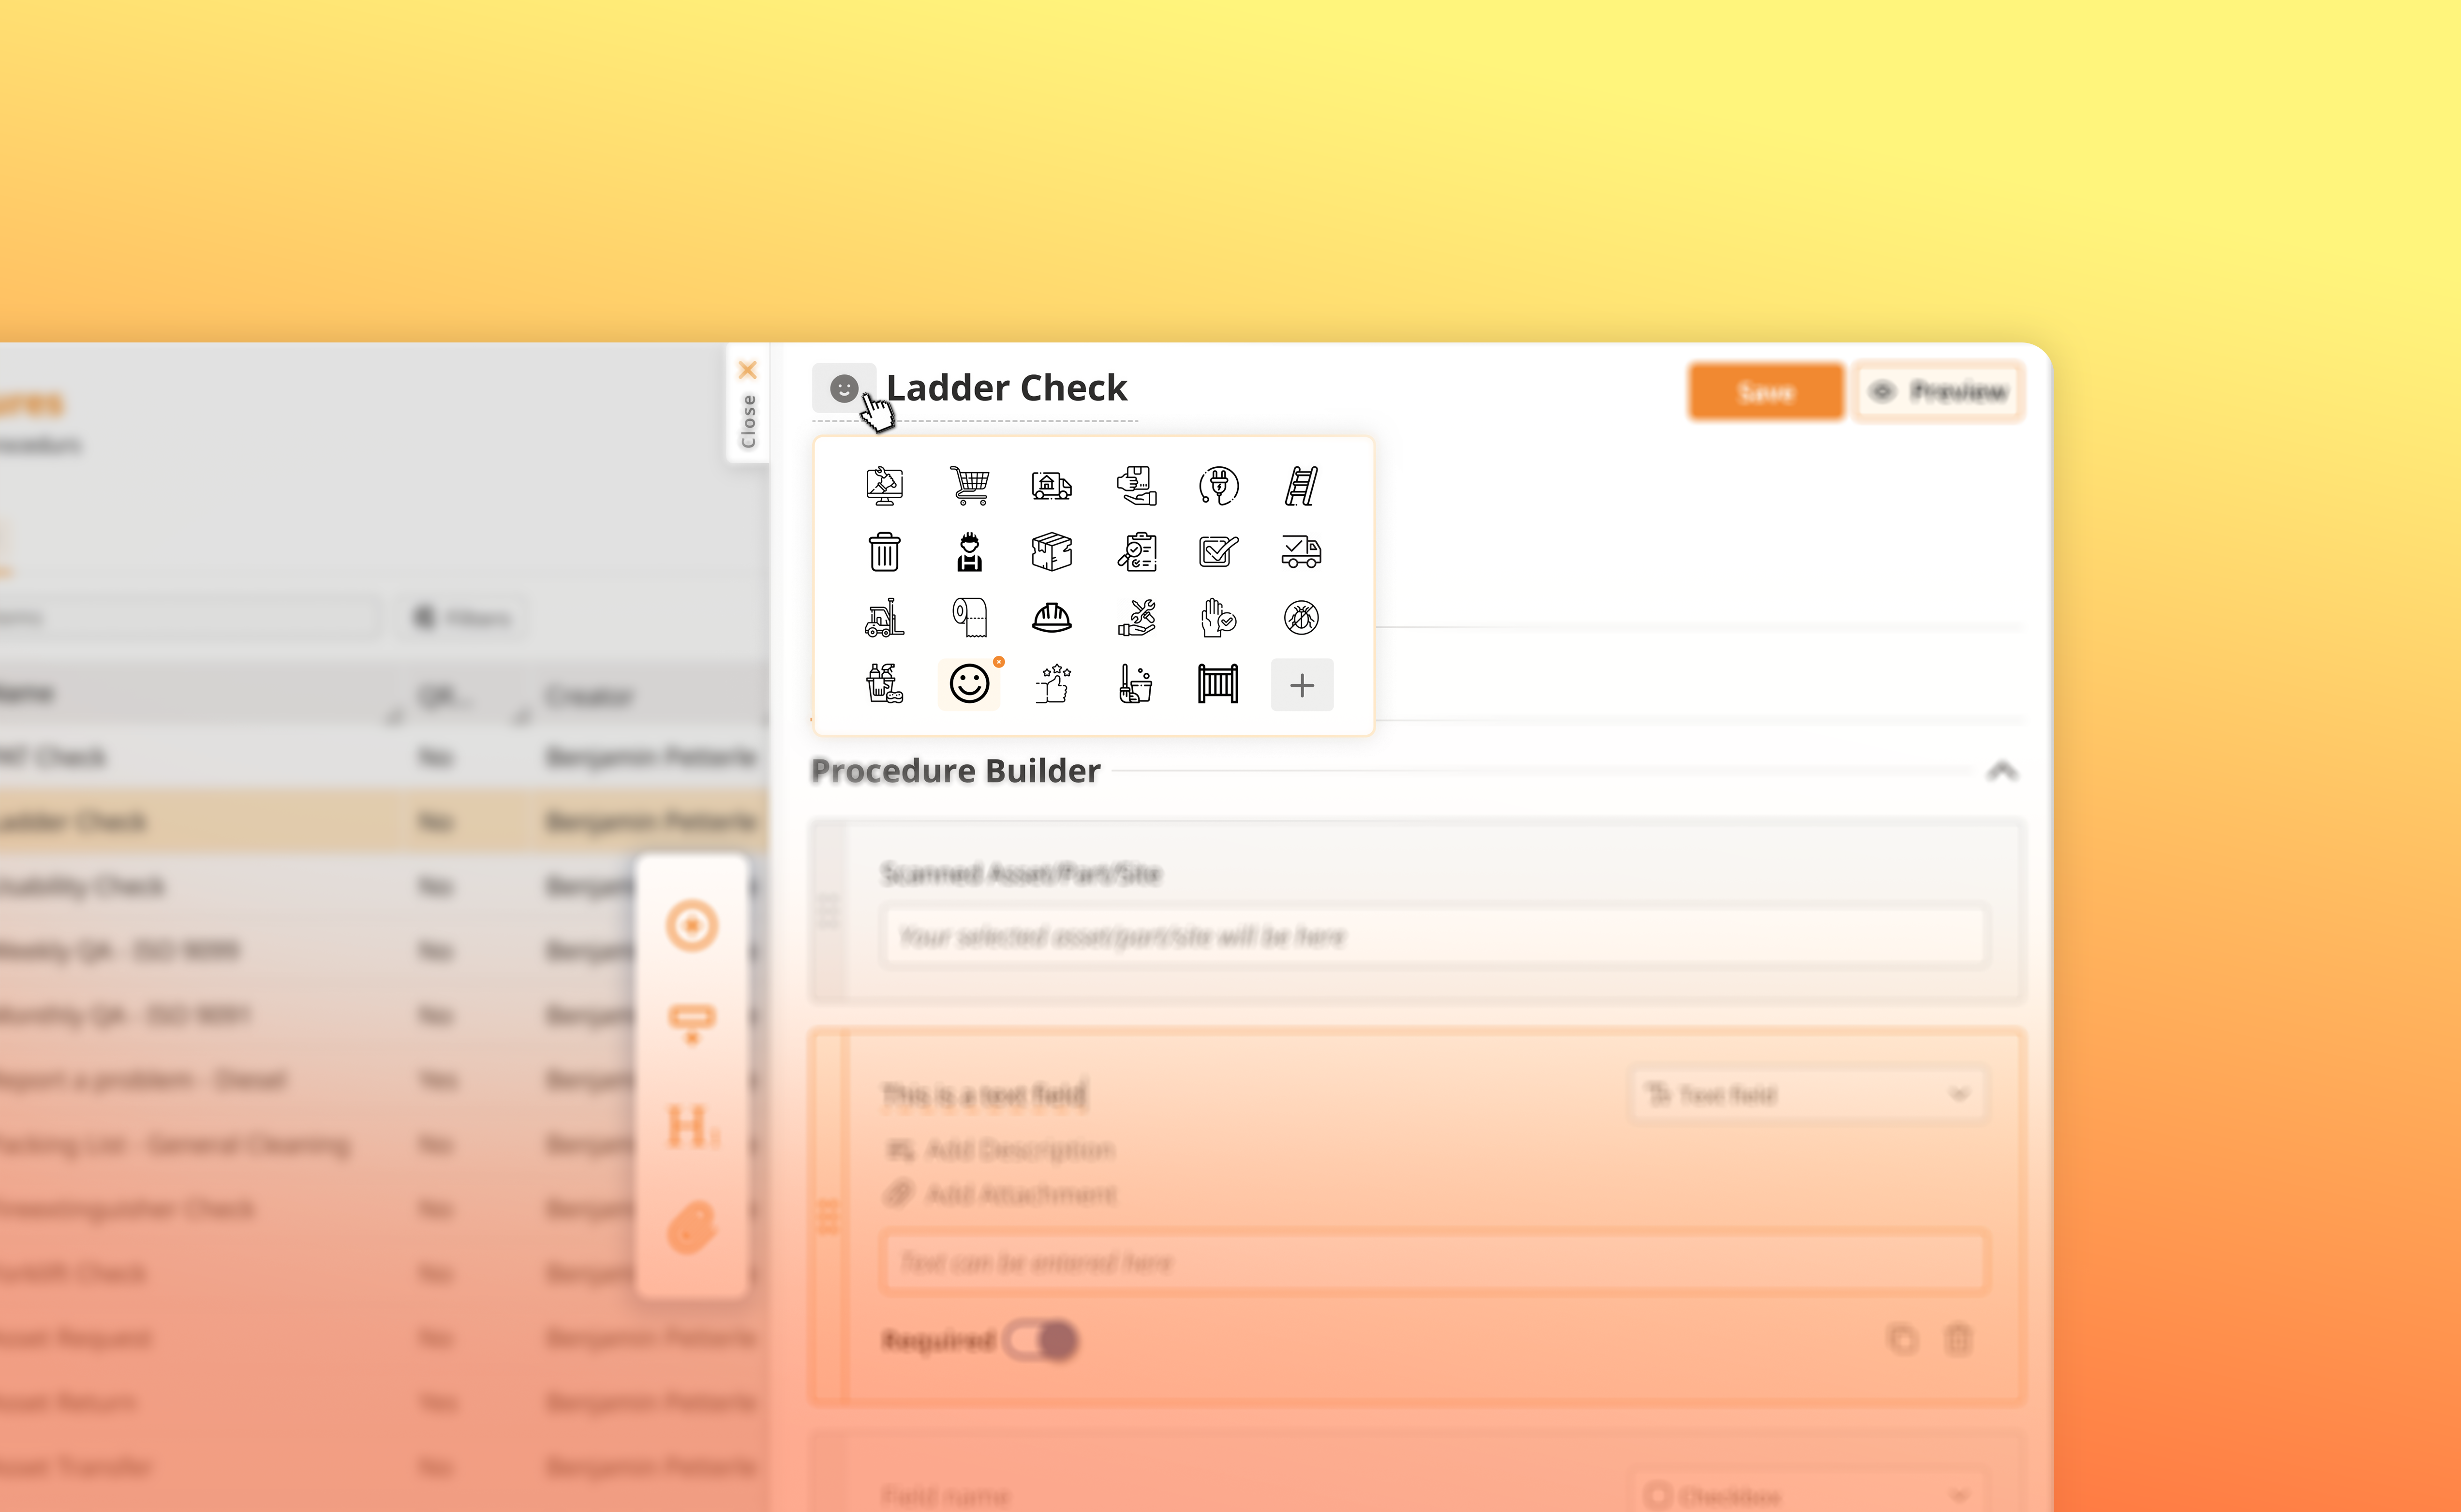
 Procedure Name + Icon Selector
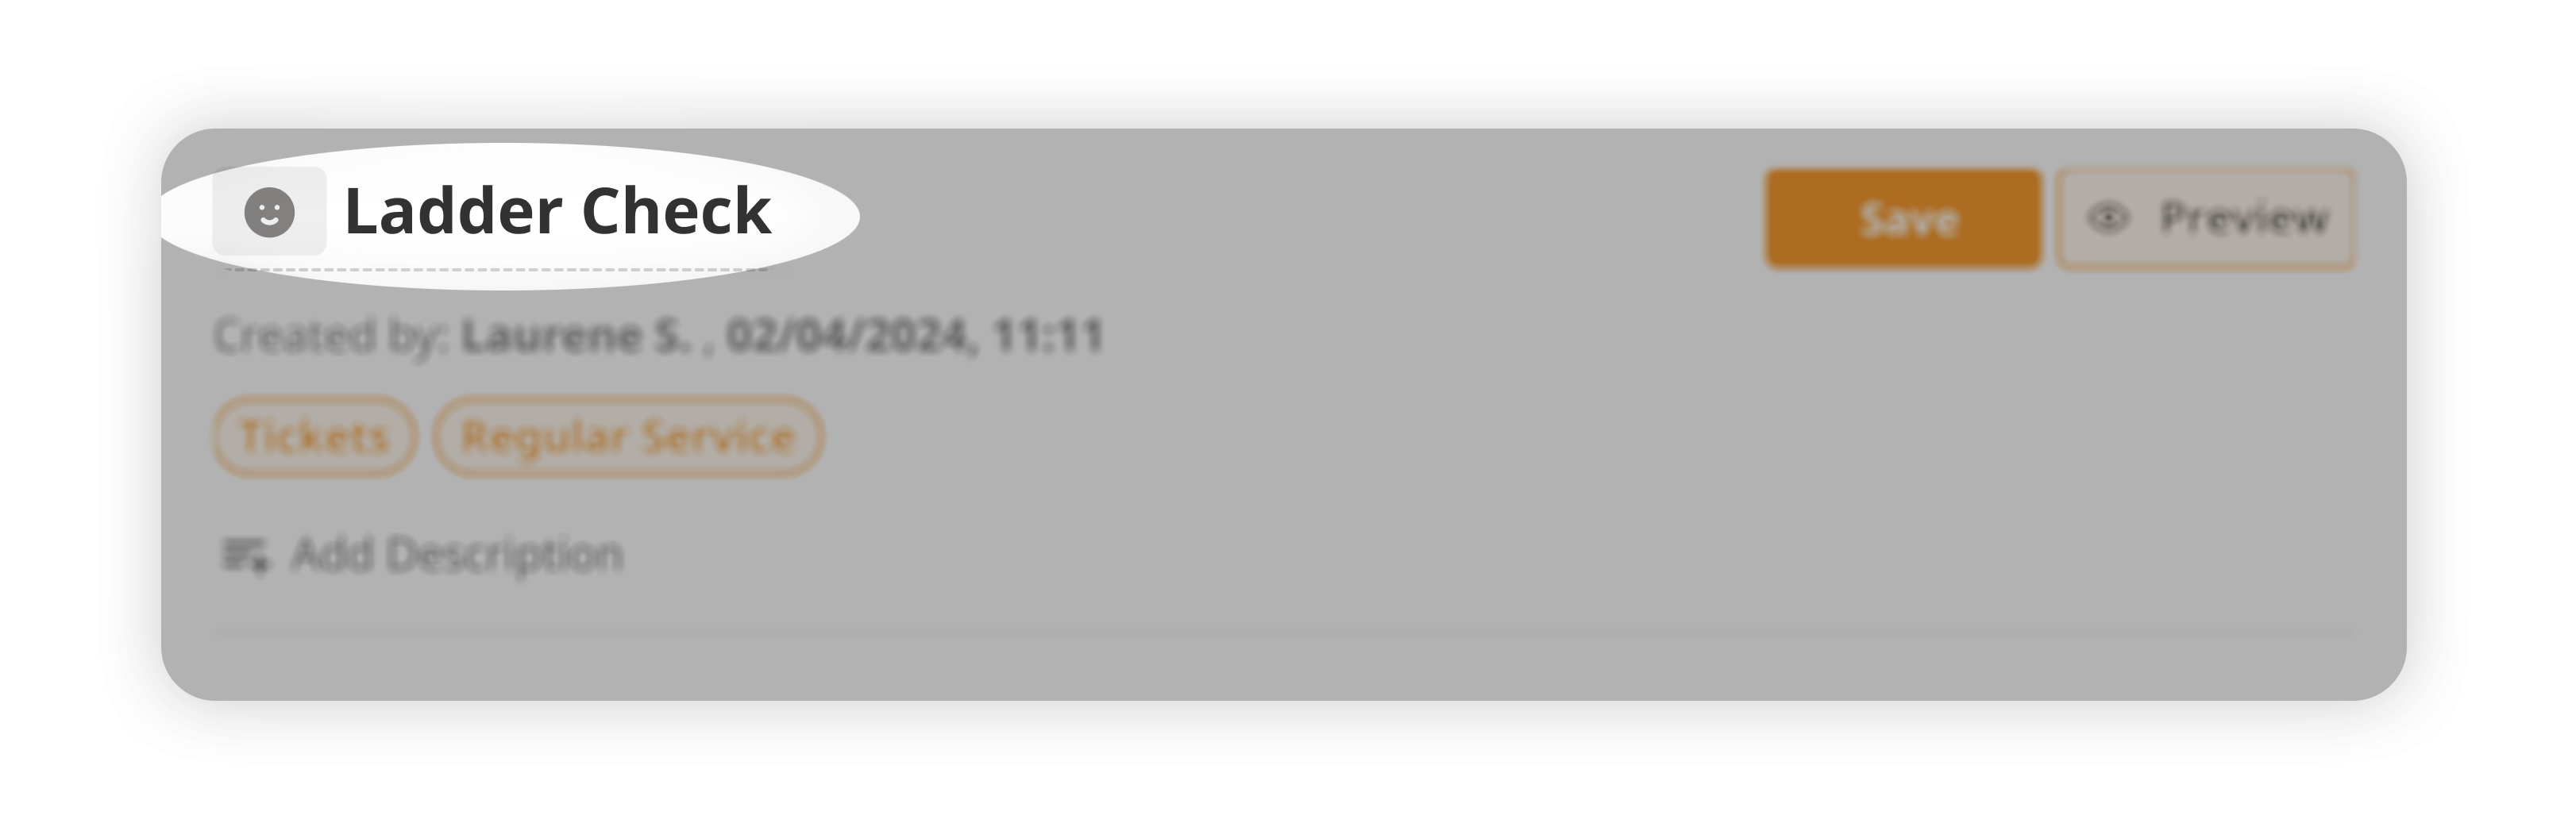
A procedure name/title can be entered in the text field provided. The icon selector is also available to visually represent the procedure.
To select an icon, simply click on the icon selector and choose from the available icons. You can also choose to add an icon image url.
 Labels
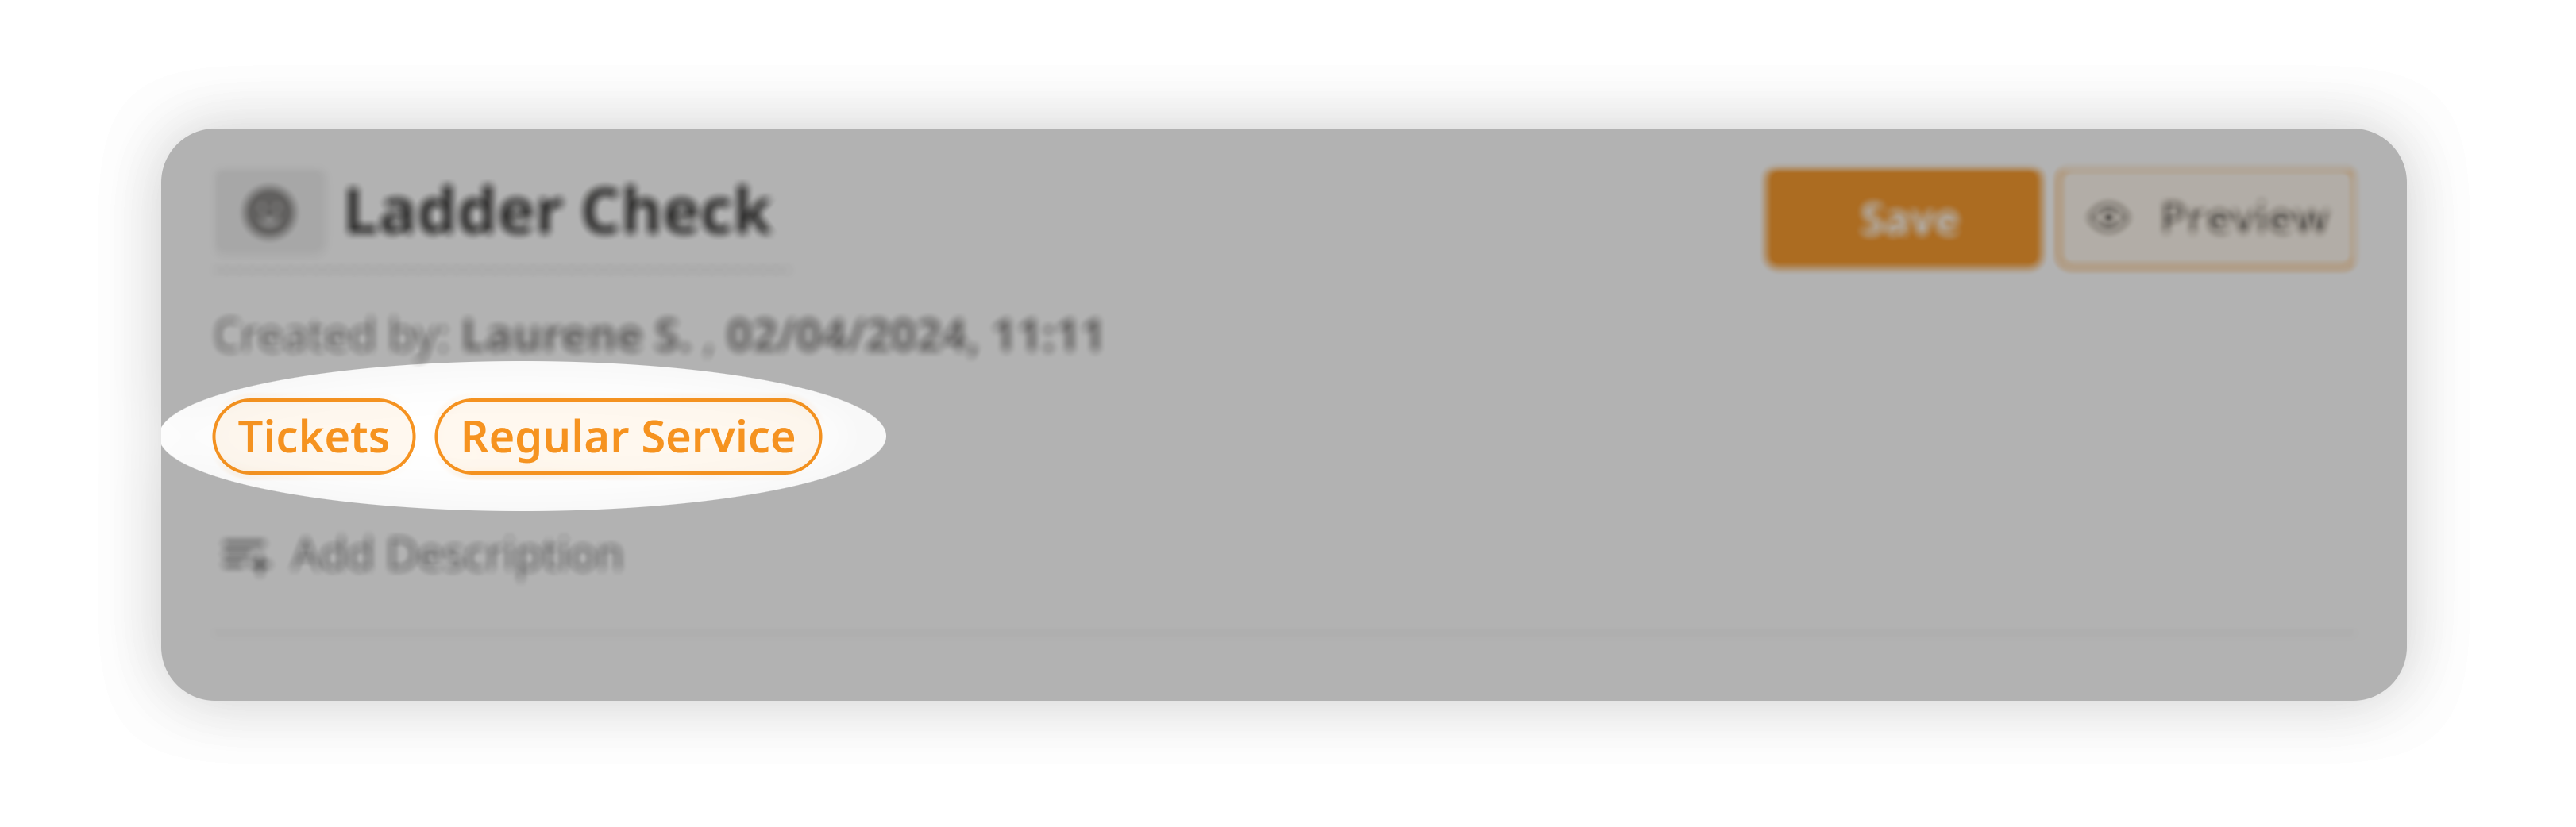
Labels are used to categorize procedures and make them easier to find. The labels are defined by the presets you configured in the early steps of the procedure creation, e.g. 'qrcodelanding' or 'check' or 'Tickets' or 'Work Orders'
 CTAs
CTAs
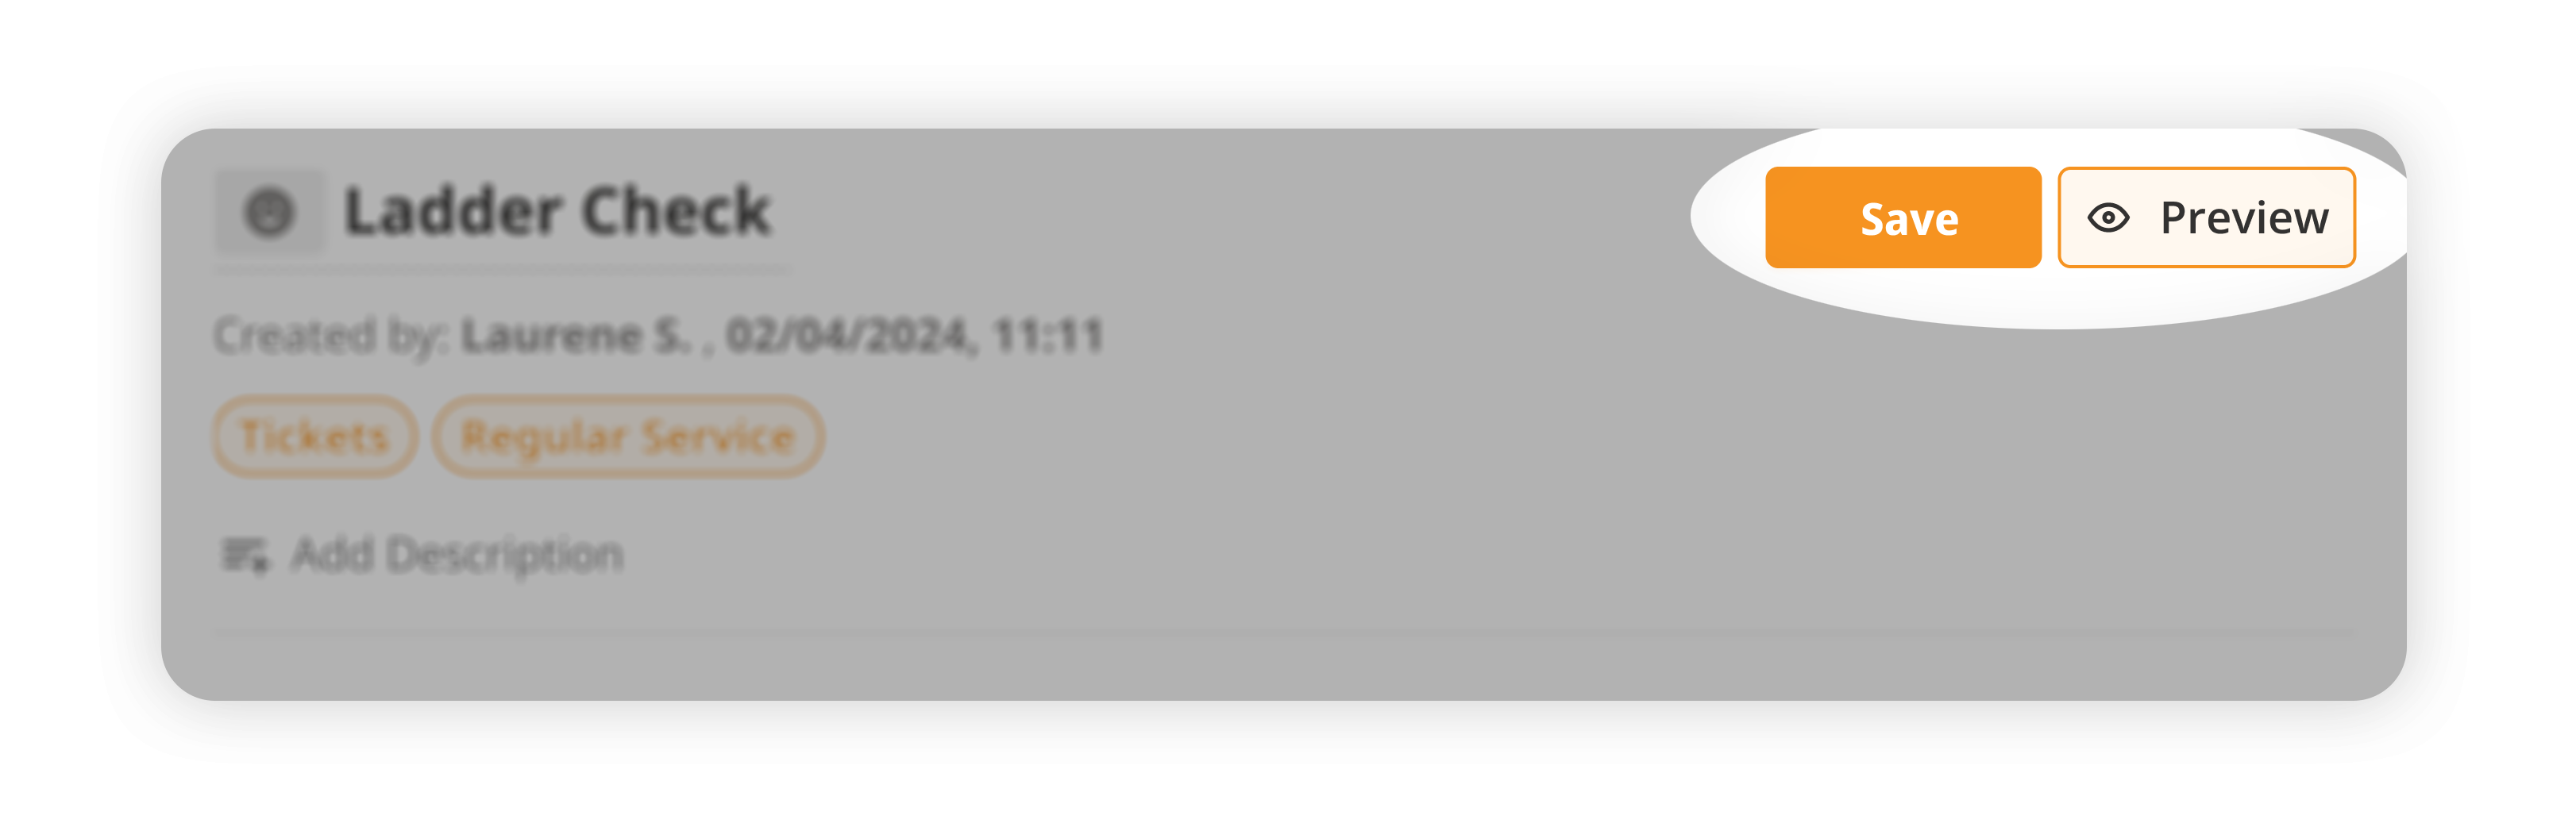
Upon creation of a procedure, there are 2 main CTAs:
Save: Saves the procedure
Preview: Allows the user to preview the procedure
Delete: Deletes the procedure from the list of procedures.
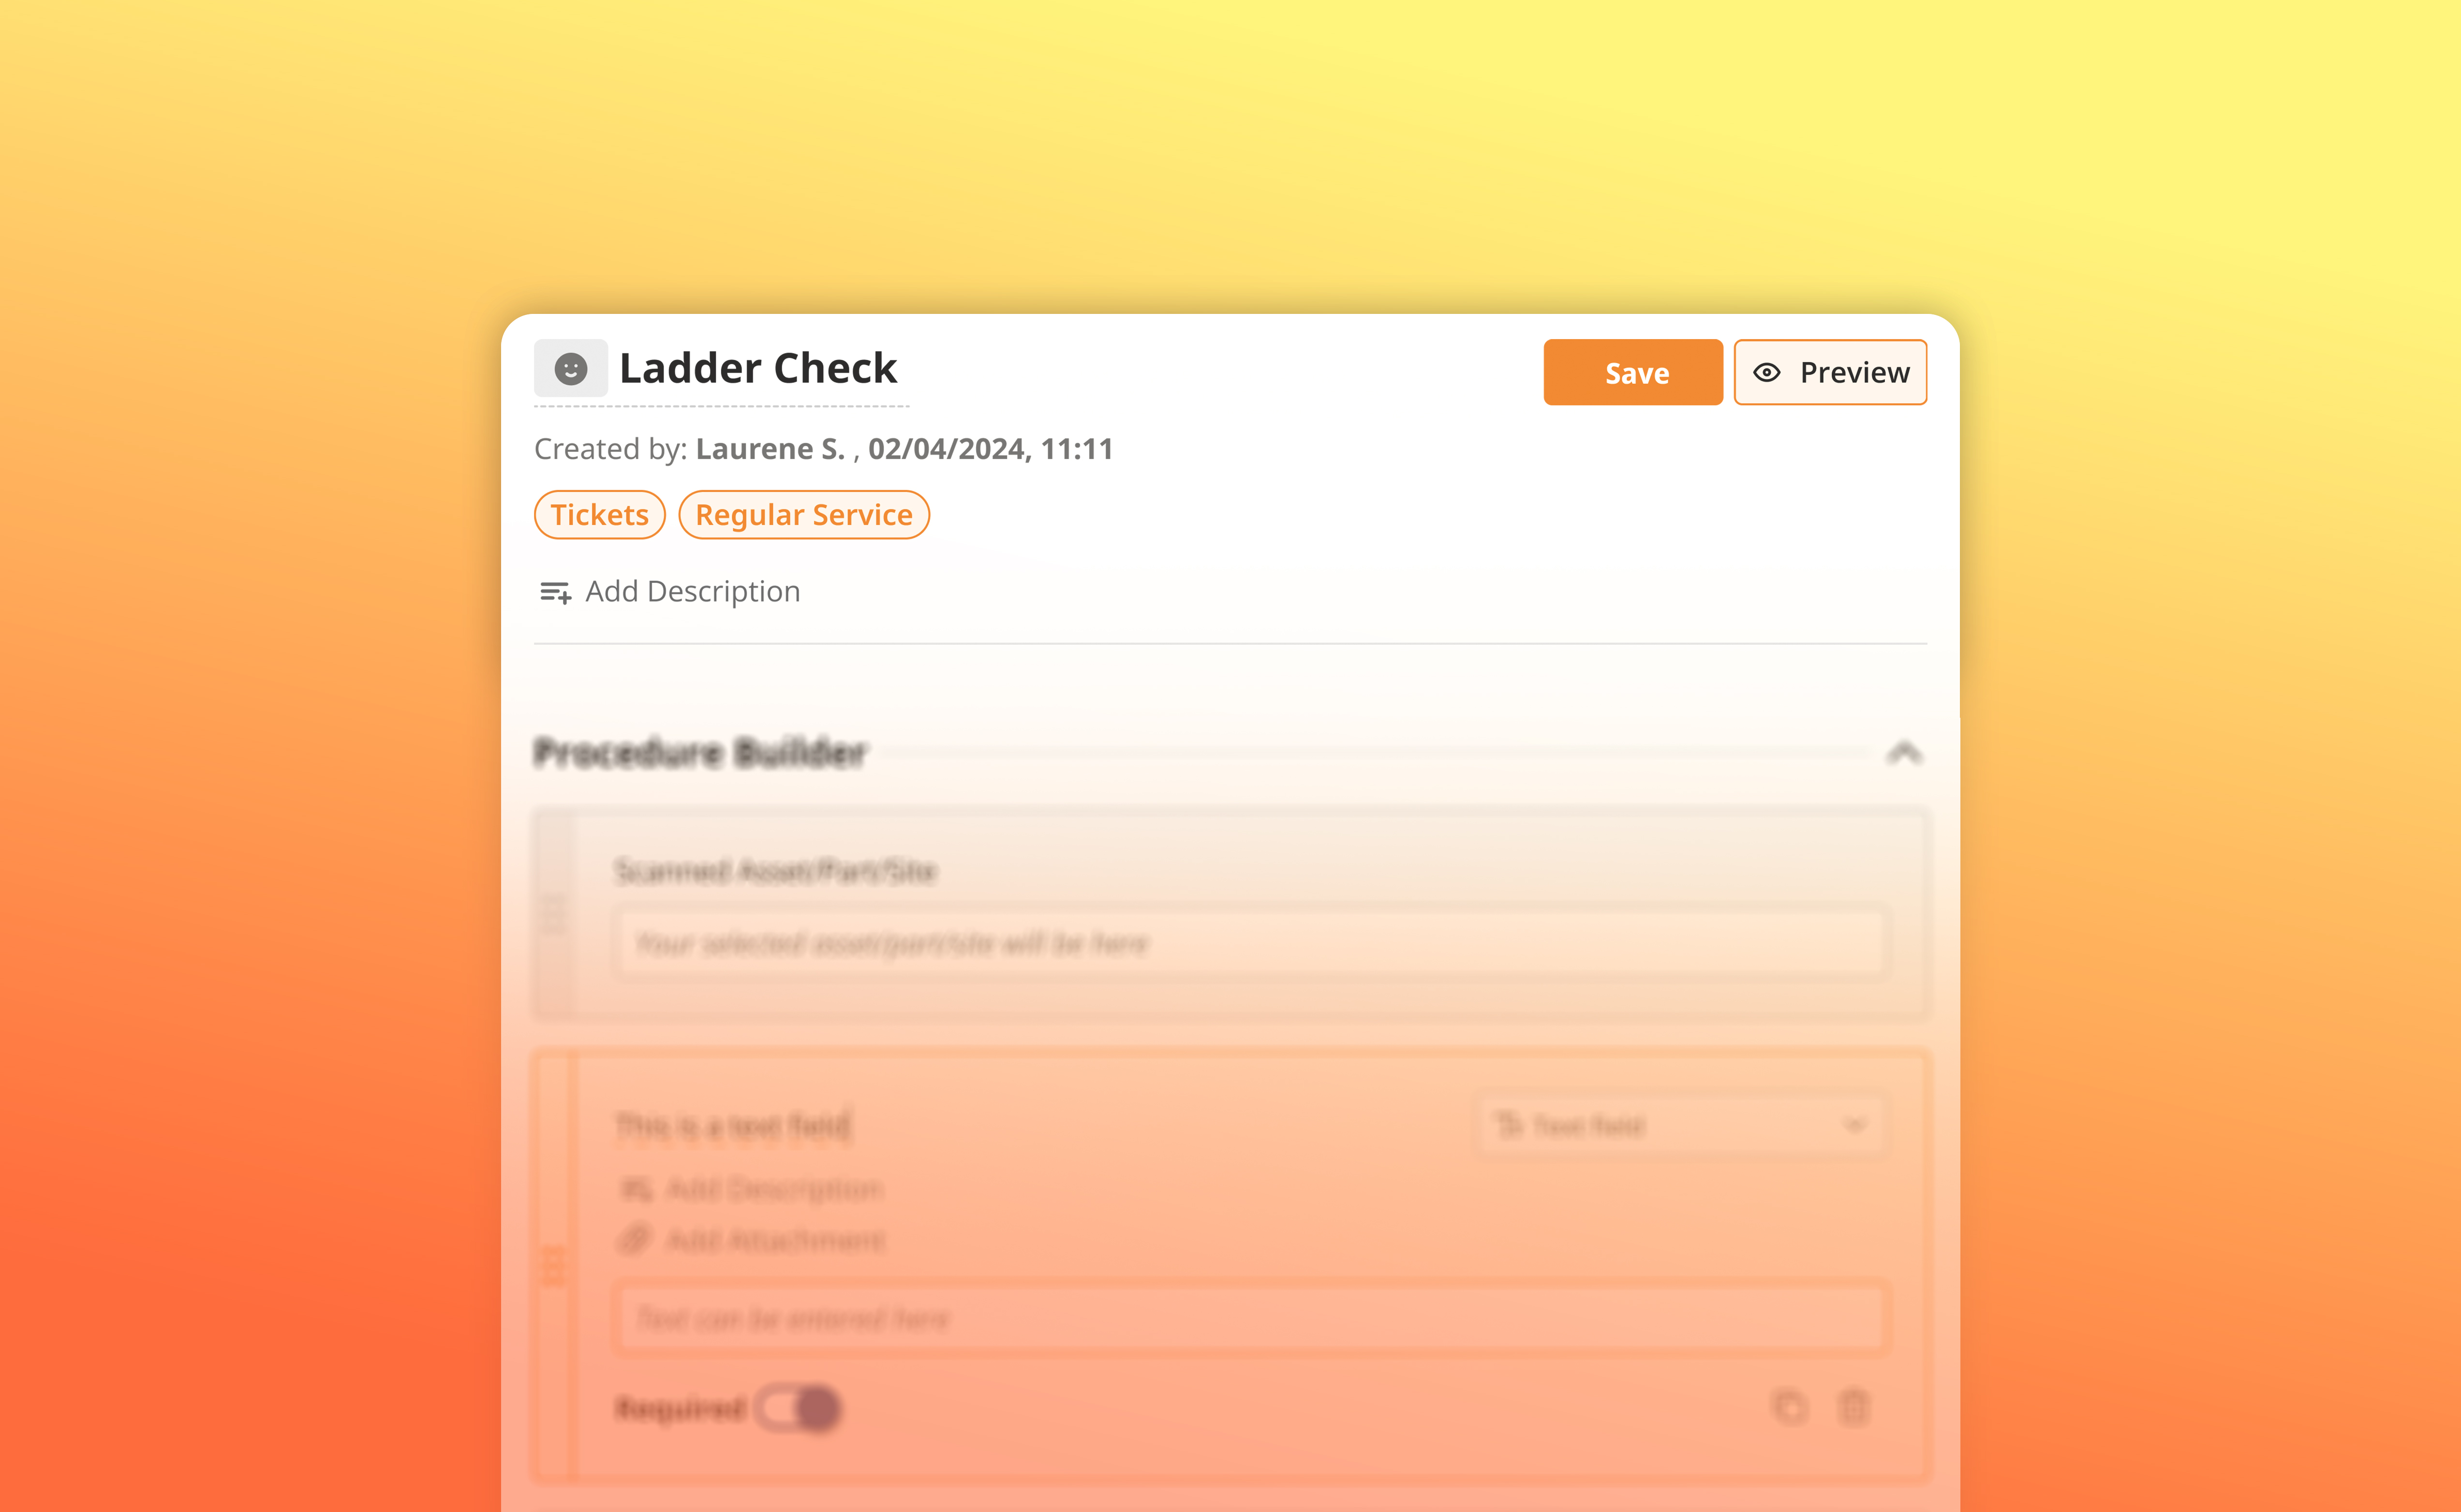
 Author, Date, and Time Stamp
The author, date, and time of the procedure are displayed at the top right corner of the procedure builder. The author is the user who created the procedure. The date and time stamp indicate when the procedure was created

 Procedure Description
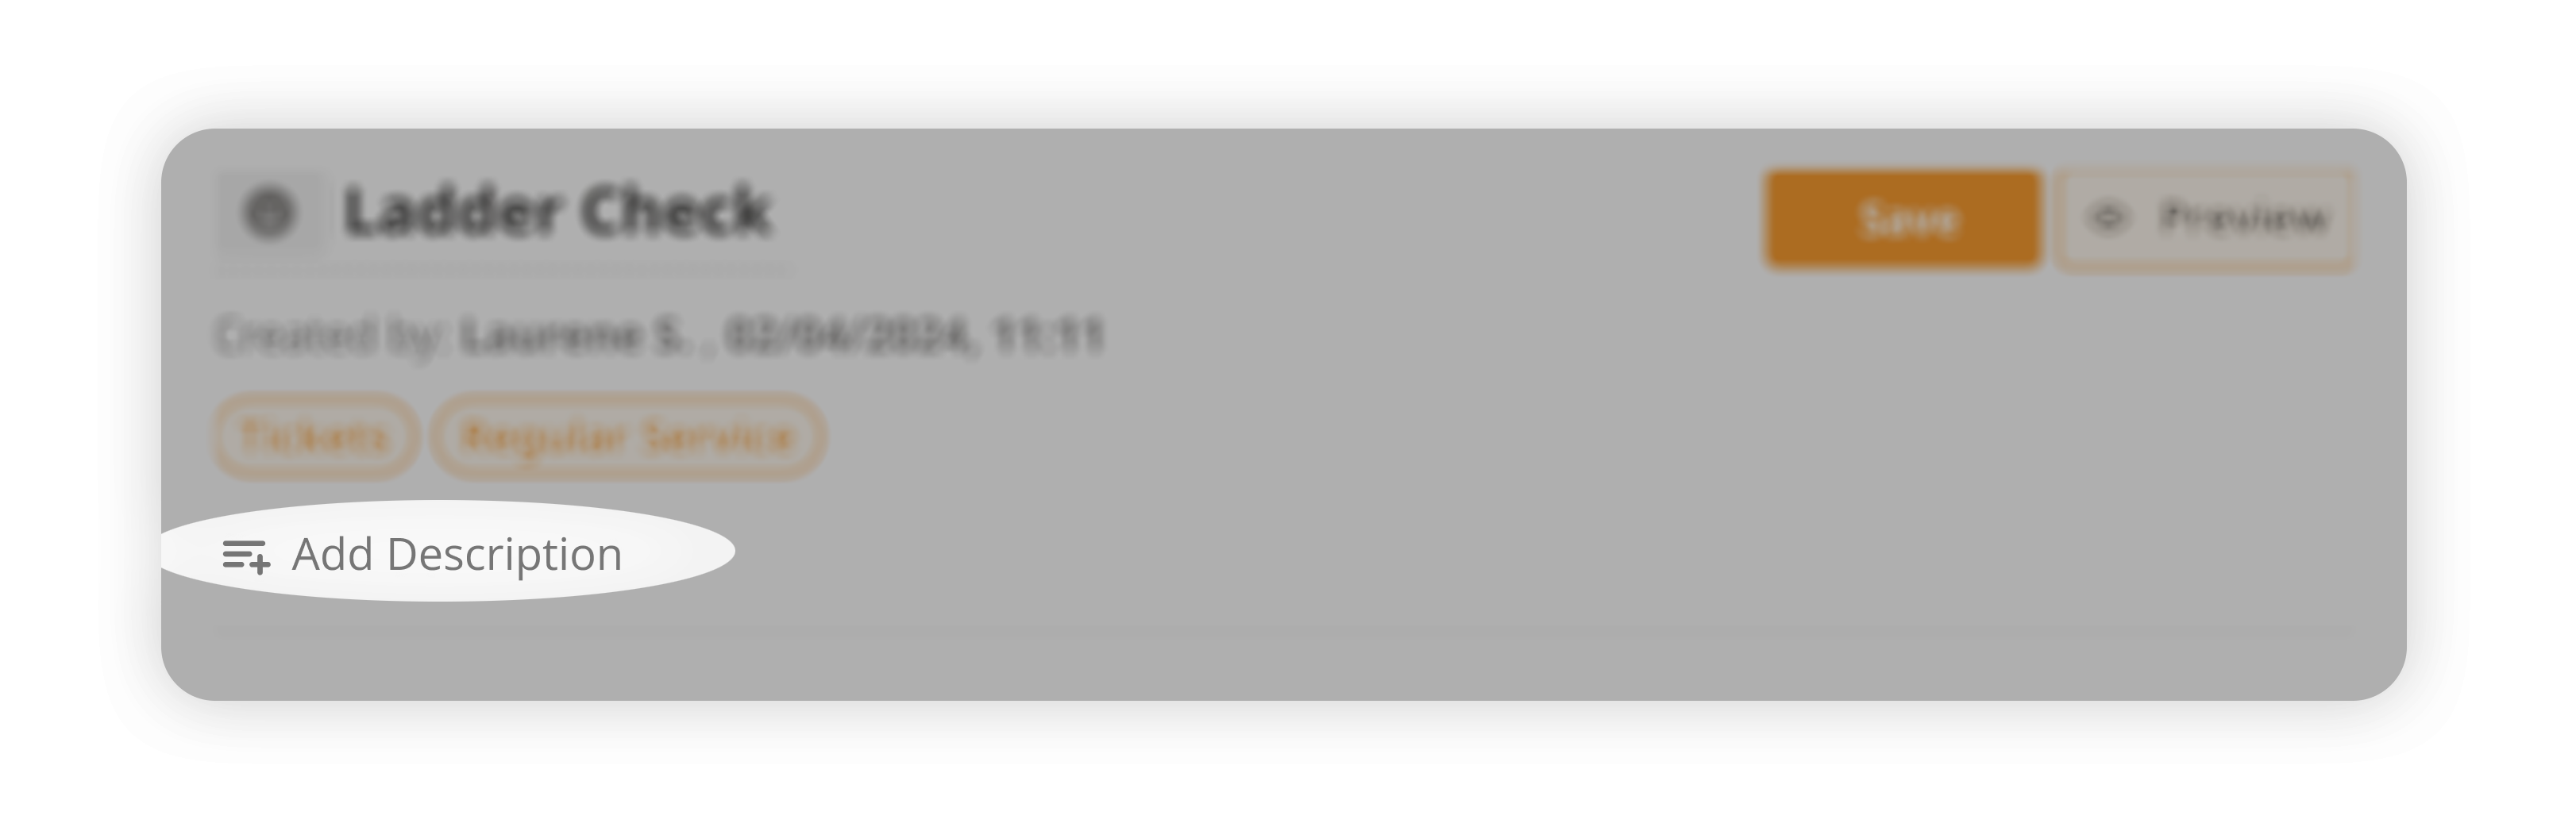
The procedure description is a text field where you can provide additional information about the procedure, such as its purpose, scope, or any other relevant details.
 Form Elements:
Form elements are the building blocks of a procedure. They are used to collect data, input information, or display content. You can add form elements by dragging and dropping them from the left panel to the main canvas area. Each form element should have the ability to add a title, description, and attachments. You can also can set a widget as required or not required.
Scanned Entity: Either a scanned asset. part, or site. This form element is only available when the procedure is used as a qrcodelanding service. The scanned entity is the asset, part, or site that the user scanned to access the procedure. The scanned entity is automatically populated based on the procedure flow upon loading via the QR code page.

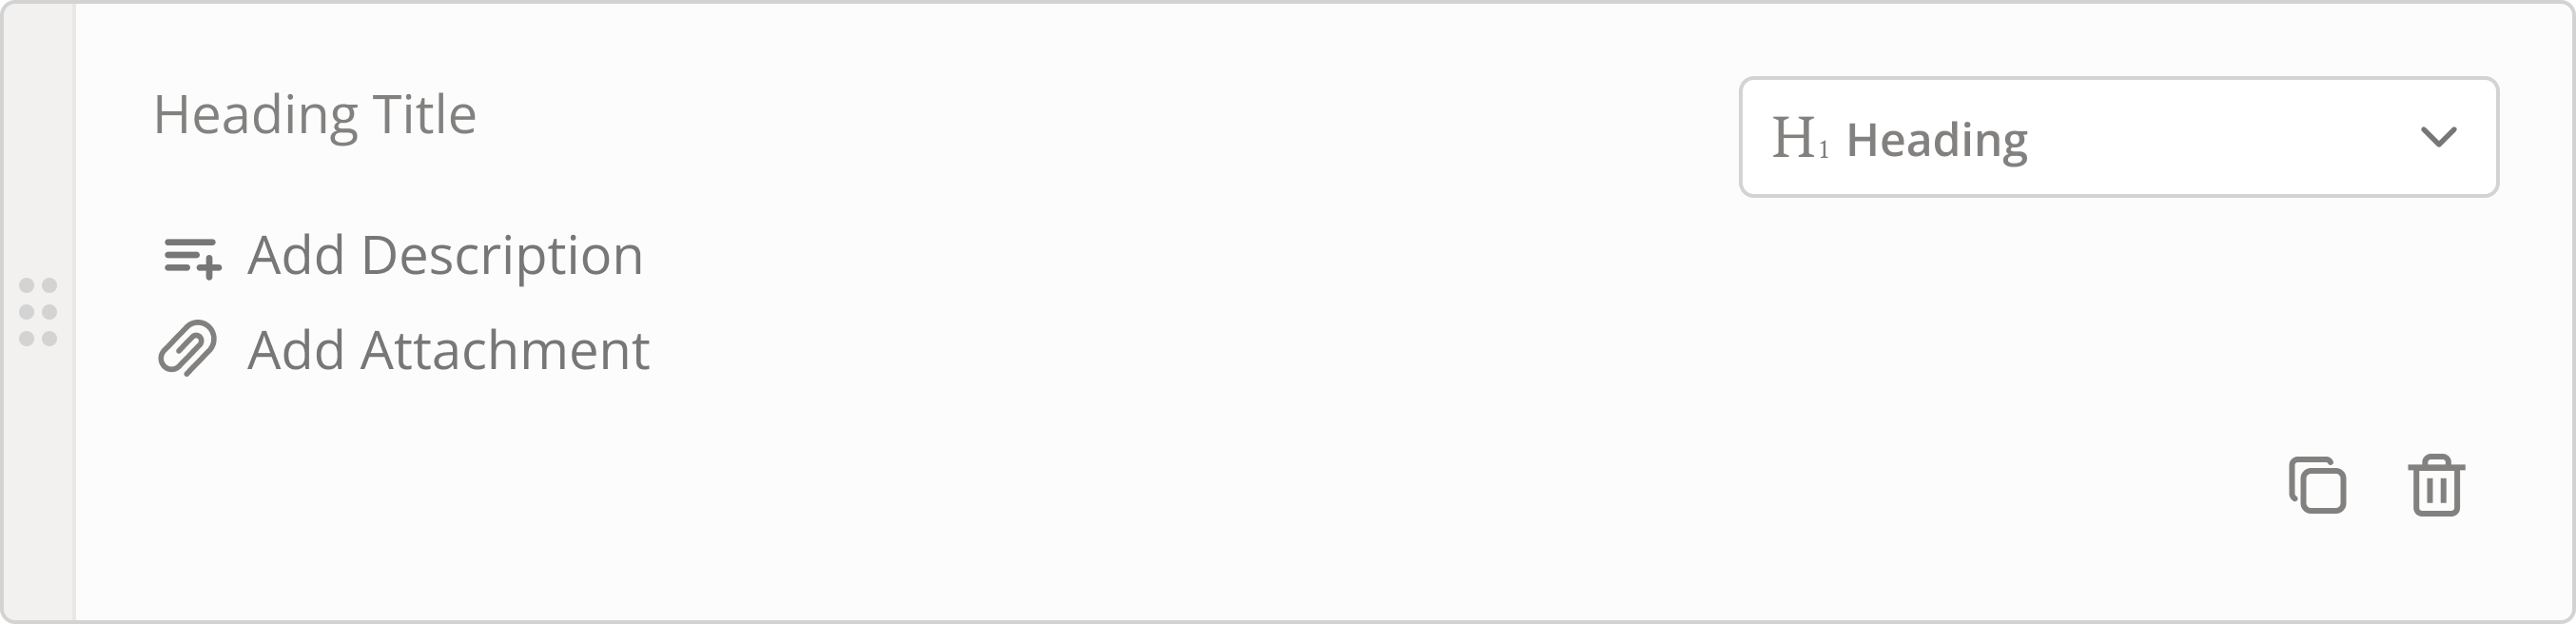
Header: A header element that can be used to provide a title or heading in the procedure
Text: A text input field with possibility of multiple lines.

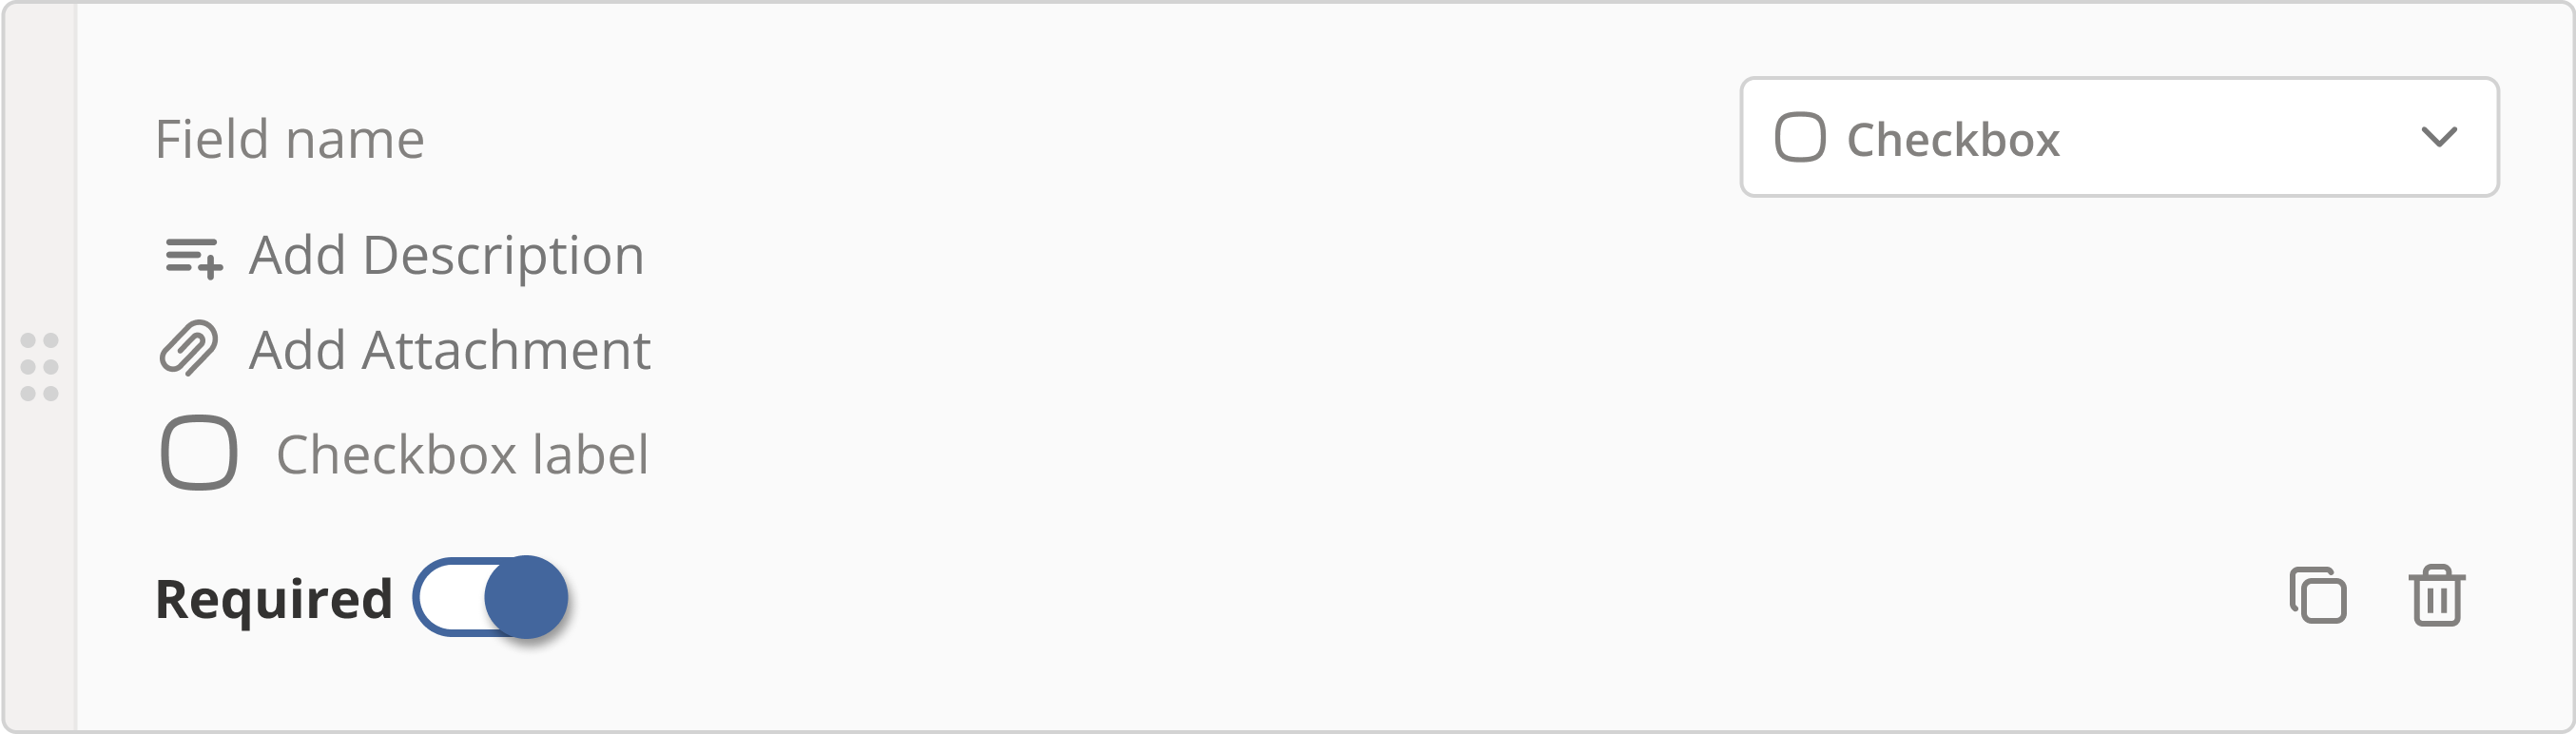
Checkbox: A checkbox that can be checked or unchecked
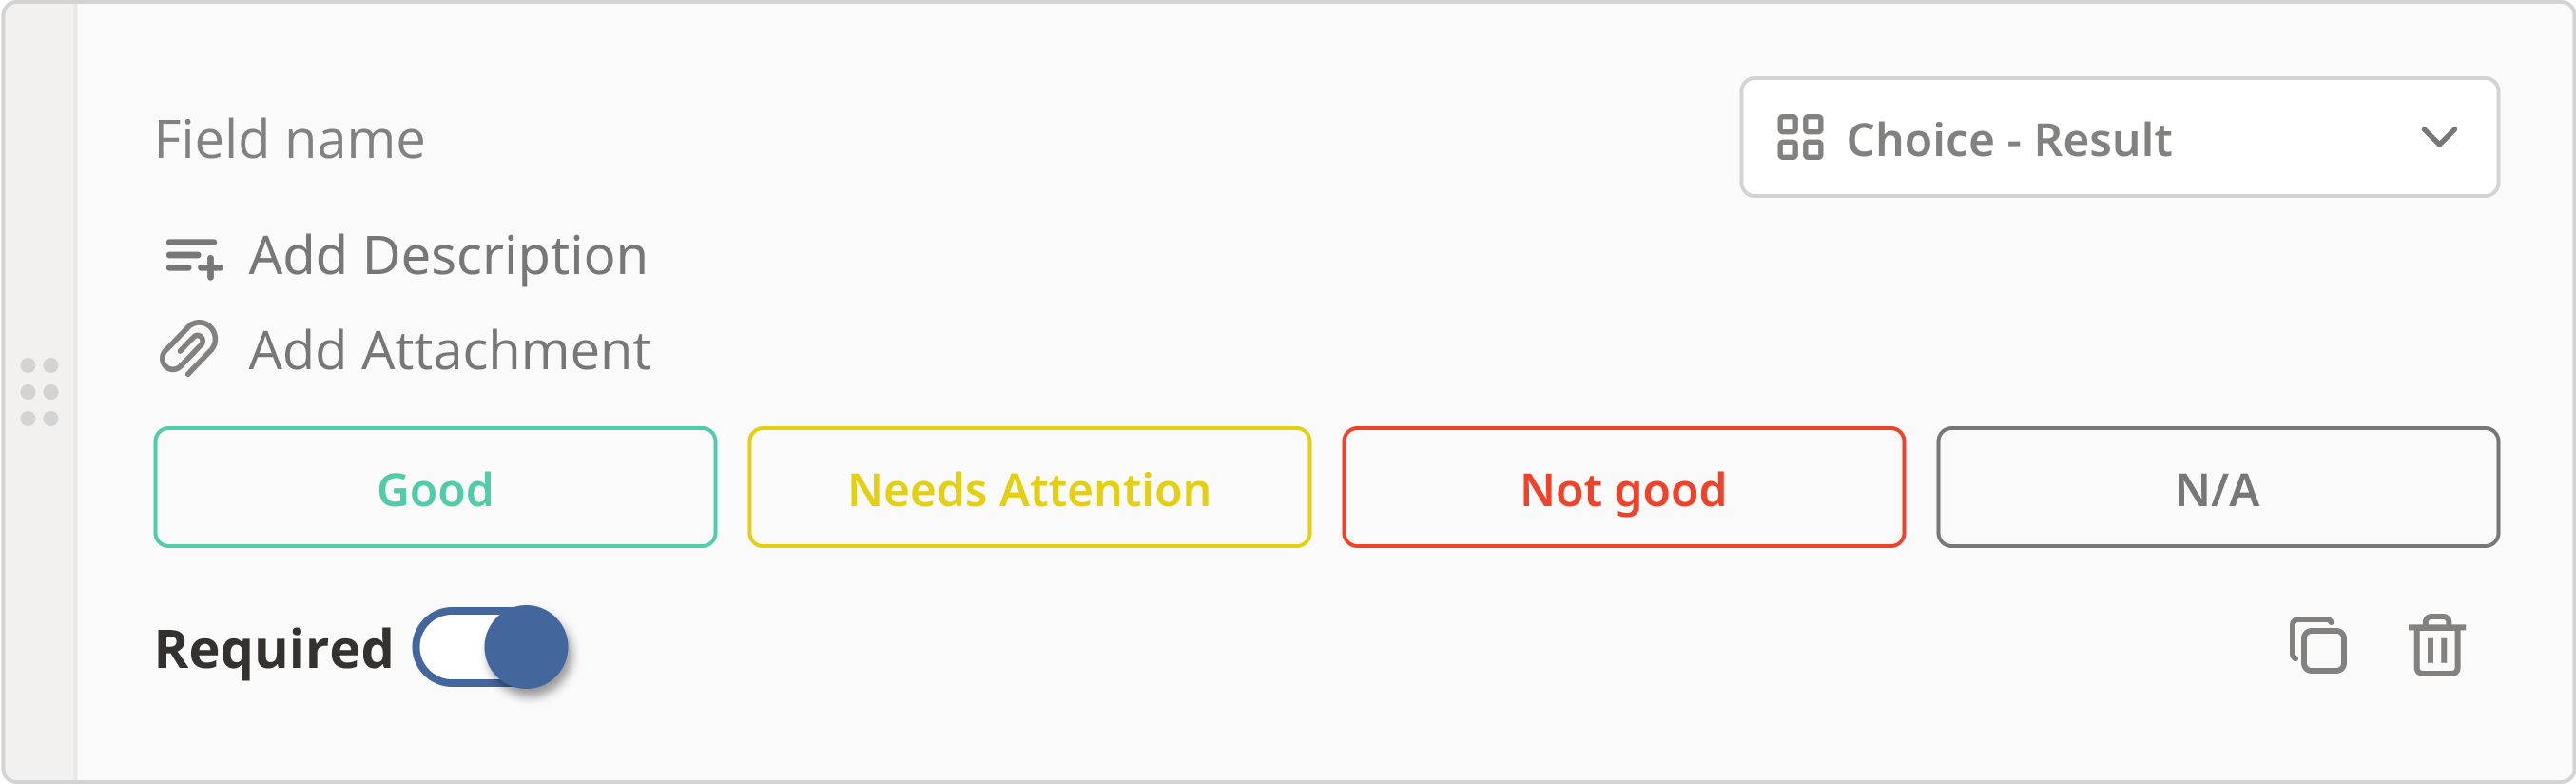
Choice - Result: A widget with pre-defined choices that can be selected by the user. The choices are displayed as buttons, and the user can select one choice at a time. The choices are the following: Good, Needs Attention, Not Good, N/A
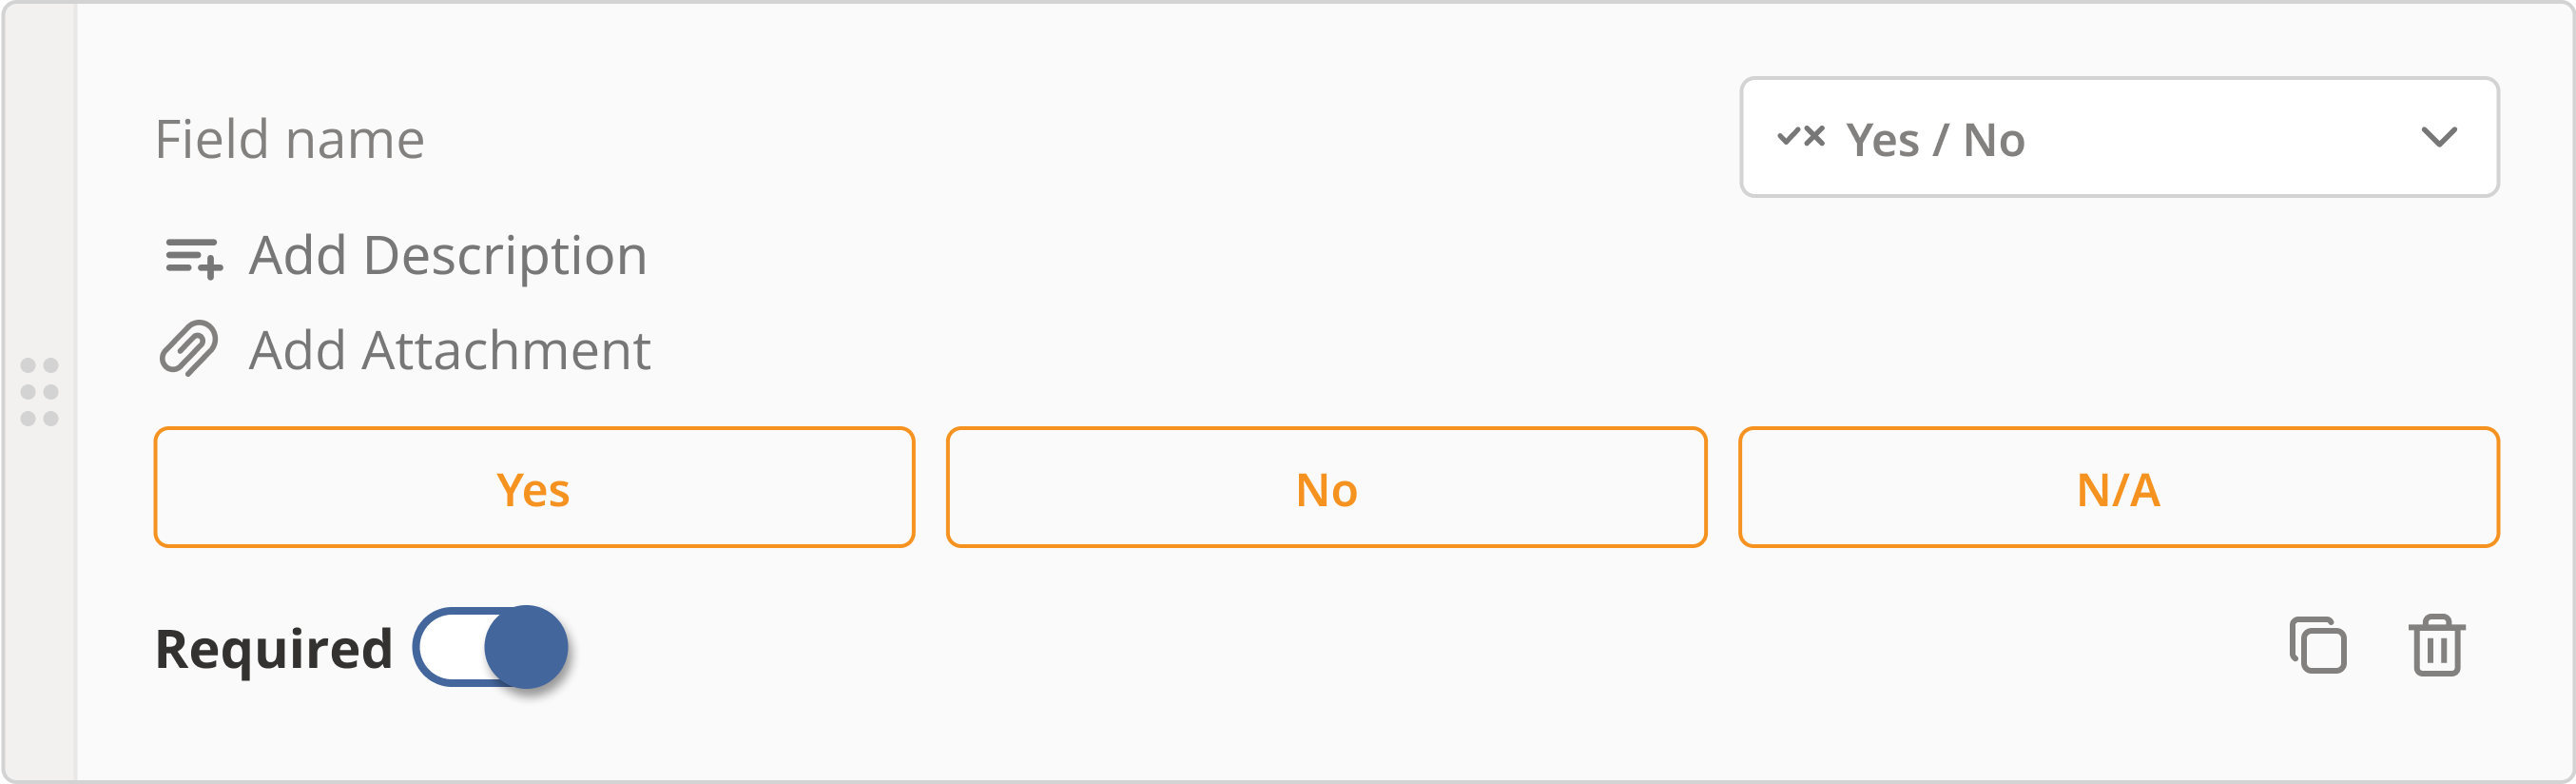
Yes/No: A widget with three buttons: Yes, No, and N/A
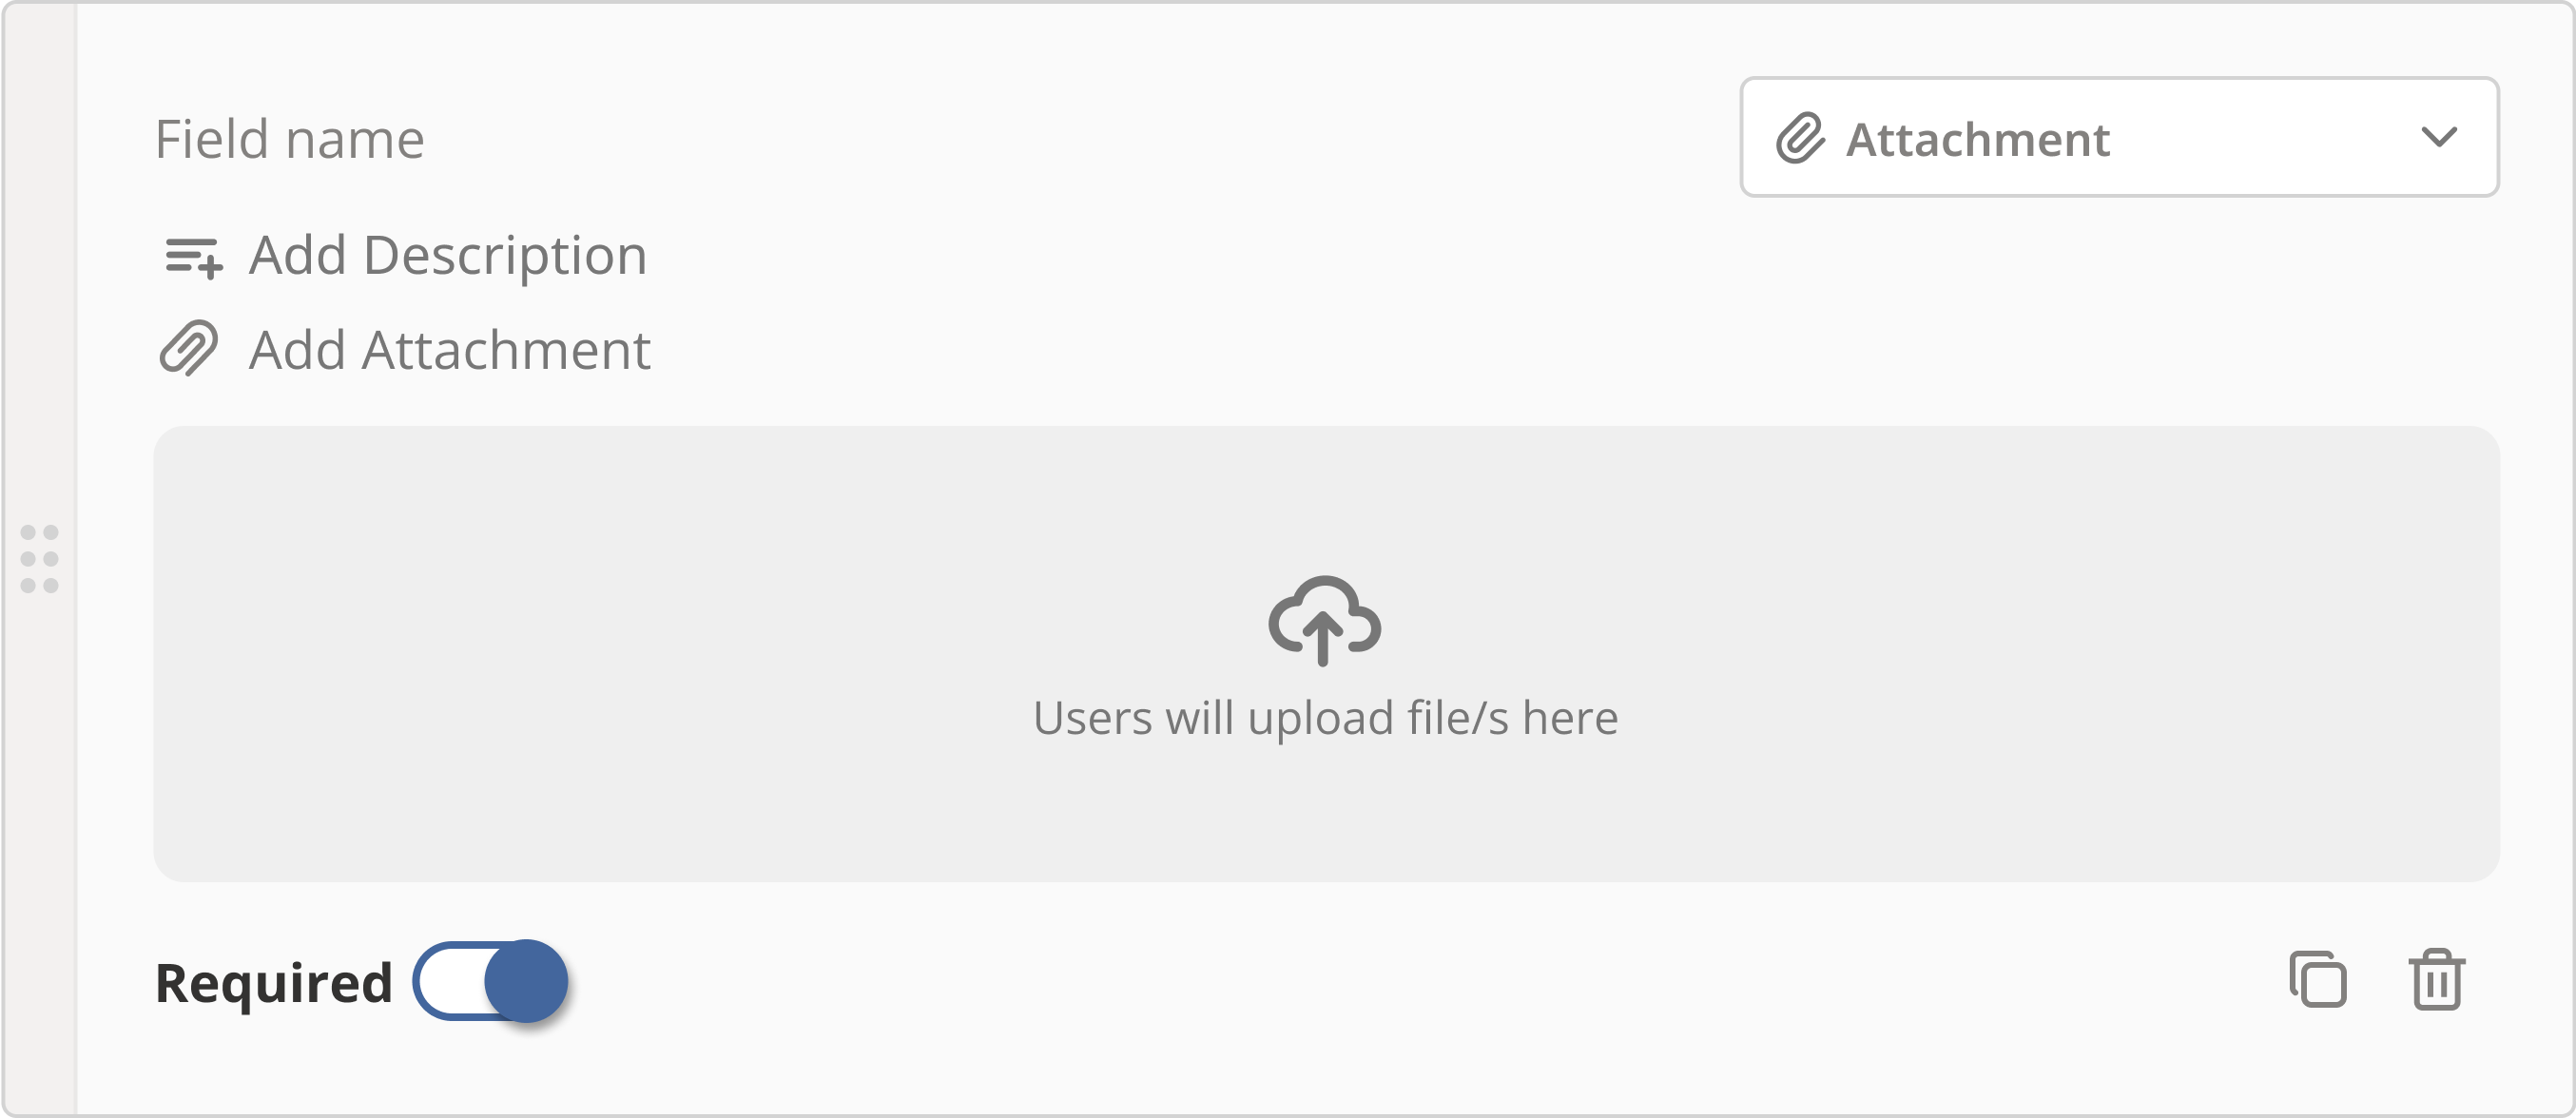
Attachment: A file upload field that allows users to upload files or images
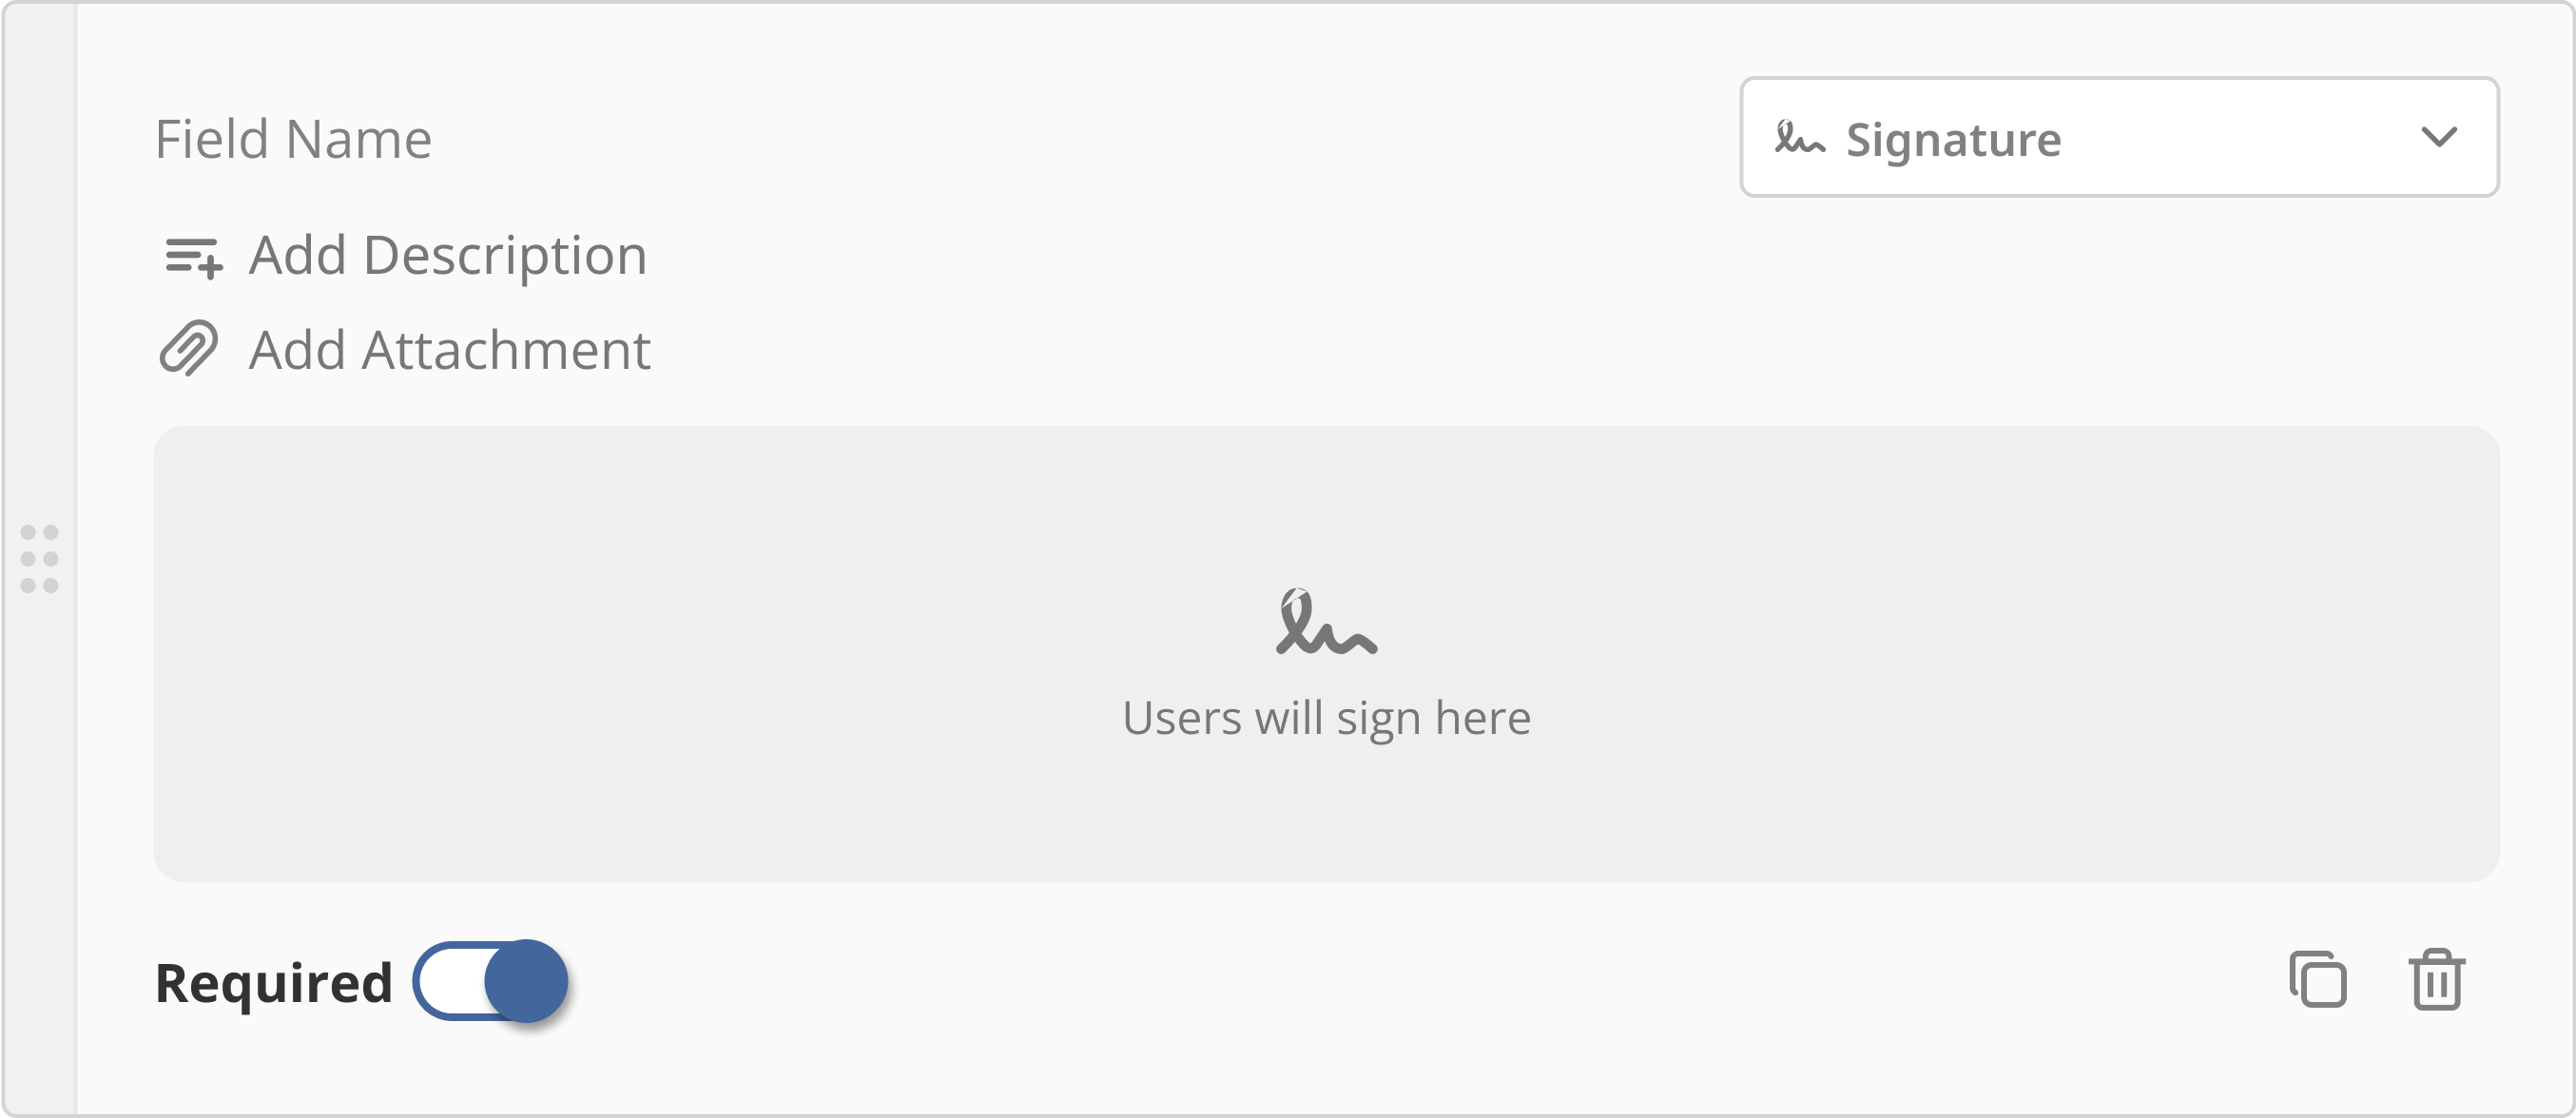
Signature: A field where users can sign their name using a stylus or their finger
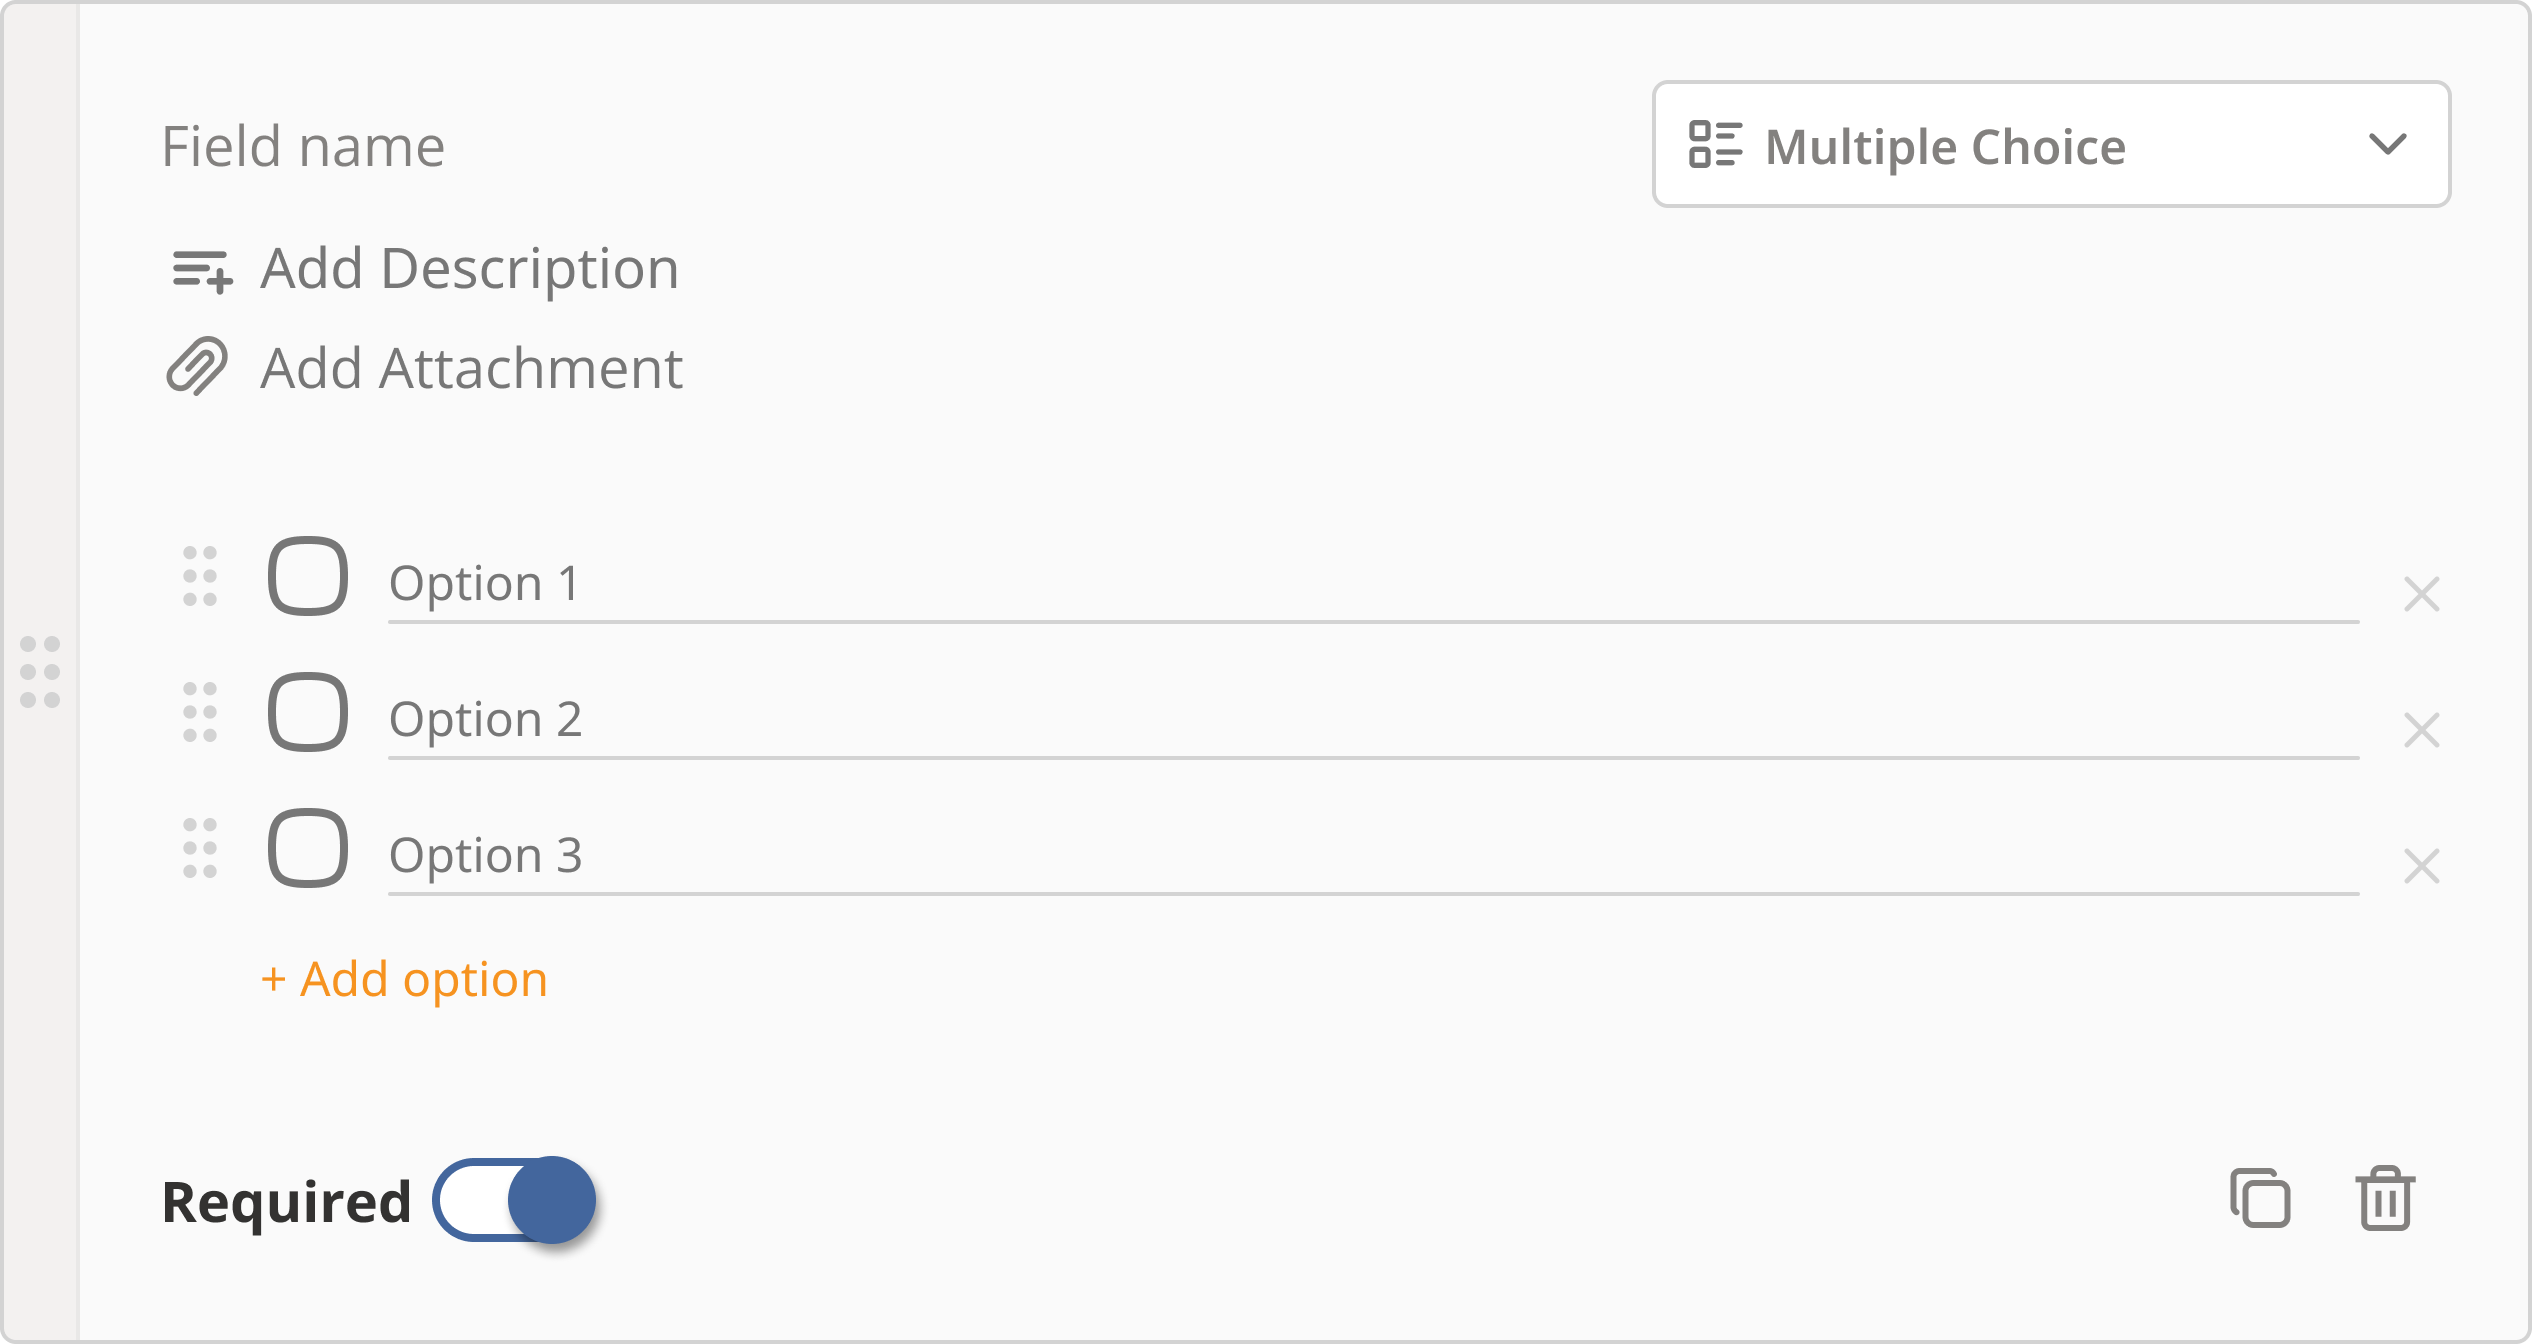
Multiple Choice: A widget with multiple choices that can be selected by the user. The choices are displayed as check boxes, and the user can select one or more choices at a time.
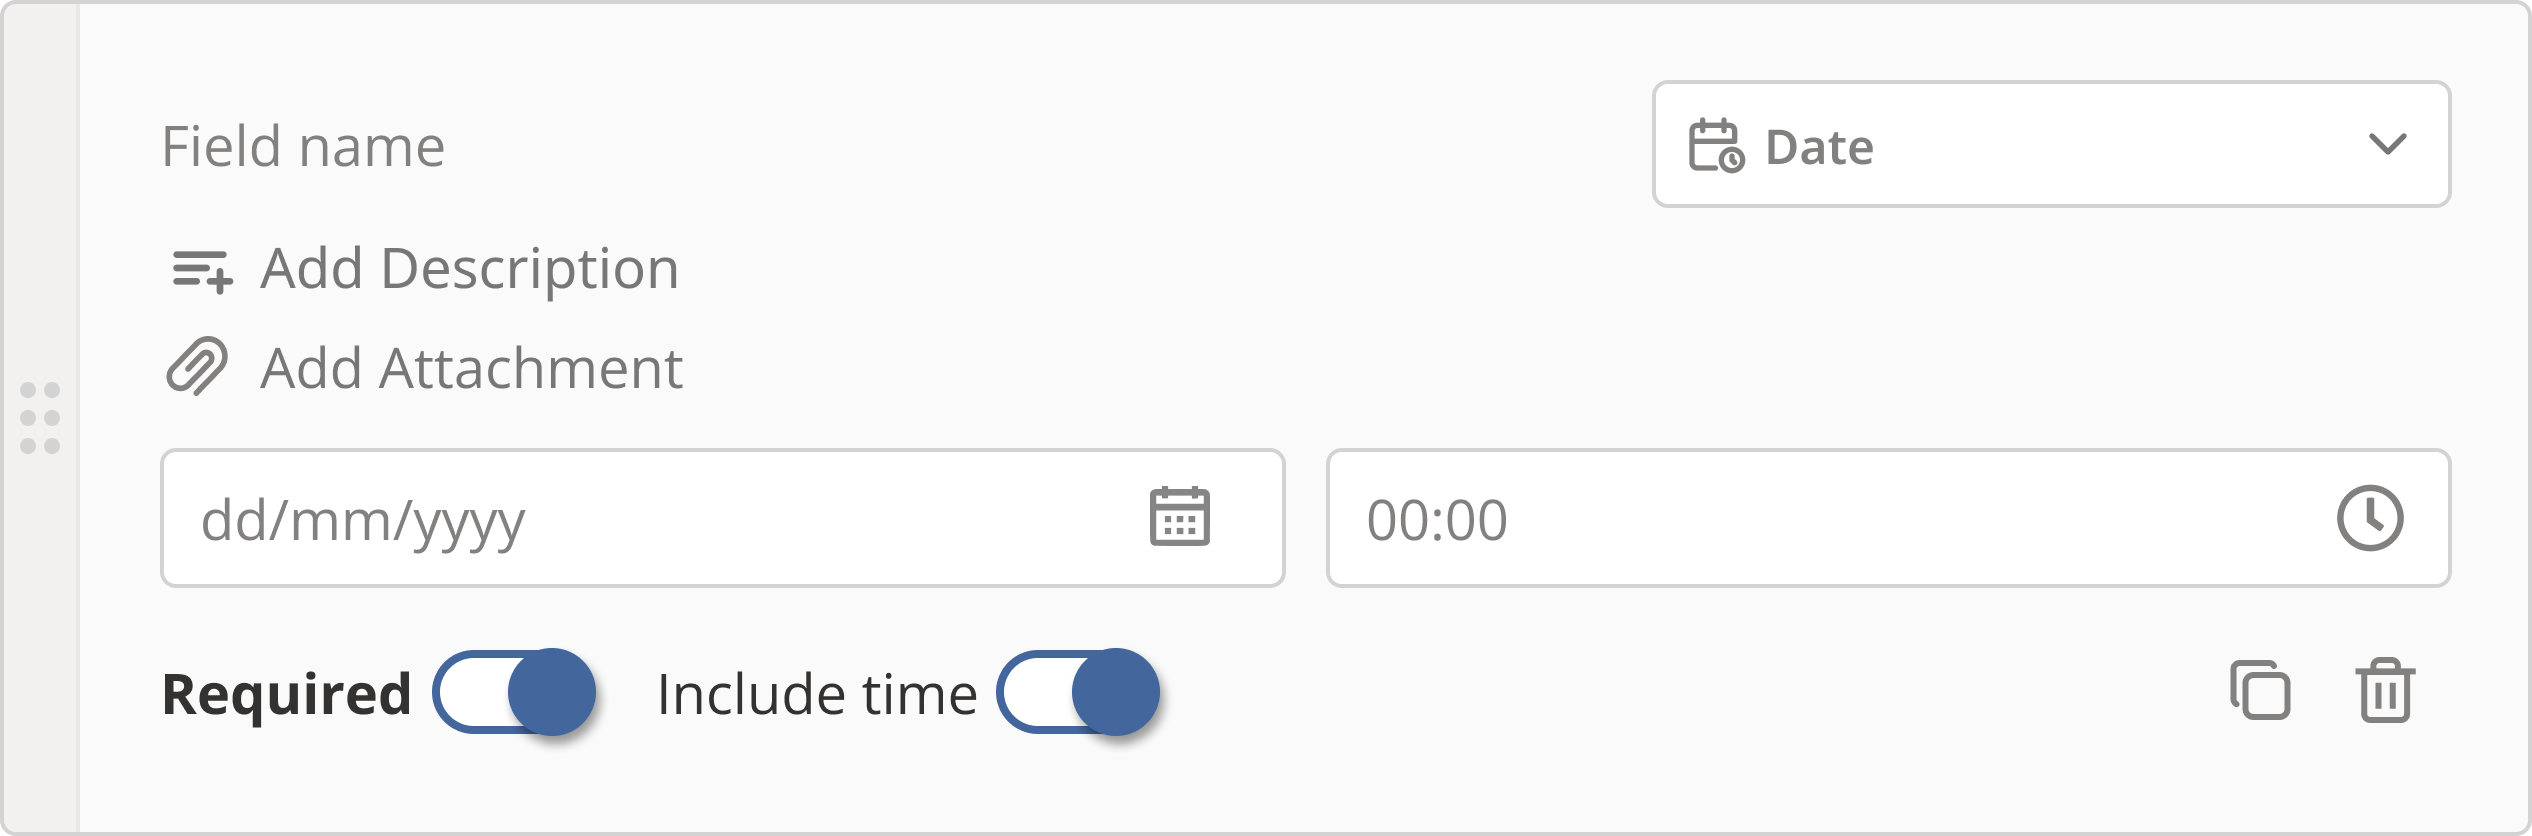
Date & Time: A field that allows users to select a date from a calendar. Users can also include a time field if needed.

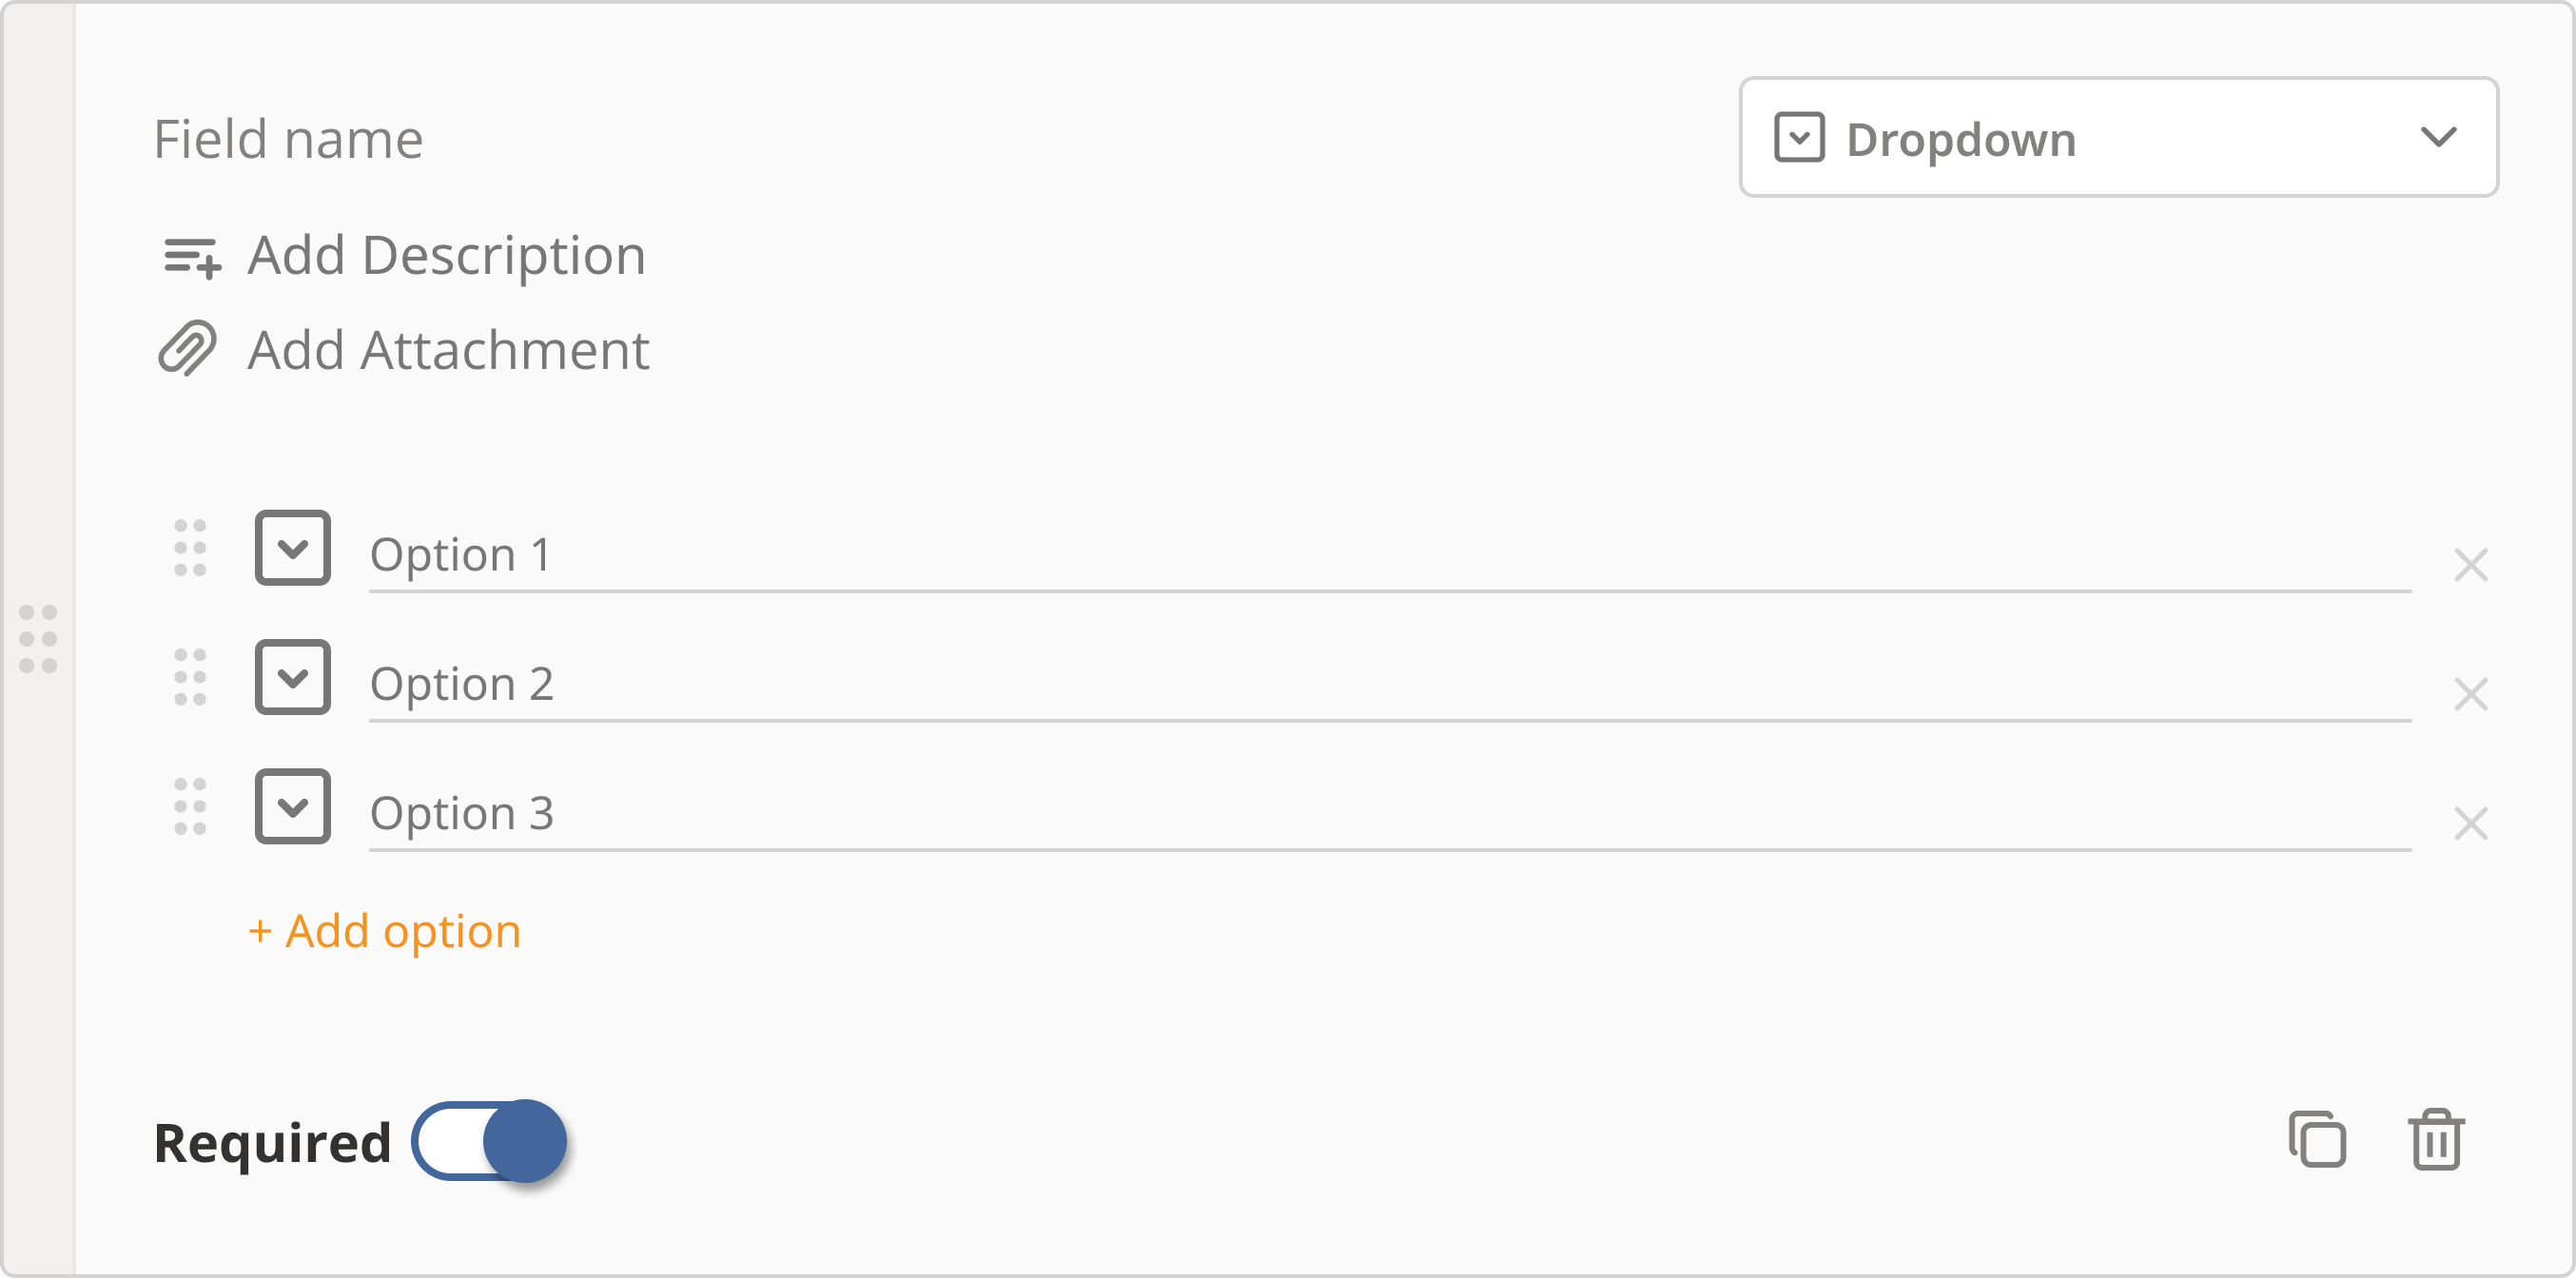
Dropdown: A dropdown menu that allows users to select one option from a list of choices that are configured by the user that created the procedure
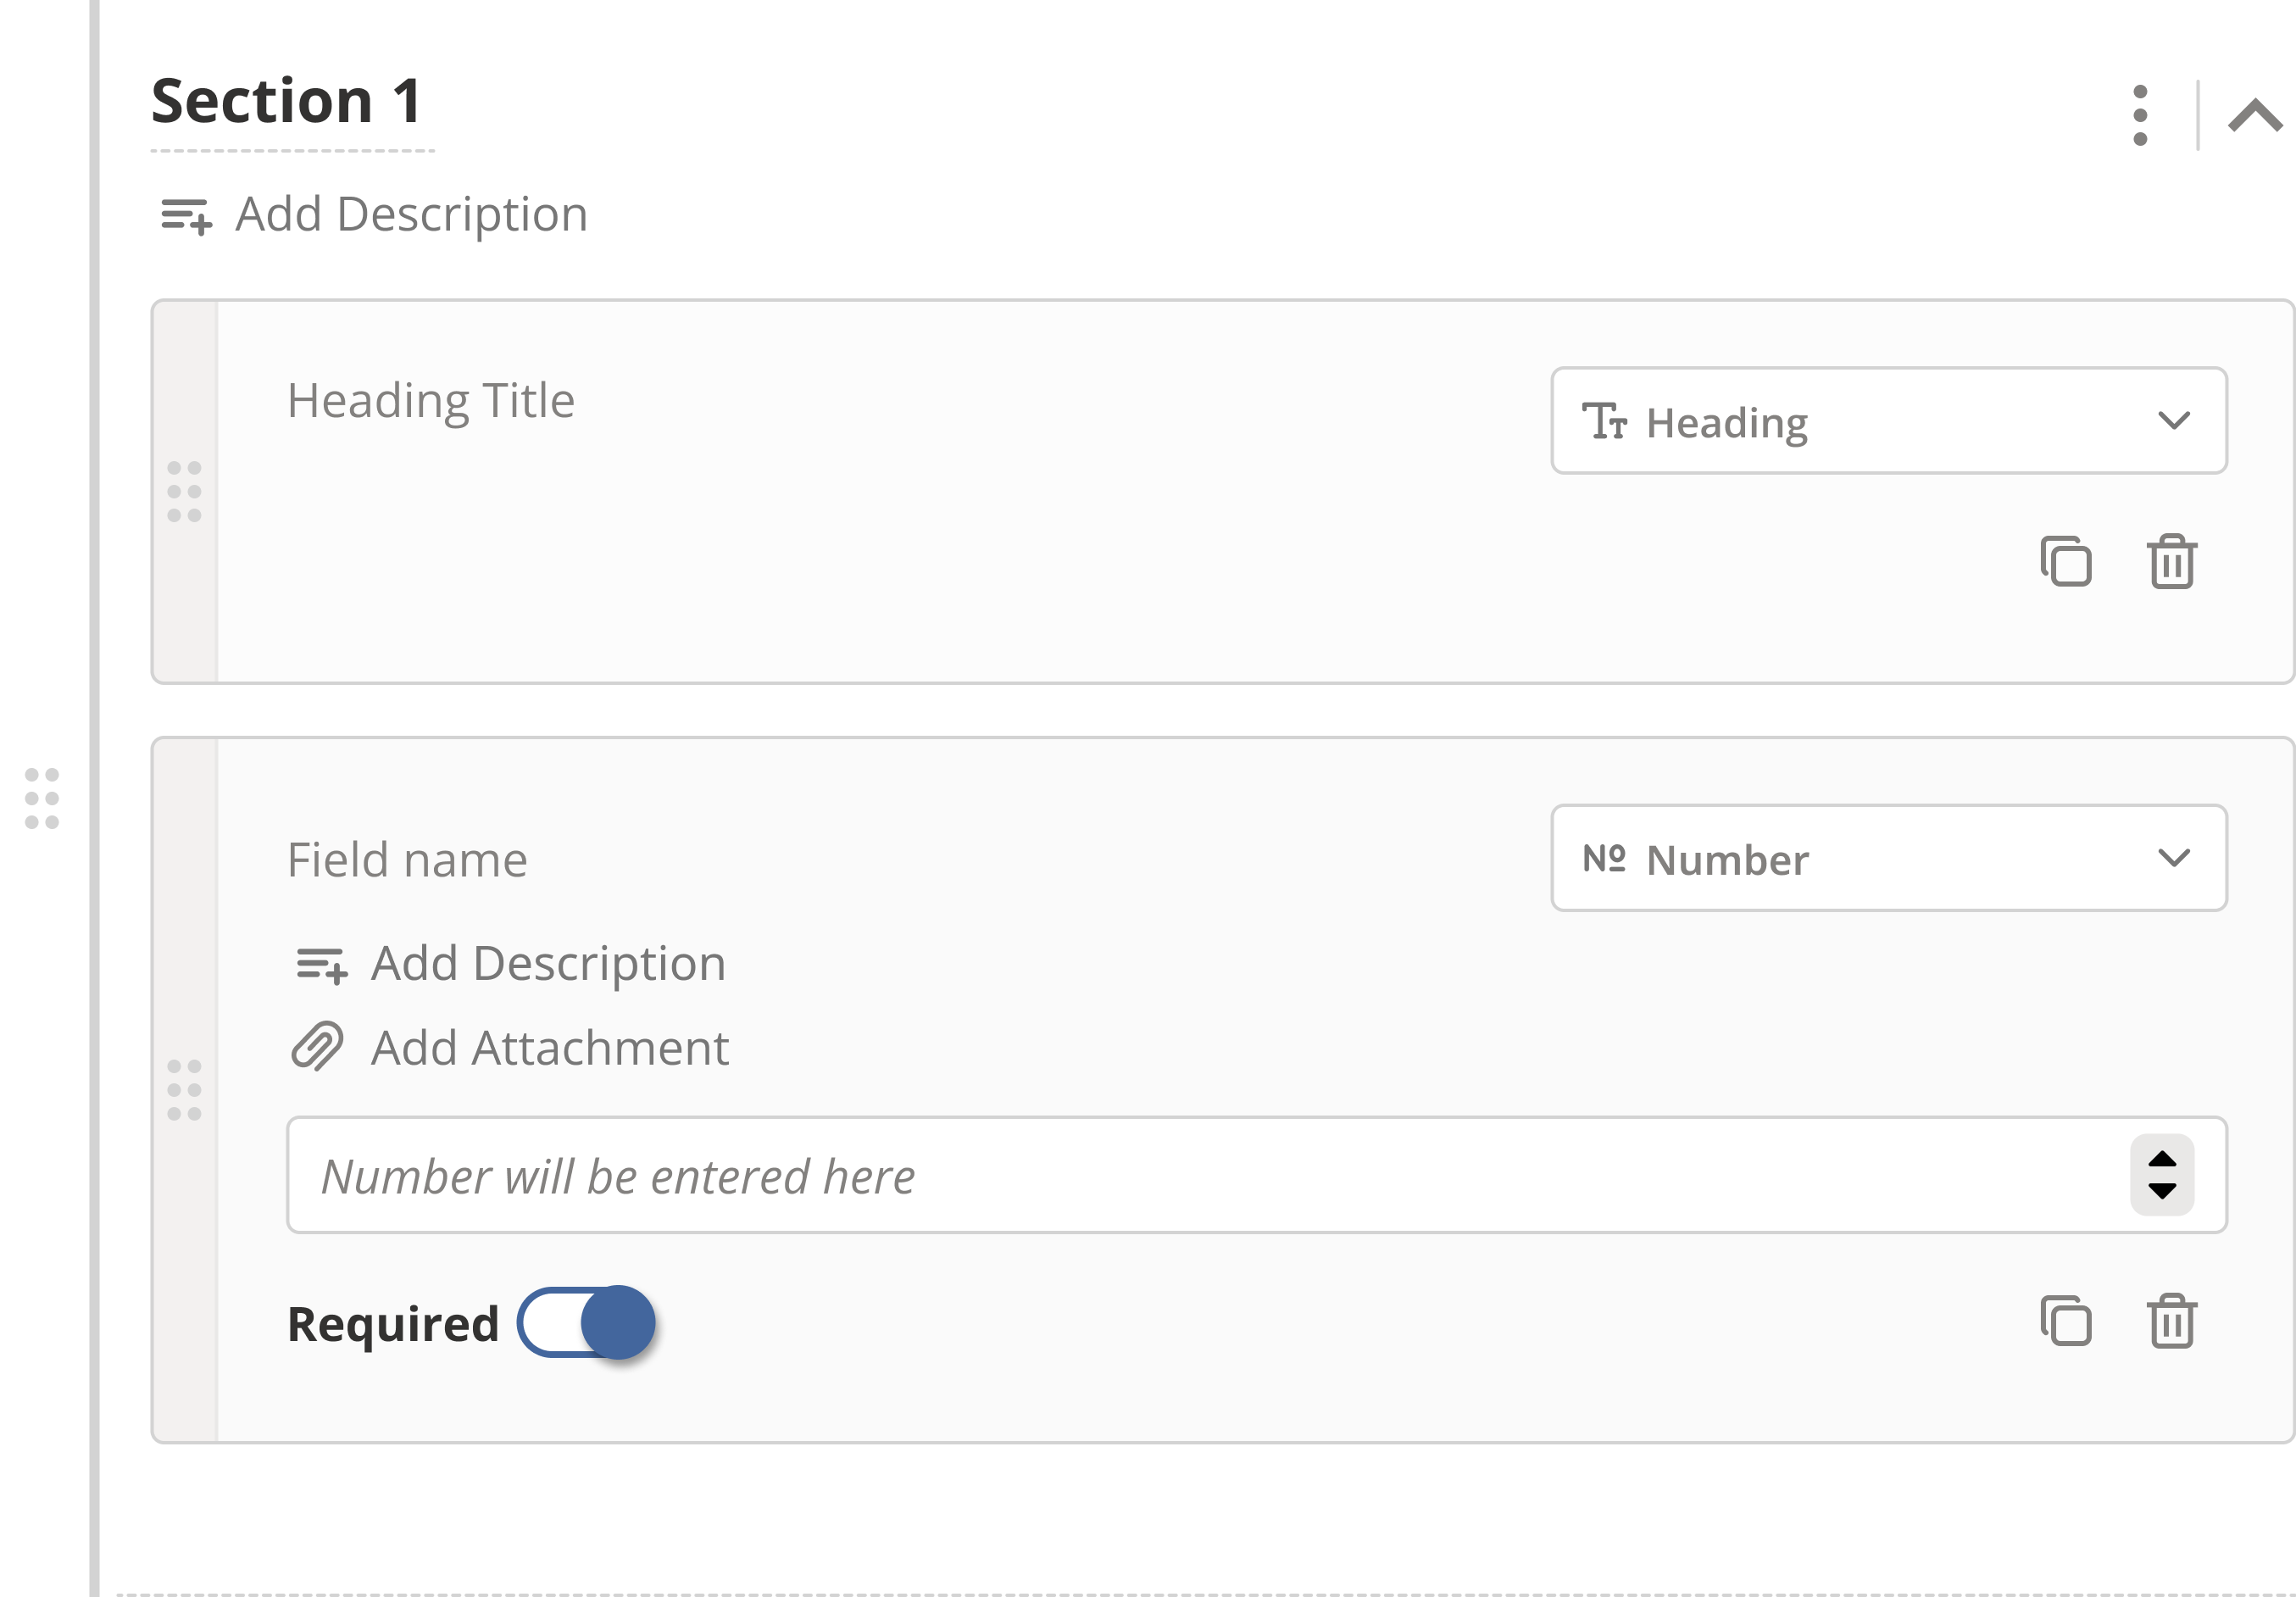
Number: A field that allows users to enter a numerical value
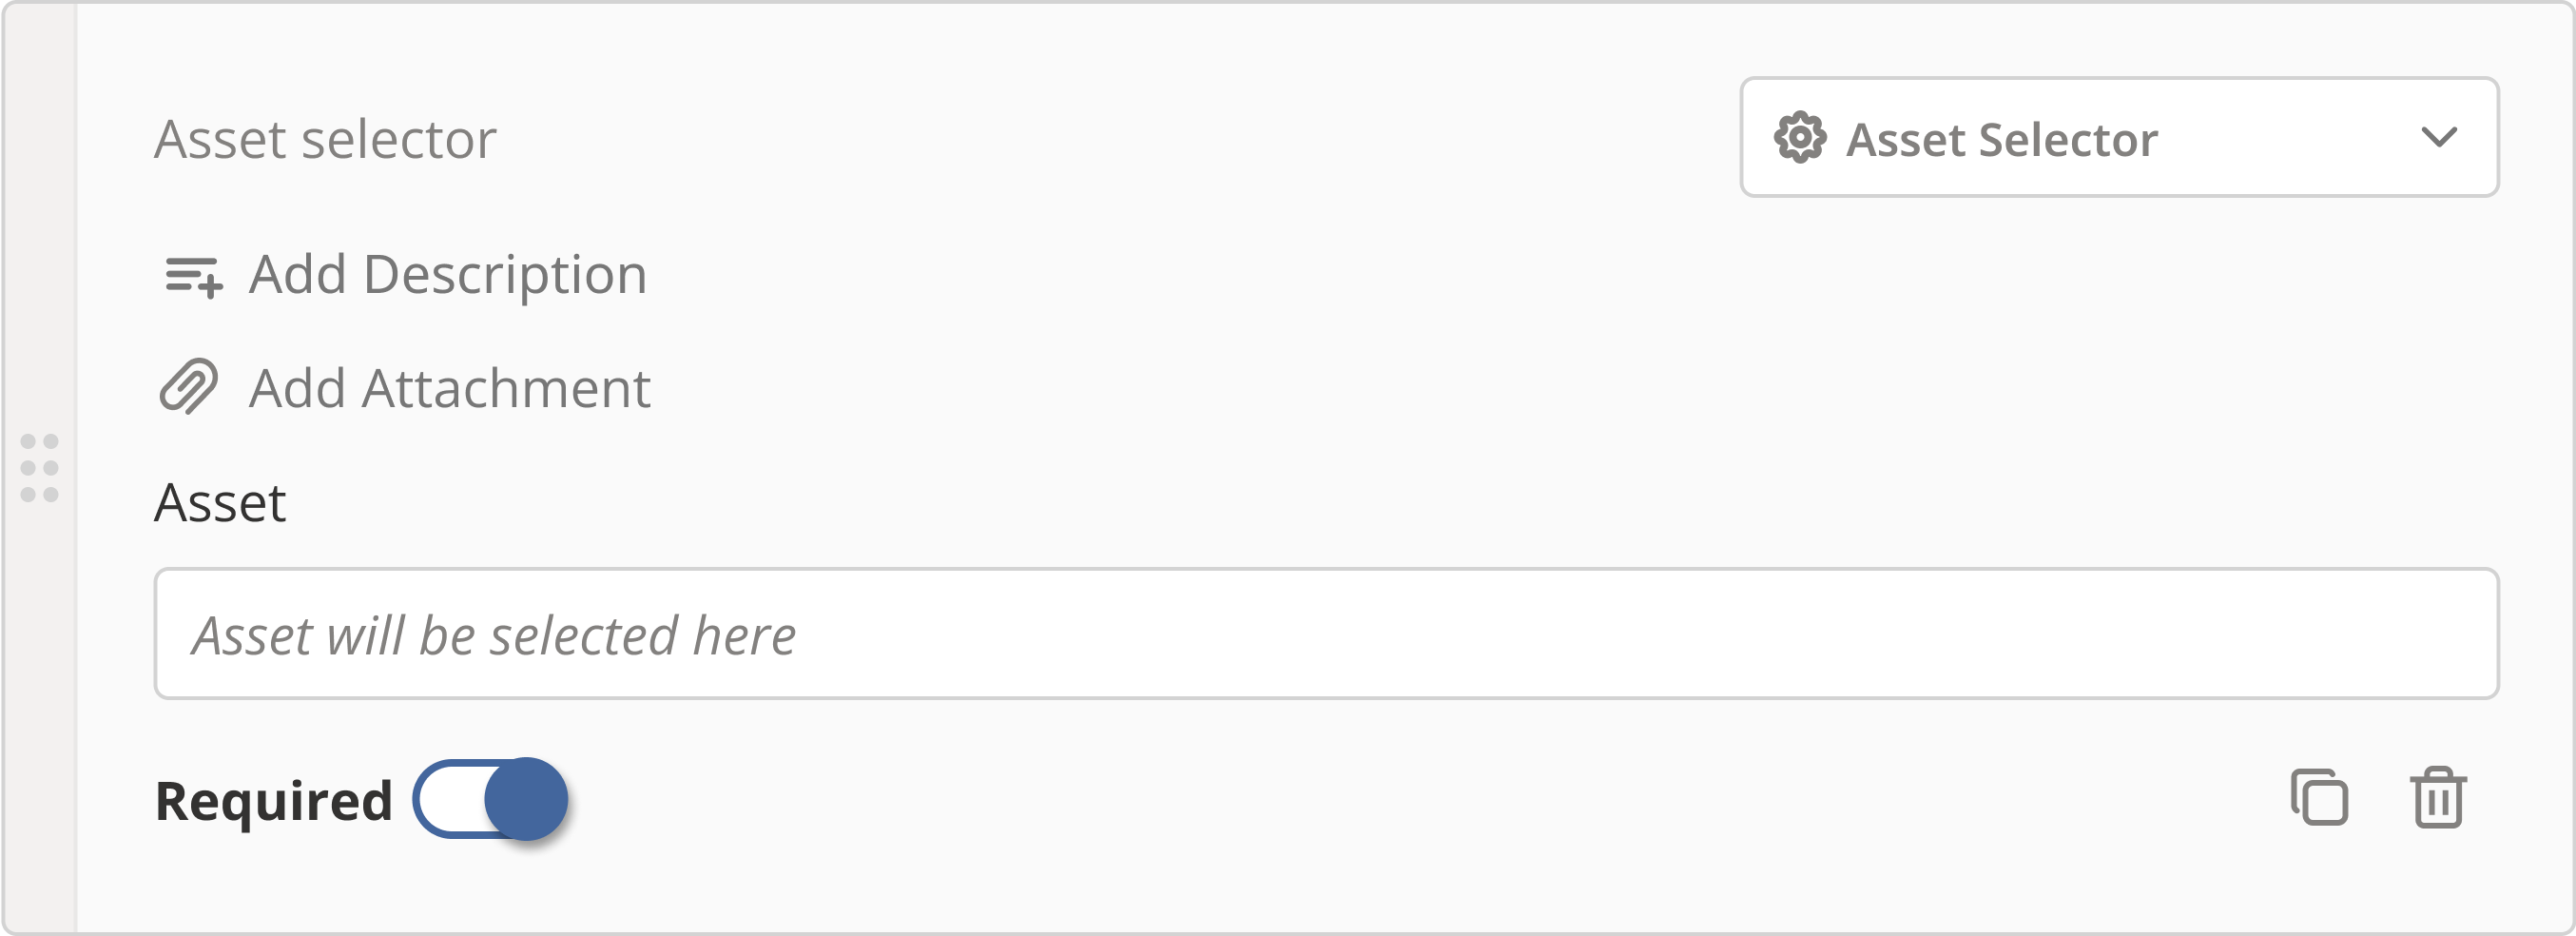
Asset Selector: A field that allows users to select an asset from a list of available assets
Site Selector: A field that allows users to select a site from a list of available sites

Section: A structure element that allows users to group form elements together
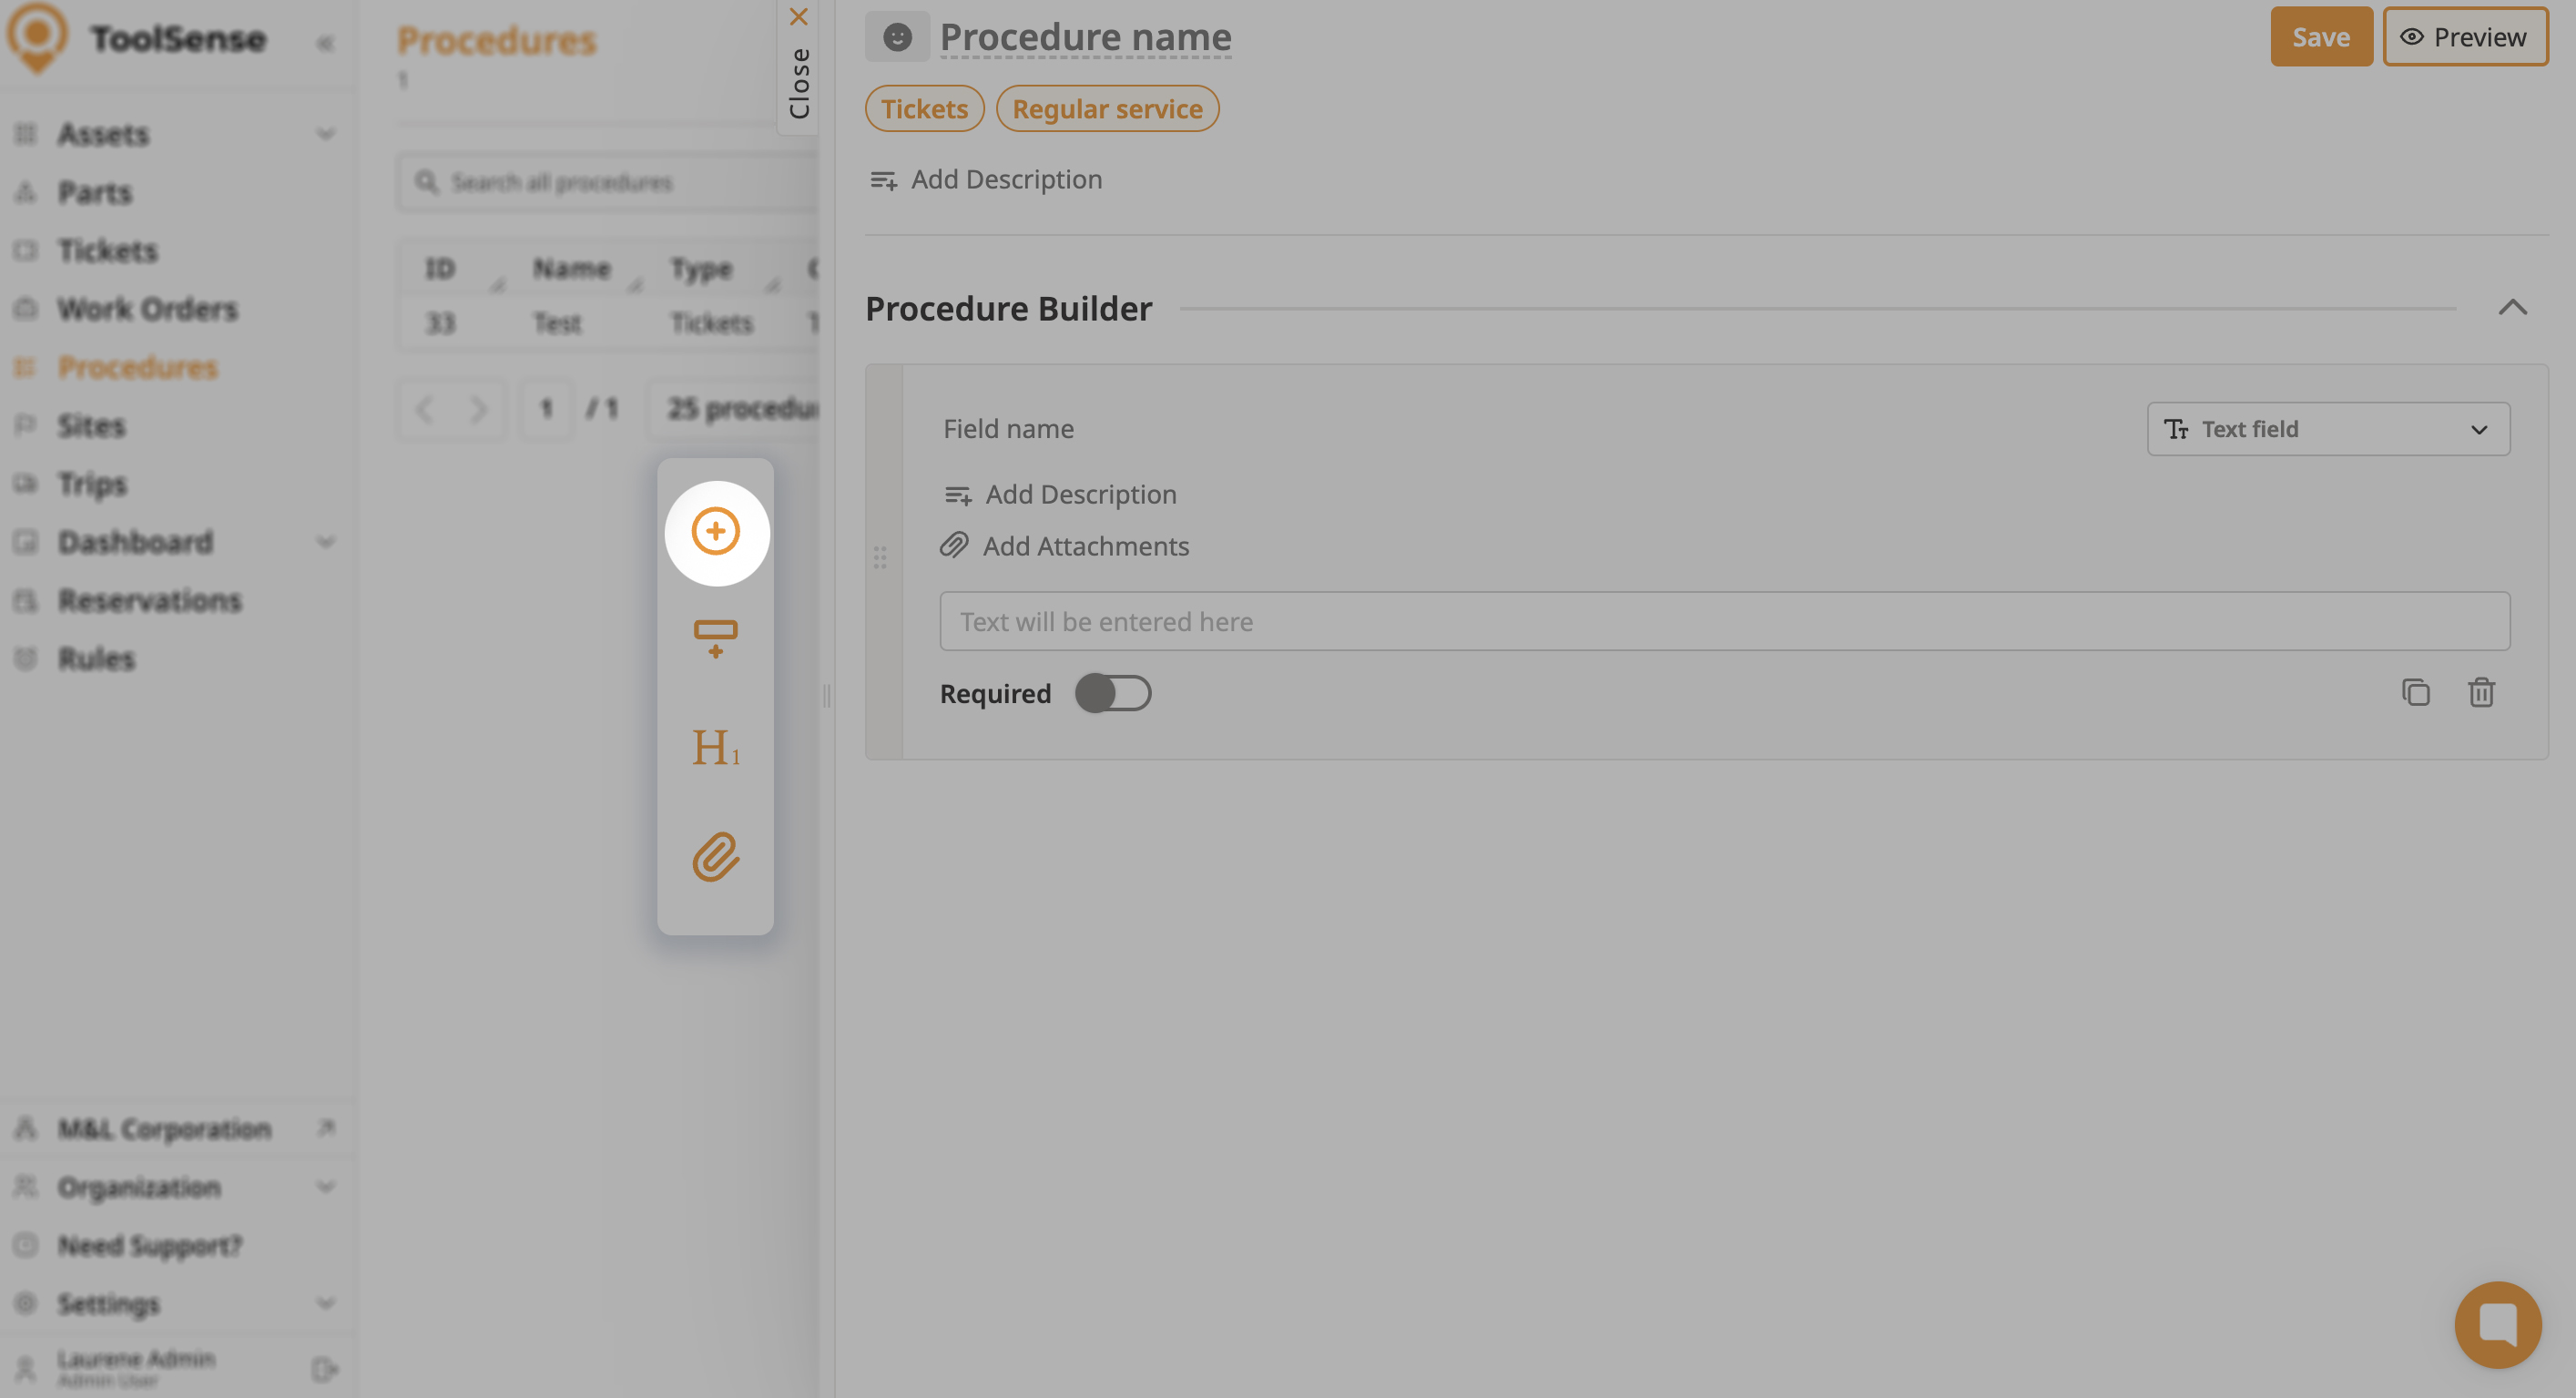
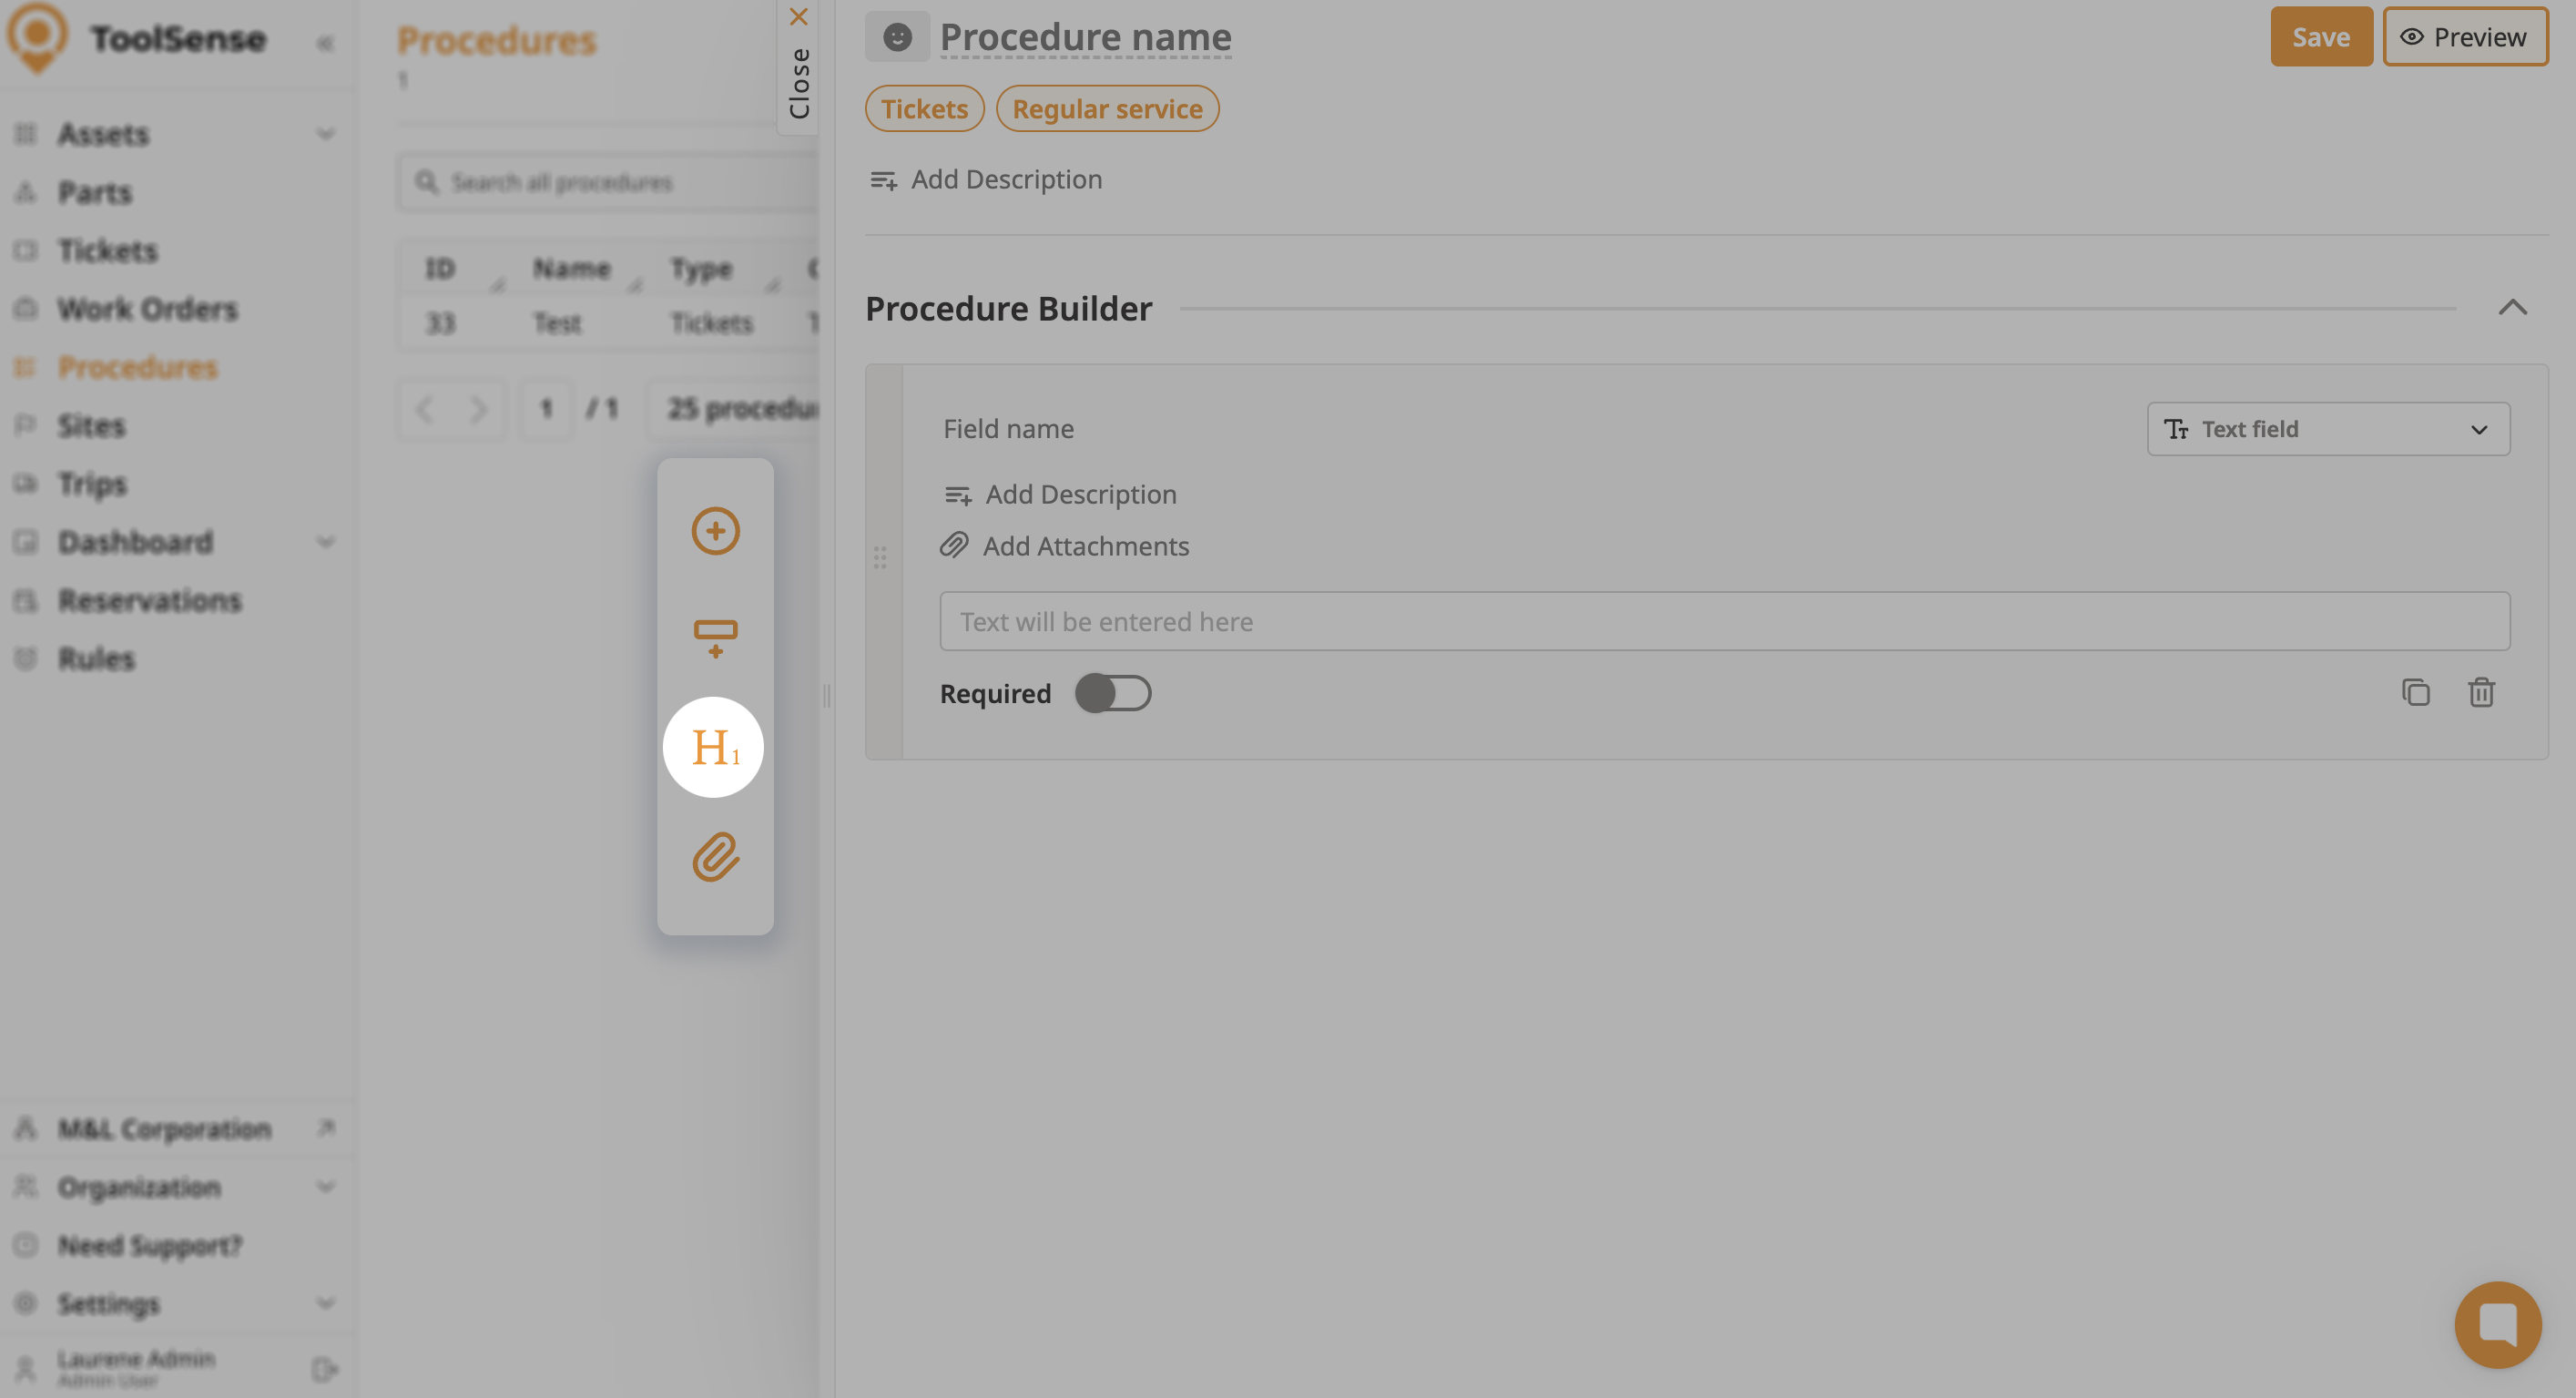
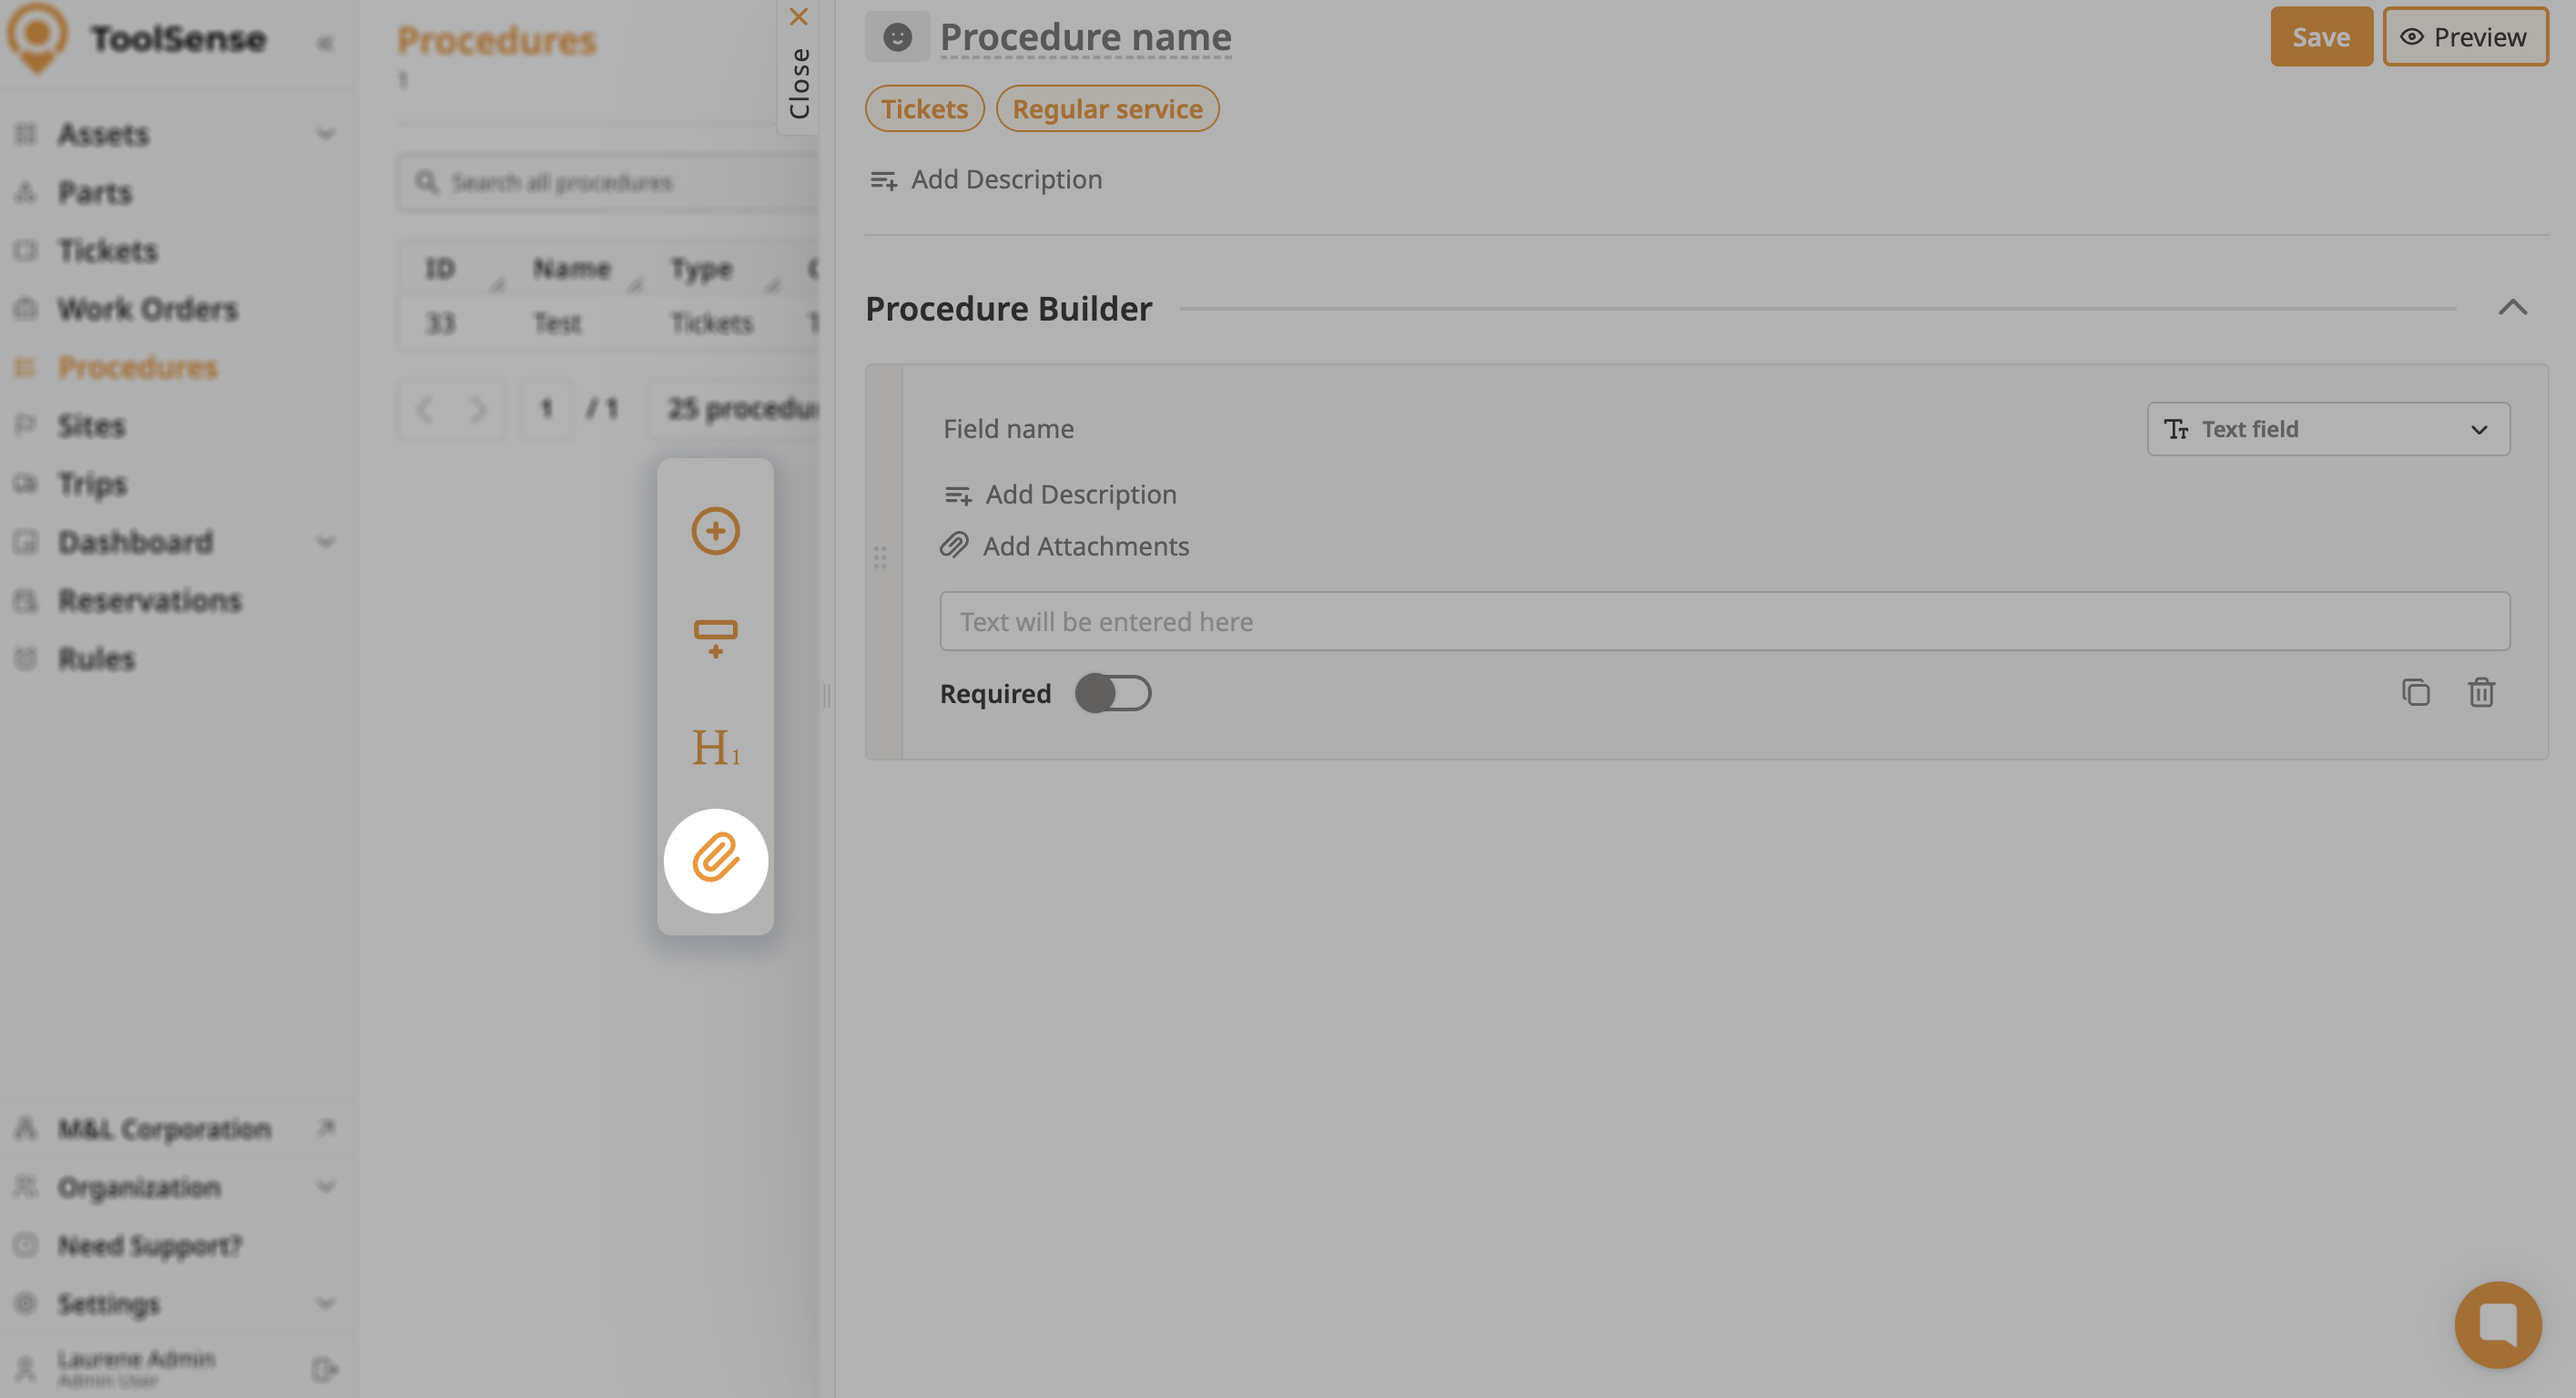
The floating action buttons are located at the left corner of the procedure builder and provide quick access to key actions. The floating action buttons include the following options:
Add Form Element: Allows you to add a new form element to the procedure.
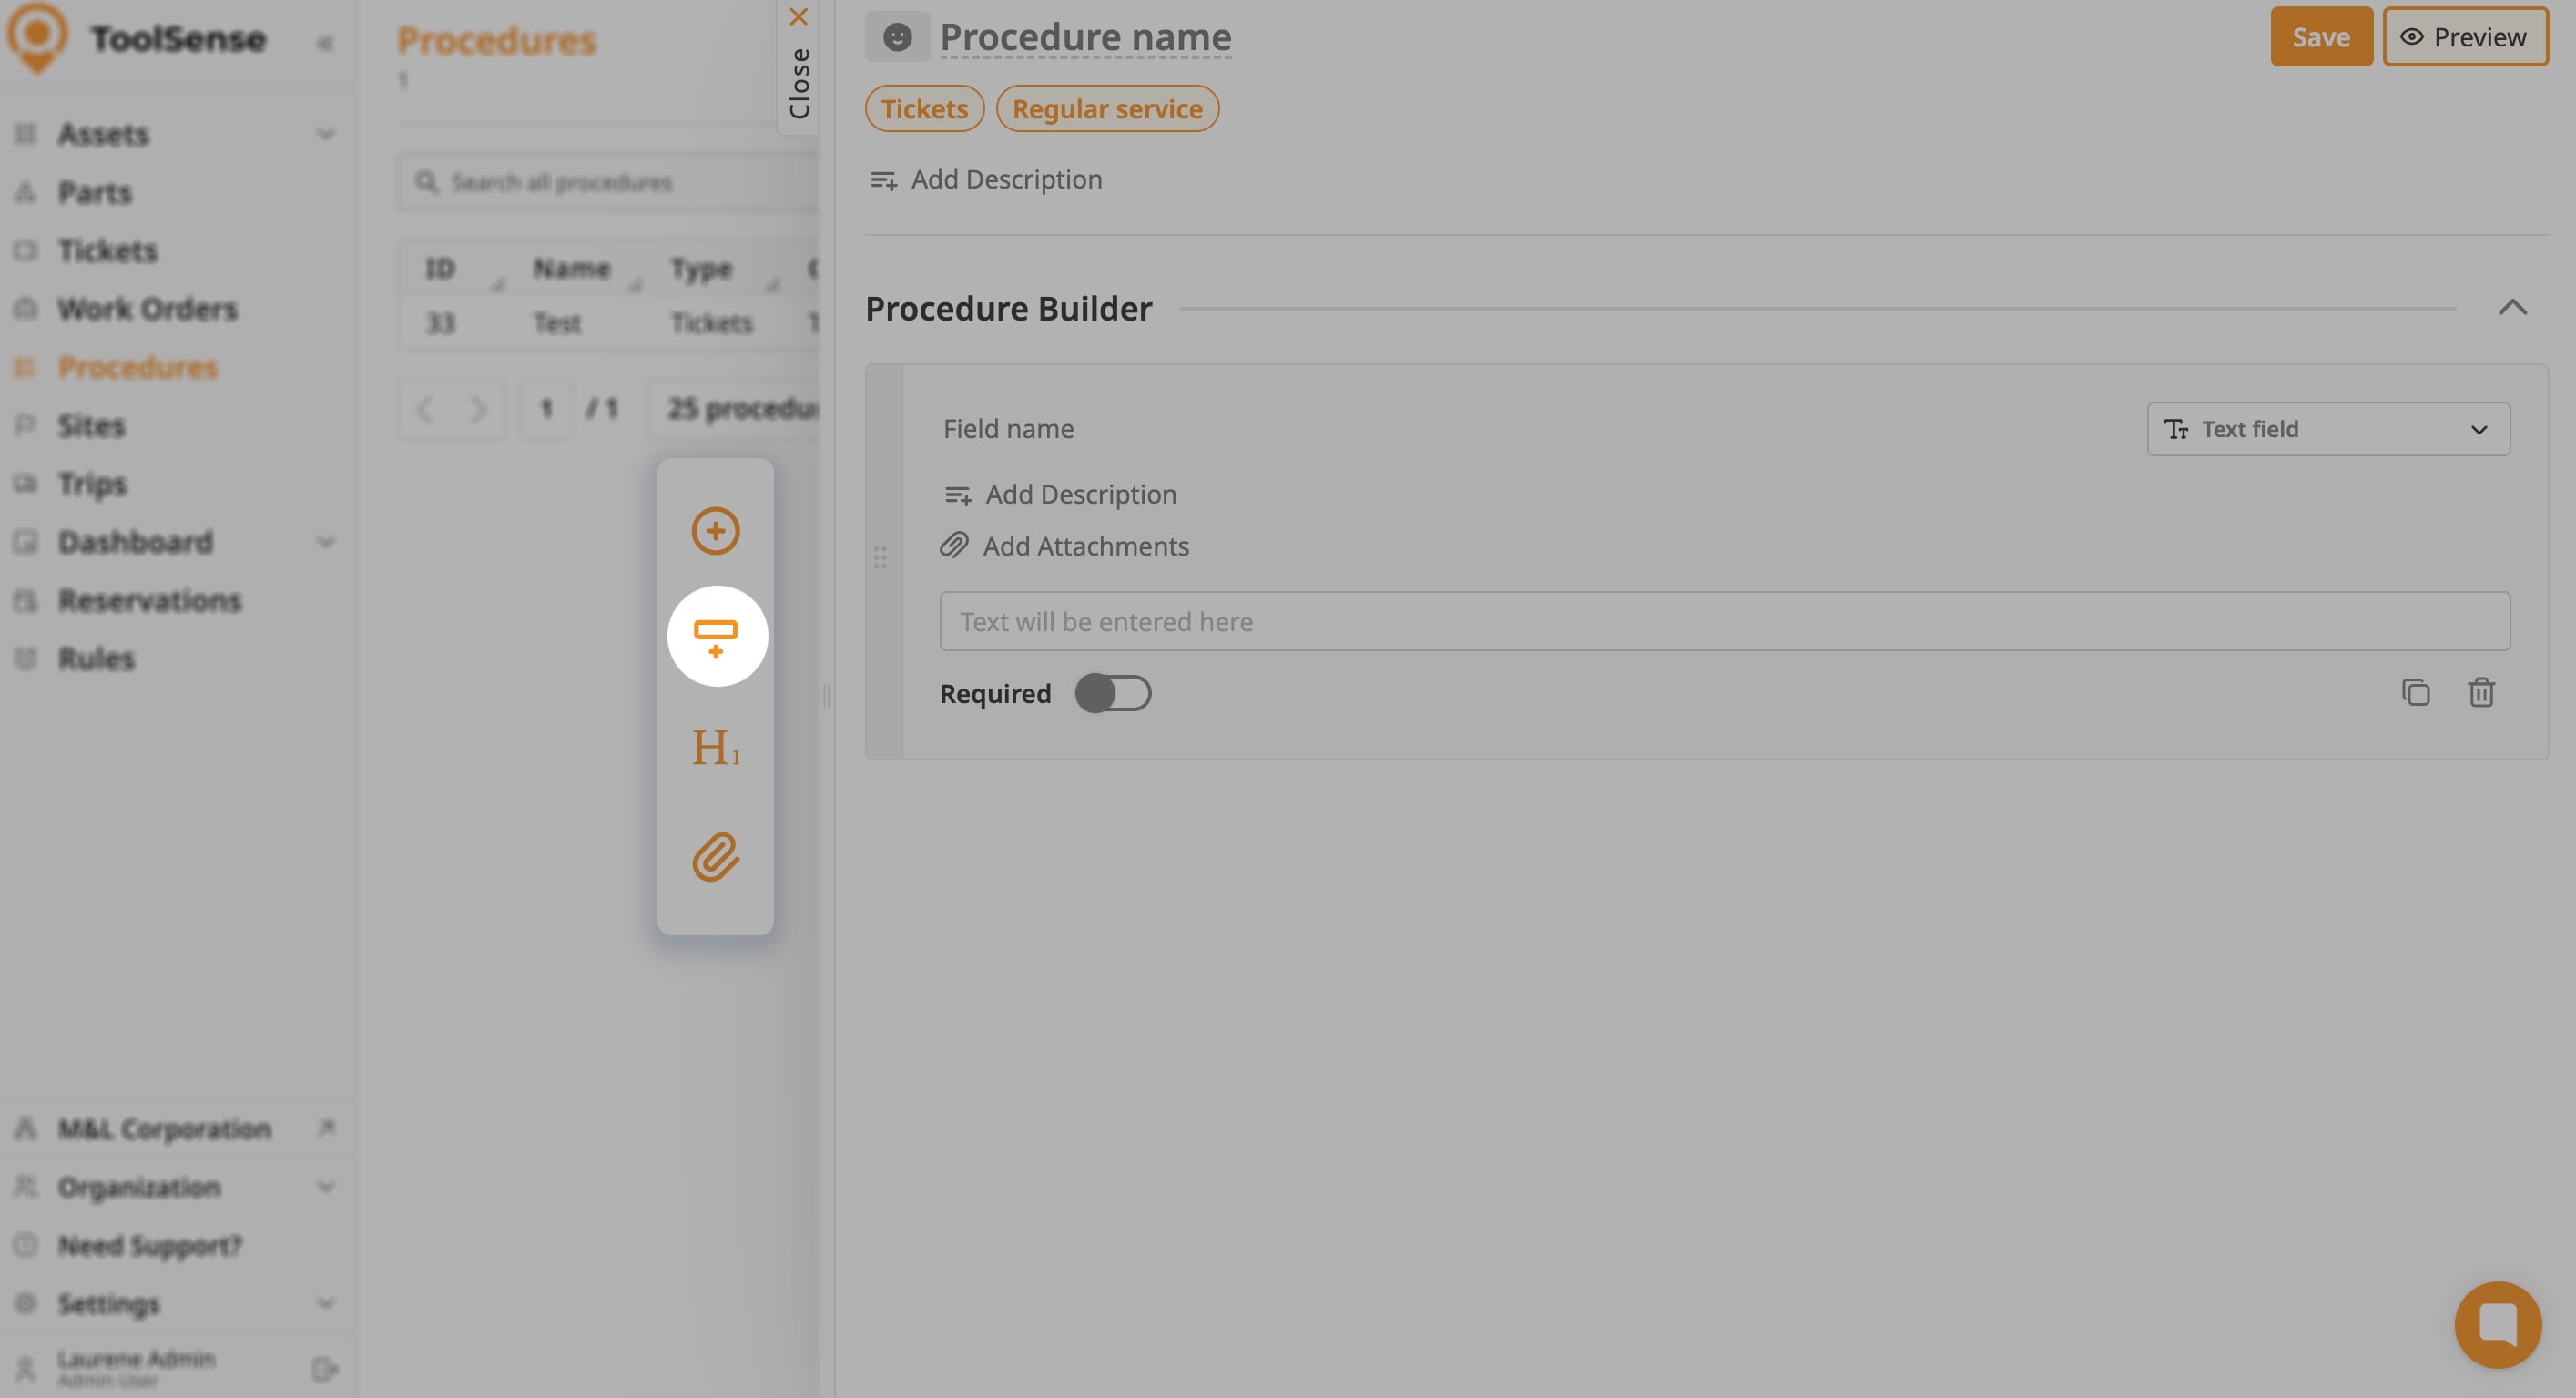
Section: Allows users to add a new section to the procedure
Header: A header element that can be used to provide a title or heading in the procedure
Attachment: Allows users to add an attachment form element to the procedure
Creating a procedure in ToolSense is a streamlined and flexible process that empowers you and your organization to tailor workflows to your specific needs. By following the steps outlined in this guide, you can efficiently build procedures that integrate seamlessly with your existing Work Orders or Tickets, ensuring that your team can operate with clarity and precision. Whether you're managing assets, parts, or sites, the intuitive drag-and-drop interface, combined with a range of customizable form elements, makes the Procedure Builder a powerful tool in optimizing your operational processes.
Start building your procedures today and enhance the efficiency of your workflow with ToolSense. 
 Up Next:
How to create tickets via Procedures
Learn how to create tickets using procedures in ToolSense to streamline your workflow and improve task management.